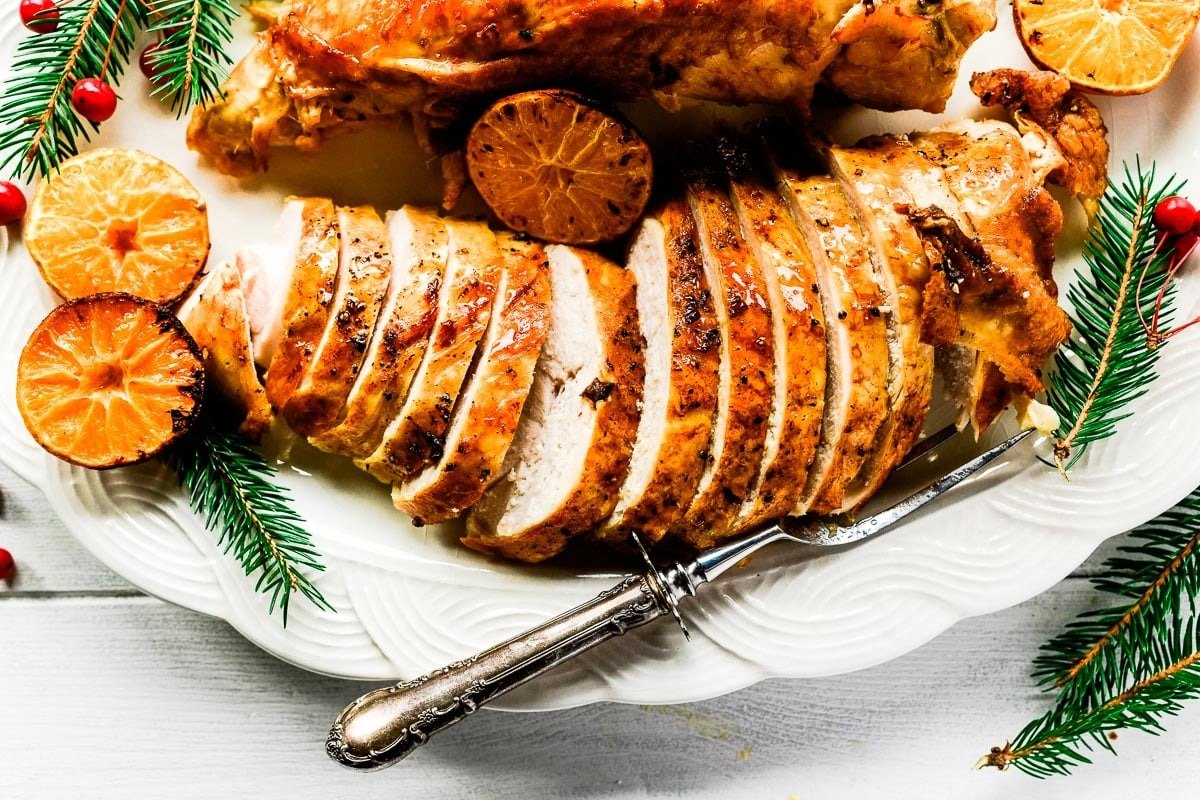
Cooking a 7lb turkey can seem daunting, but with some simple tips and techniques, you can have a juicy and flavorful bird on your Thanksgiving table. As an amateur home cook, I have learned a lot over the years about how to properly prepare and roast a turkey to get optimal results In this article, I’ll share everything I know about cooking a delicious 7lb turkey from start to finish
Choosing and Thawing the Turkey
First things first – select a high quality fresh turkey. Look for birds that are between 6 to 8 lbs which will cook more evenly than larger ones. Make sure the turkey does not have any tears or holes in the packaging. When thawing, allow 24 hours for every 4 lbs of turkey weight. The best method is a slow thaw in the refrigerator which takes about 3-4 days for a 7lb turkey. This not only thaws the meat thoroughly but allows the bird to brine in its own juices. If you’re in a rush, you can thaw in cold water but this will require changing the water every 30 mins and closely monitoring the temperature. I don’t recommend thawing at room temperature as this encourages bacterial growth on the outside of the turkey.
Seasoning Under and Over the Skin
For optimal flavor, it’s important to season under and on top of the skin. Carefully loosen the skin from the breast meat without totally detaching it. Rub a few tablespoons of softened butter under the skin. Sprinkle with salt, pepper, fresh herbs like thyme or rosemary, garlic powder, paprika and lemon zest. Massage the seasoning into the breast meat. Flip over the turkey and season the backside too. For on top of the skin, coat with olive oil or melted butter and generously sprinkle on more salt, pepper and any dried herbs or spices. Rub it all over the skin.
Trussing for Even Cooking
Trussing brings the legs and wings close to the body which allows for more even cooking. Use kitchen string or silicone trussing bands. Start by looping string around the legs to bring them together. Pull the legs close to the body and tie to the tail. Then wrap string around the wings to pull them in towards the breasts. The compact shape will help the turkey cook faster and more evenly.
Roasting Pan Prep
Choose a sturdy roasting pan with at least 2 inch sides. The pan should be 2 to 3 times larger than the turkey. Lightly coat the bottom of the pan with olive or canola oil to prevent sticking. For aromatics, slice an onion and few celery stalks and scatter into the pan. You can also add carrot chunks, garlic cloves, fresh herbs and a halved lemon. The veggies will roast under the turkey and add loads of flavor to pan drippings for gravy.
Cooking Times and Temperatures
The best way to ensure doneness and prevent overcooking is to use a digital meat thermometer Cook the turkey until the thickest part of the breast and thighs reach 165°F For a 7lb turkey, expect around 2.5 to 3 hours of roast time in a 325°F oven. Tent with foil if the skin browns too quickly. Baste the turkey every 30 mins by spooning the pan drippings over the top. This keeps the skin from drying out. Let the turkey rest for 20-30 minutes before carving so juices can redistribute through the meat. The internal temp will rise about 5°F during resting.
Make Amazing Gravy from Drippings
Making gravy from the pan drippings pumps up the flavor and is super easy. First, remove the turkey and veggies to a platter to rest. Pour the drippings through a mesh strainer to remove any solids. In a saucepan, heat the drippings over medium high heat. Whisk in 2 Tbsp flour to form a roux. Cook for 1 minute, whisking constantly. Slowly pour in 2 cups chicken or turkey stock while whisking vigorously to prevent lumps. Bring to a simmer and cook for 5-10 minutes until thickened. Season with salt and pepper to taste.
Carving the Turkey
Before carving, remove any trussing and let the turkey rest as mentioned above. Transfer to a sturdy cutting board. Remove the legs by cutting through the hip joint. Slice the breast meat by making thin slices on the diagonal. Arrange the sliced meat on a platter with the legs and wings. Pour over any resting juices from the cutting board. Serve with gravy, cranberry sauce and your favorite side dishes. Enjoy this delicious homecooked meal!

To Brine or Not to Brine the Turkey
You won’t need to brine the turkey if you cook it breast side down and take it out of the oven before the thighs reach 165°F and the breast 160°F. Your turkey will be perfectly juicy and delicious.
If you want to cook your turkey the traditional way, with the breast side up, brining will help keep the breast from drying out. See our methods for both wet and dry turkey brines:
How to Cook a Turkey: 3 Tips to Know
How does my mother do it? Here are her three keys to cooking a perfect turkey:
- Cook the turkey breast side down. The juices fall down to the breast while the turkey roasts, making the most delicious meat. The breast is also better protected from the heat, which keeps it from drying out too much.
- You can be sure that the turkey is done when you use a meat thermometer.
- Stuffing the turkey should be cooked separately, not inside the bird. This will help the turkey cook more evenly.
Simple Oven Roasted Turkey Breast
FAQ
How long does it take to cook a 7lb turkey?
Is it better to cook a turkey at 325 or 350?
What is the best way to cook a turkey without drying it out?
Should you bake a turkey covered or uncovered?
