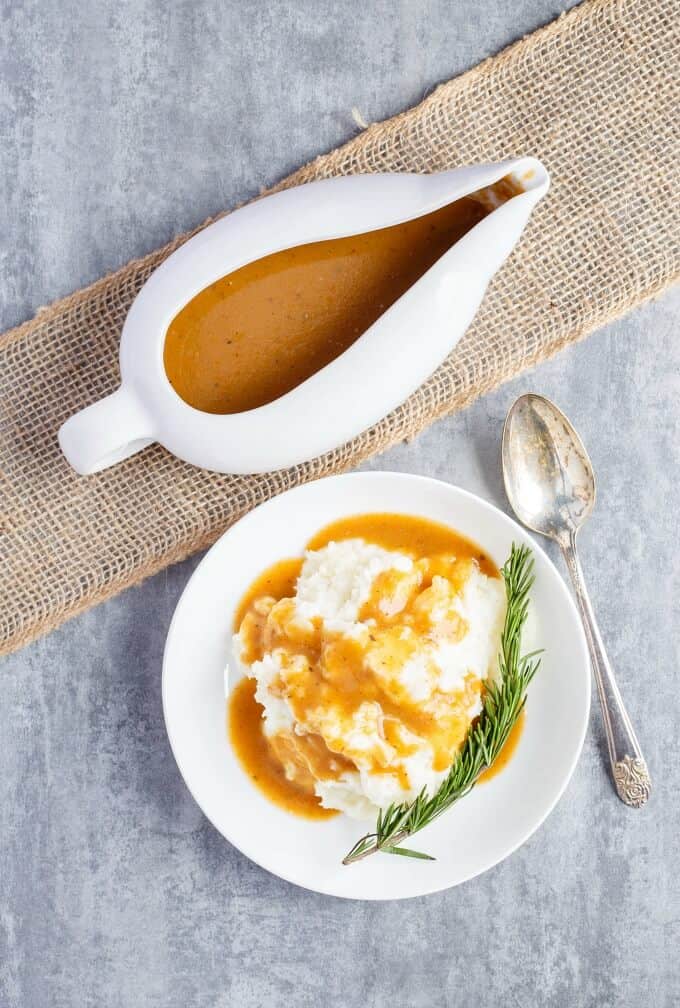
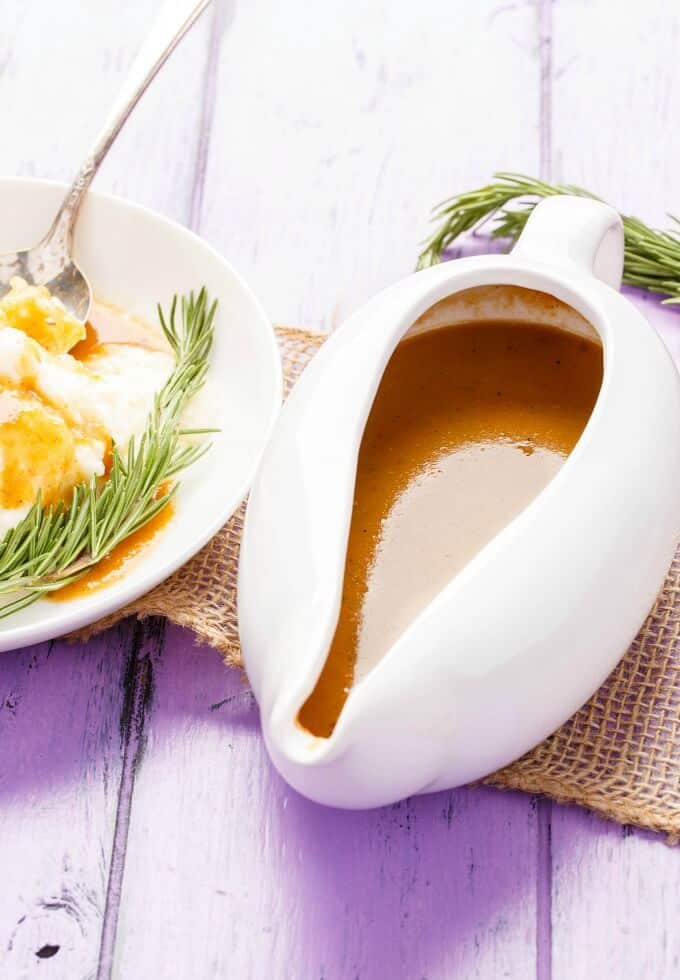
This homemade turkey gravy does not use pan drippings! Instead, we utilize the turkey neck (and optional backbone) to create a rich and tasty sauce!
I am trying to fit in the rest of my recipes for the year before my hiatus.
For personal reasons, I will be off beginning this month with very limited posts until March (roughly.) I look forward to spending time with my Nana and enjoying Christmas with my family.
During this time you may see some new posts that have been written out ahead of time. I may throw in something here and there, but the goal is just to separate myself from work for a bit. Once I come back, I am going to move my post days to Tuesday and Thursday so I can spend time with my daughter on the weekends without having to worry about typing up a post for Monday.
Gravy is such an essential part of holiday dinners and I find more often than not people stress over them when they really do not have to!
Making delicious gravy from turkey necks is a time-honored tradition for many families during the holidays. The rich, meaty flavor of the turkey necks imparts an incredible depth and savory taste to the gravy. However, to get the most flavor, you need to boil the turkey necks properly and for the right amount of time. In this comprehensive guide, I’ll walk you through everything you need to know about boiling turkey necks to make the perfect gravy.
Why Use Turkey Necks for Gravy?
Turkey necks are full of collagen and fat that helps create a silky luxurious mouthfeel in the gravy. Simmering the necks also releases gelatin that adds body and richness. The dark meat of the turkey neck has far more flavor than breast meat or even wings or legs. Many experienced cooks swear that turkey neck gravy is hands-down the most flavorful and decadent.
How Long Should You Boil Turkey Necks for Gravy?
To get the maximum flavor extraction, you’ll want to boil the turkey necks for 1-2 hours. I recommend going for at least 1.5 hours for best results. Some old recipes even call for boiling the necks for up to 3 hours! The extra time allows the neck meat to become fall-off-the-bone tender and all the natural gelatin to melt out into the cooking liquid.
Step-by-Step Instructions
Here is a simple step-by-step for boiling turkey necks perfectly to make incredible gravy
-
Rinse the turkey necks well under cold running water. Make sure to remove any scraps of meat, fat or gristle sticking to the necks.
-
Place the necks in a large pot and cover completely with water. Use at least 6-8 cups of water for every 2-3 necks.
-
Add aromatics to the pot for extra flavor. Try a halved onion, 2-3 smashed garlic cloves, celery stalks, whole black peppercorns, bay leaves, etc.
-
Bring the liquid to a boil over high heat. Once boiling, immediately reduce heat to low to maintain a gentle simmer.
-
Partially cover the pot with a lid and simmer for 1.5-2 hours. Check the necks at 1 hour – the meat should be very tender and easy to pull off the bone.
-
Once fully cooked, use tongs to transfer the necks to a plate to cool slightly. Reserve the cooking liquid to use as the base for your gravy.
-
Once cool enough to handle, pick all the meat off the necks and chop into small pieces. Discard the bones.
-
Add the neck meat back to the reserved cooking liquid. Now you have an incredible turkey neck broth ready to be made into gravy!
-
To finish the gravy, simply whisk together equal parts turkey neck broth and milk or cream over low heat. Slowly whisk in a cornstarch slurry to thicken to desired consistency.
-
Season gravy to taste with salt, pepper and any other seasonings of choice. Ladle into a gravy boat and serve!
Pro Tips
-
For even more flavor, add the turkey giblets and gizzard to the pot with the necks. They will impart their essence into the broth.
-
Splash in a bit of white wine or sherry for extra depth.
-
For a silky texture, whisk in a few tablespoons of butter at the end.
-
Garnish the finished gravy with finely chopped fresh parsley or chives.
-
Let the broth cool completely before refrigerating for easy fat removal. The neck fat will solidify on top for easy scraping off.
-
The turkey neck broth freezes beautifully for up to 3 months. Thaw in the fridge before using for gravy.
Frequently Asked Questions
How much meat do you get from a turkey neck?
Each turkey neck provides around 1/2 cup of cooked chopped meat. This is plenty to add delicious flavor and texture to your gravy.
Can you use an Instant Pot to make turkey neck broth?
Absolutely! Just cook the necks on high pressure for 60 minutes with aromatics and water. Use the broth for gravy as directed.
What’s the best way to thicken turkey neck gravy?
For the silkiest results, whisk together equal parts broth and dairy like milk or cream. Thicken slowly with a cornstarch slurry whisked in bit by bit until desired consistency is reached.
Do you add vegetables and aromatics to the gravy itself?
No, strain out the solids after making the broth. The gravy should be smooth and velvety without chunks of veggies. Stir in just the chopped turkey neck meat before serving.
How long does turkey neck gravy last in the fridge?
Properly stored gravy will keep for 3-4 days in the fridge. Reheat gently before serving. Gravy also freezes well for 2-3 months.
With this complete guide, you’ll be able to boil turkey necks like a pro to make the most flavorful, velvety gravy imaginable. This classic Southern technique truly elevates gravy to a whole new level. Give it a try this holiday season and get ready for the best gravy of your life!

Homemade Turkey Gravy (using Neck)Yield:
Dont stress if you do not end up with any pan drippings! This homemade turkey gravy uses the neck and backbone to create a very flavorful sauce! Perfect for Thanksgiving, Christmas, and Easter!
- Uncooked turkey neck and backbone (see note)
- 4 tbsp. salted butter, divided
- ½ lb carrots, chopped small
- ¼ lb button mushrooms, chopped
- 2 garlic cloves, minced
- Salt and pepper
- Sprig of fresh rosemary
- 1 dry bay leaf
- 2 tbsp. all-purpose flour
- 900 mL chicken or turkey broth
- Add 2 tbsp. butter to a large frying pan over medium-high heat. Once bubbling, add turkey neck and backbone. Cook, stirring often, until browned on all sides, about 7 minutes.
- Add in carrots and mushrooms. Cook for 5 more minutes. Stir in garlic, salt, pepper, rosemary, and bay leaf. Cook for 1 minute, or until aromatic.
- Pour in broth and bring to a boil. Reduce heat and simmer for 30 minutes, or until reduced to your liking.
- Remove turkey parts, rosemary sprig, and bay leaf. Pour through a fine sieve and mash veggies through the sieve to the best of your ability, making sure to scrape underneath the sieve to get those built up bits into the gravy.
- Add remaining butter to the same pan over medium heat. Once bubbling, stir in flour. Whisk frequently for 3-5 minutes, or until mixture has browned. Pour in broth (whisking constantly, and be careful, the mixture will steam up!)
- Bring to a boil, reduce heat, and simmer until thickened to your desire, anywhere between 10-20 minutes.
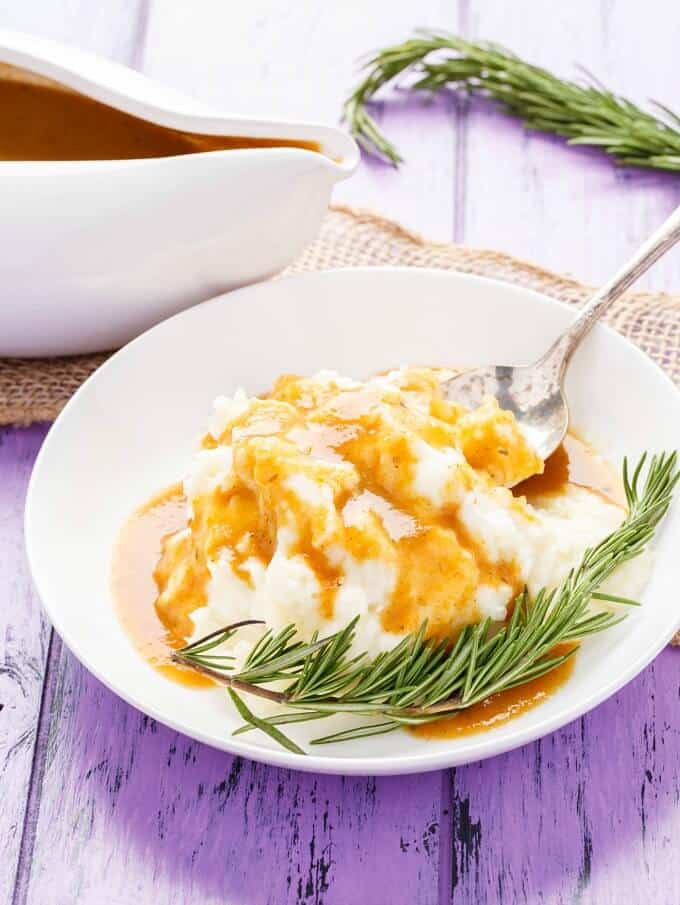
- Taste, season accordingly with salt and pepper, and serve over turkey and mashed potatoes!
I had both the neck and backbone because of the cooking method I used on my turkey (spatchcock.) You can use just the neck or even add in the liver and heart.
It is all about keeping things simple and planning ahead.
I cannot for the life of me bother gathering pan drippings after making a holiday turkey to make gravy. Sure, during my blog posts I do! But a real dinner is all about getting the food out on a timely manner! I usually save the drippings for a future gravy.
Instead, I plan ahead and use other ingredients to make a simple homemade turkey gravy! Tomorrows post is my oven spatchcock turkey. You may be familiar with this method because I made it on the grill this past summer. When prepping the recipe, you are left with the turkey neck and backbone. Usually I just throw them into soup, but in this case, I made sure to utilize them into a homemade turkey gravy! They add sooooo much flavor! No one will notice the pan drippings missing!
And the best part is that you are making it ahead!
Spatchcocking the turkey is done in advance, so you get those necessary ingredients a few days before dinner. Take advantage and make the gravy ahead of time and just heat when needed! No more rushing to make gravy as your turkey rests