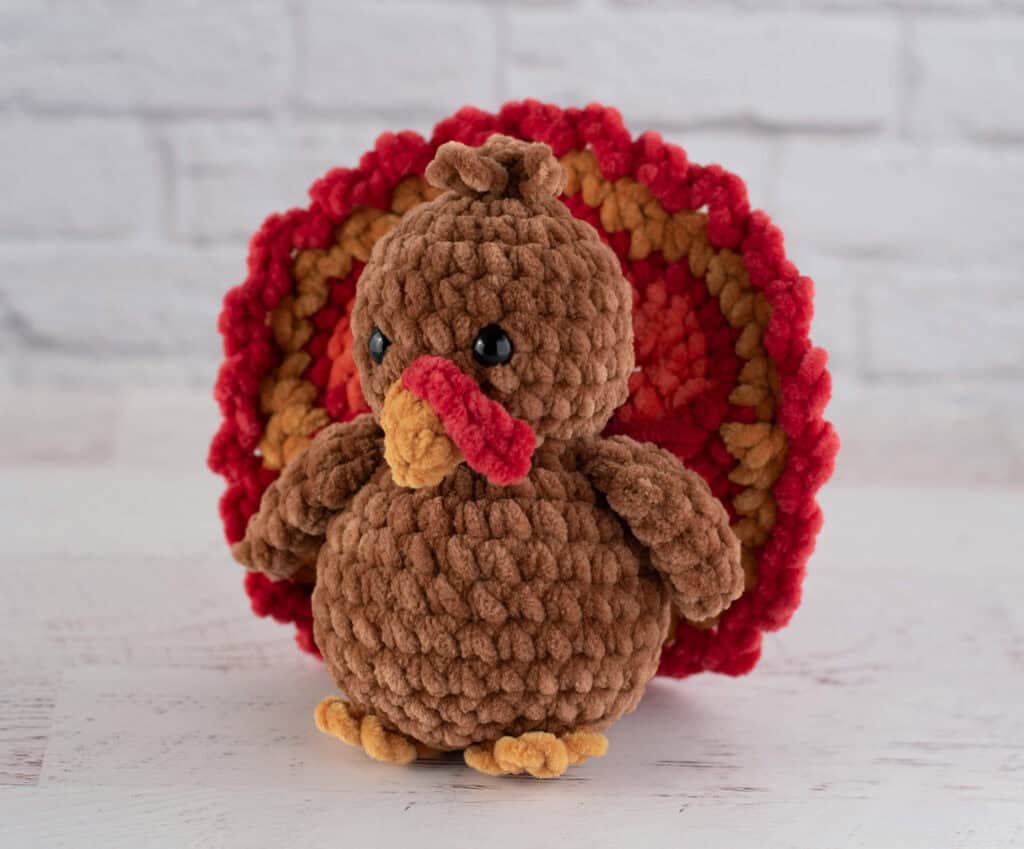
This darling little crochet turkey has completely stolen my heart. He’s cute. He’s squishy. He’s quick to crochet. So much to love!
I’ve been dreaming of crochet turkey design forever and honestly it was quite a challenge. Mostly it’s the back feathers that boggle the mind. How does one crochet something that conveys multi color feathers and yet translates well with crochet.
If you’ve spent any time looking at crochet turkey amigurumi, you know what I mean. A darling turkey body can get lost in crochet feathers that just don’t work. And don’t even get me started at how these feathers have to function: they must look good from the front and back and stand up in just the right way.
Enter the two things that make this project brilliant: A Super Bulky Weight yarn crocheted with a smaller than normal hook to give the piece just the right amount of stiffness. And the chenille style yarn. I’m a big fan of Premier Parfait Chunky yarn for this project.
Thanksgiving is right around the corner, which means it’s time to start prepping your home decor. What better way to get into the holiday spirit than by crocheting an adorable turkey? With just a bit of yarn, a crochet hook, and a simple pattern, you can create a festive friend to display or gift In this article, we’ll walk through the basics for crocheting your own turkey
Choose a Pattern
First things first – you’ll need to select a crochet turkey pattern that matches your skill level Here are some beginner-friendly options
-
For a flat, two-dimensional turkey, try this applique pattern. It uses simple stitches like single crochet and picots to create the shapes.
-
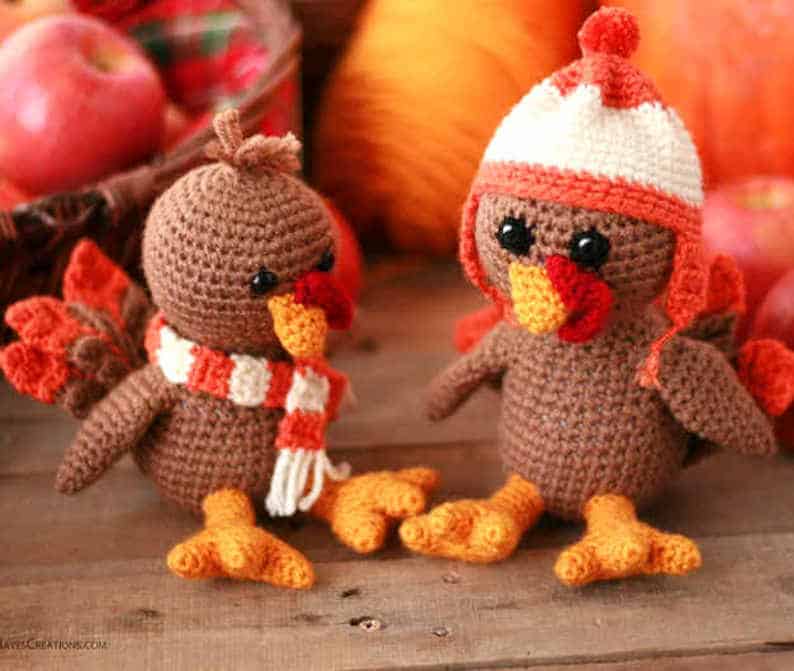
Make a plush 3D turkey with this amigurumi pattern. It builds the turkey in separate pieces like the body, beak, and feathers to later sew together.
-
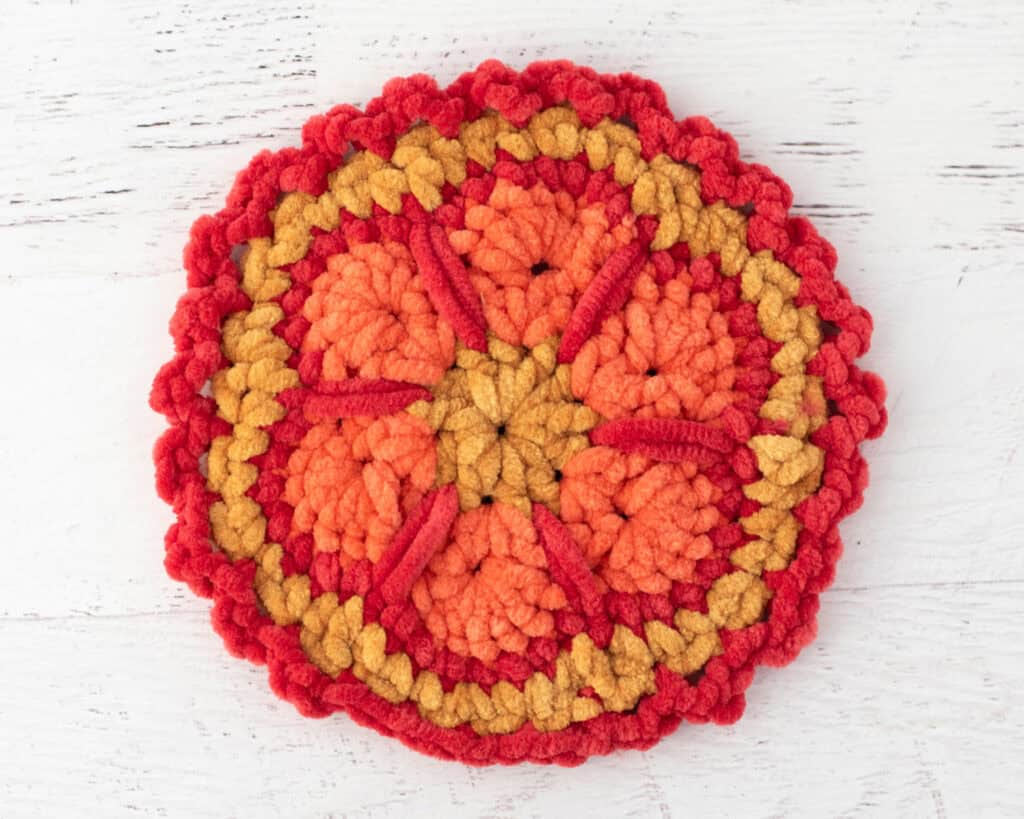
For a vintage-inspired turkey, check out this granny square pattern. Join squares in fall colors for the feathers.
-
If you want a turkey decoration, try making it into a dishcloth, coaster, or bunting flag.
Gather Supplies
Once you’ve selected a pattern, take inventory of the required materials. Most turkey crochet patterns call for the same basics:
-
Yarn: Worsted weight acrylic or cotton yarn in fall colors like brown, orange, yellow, red.
-
Crochet hook: Size needed varies, but H, I, and J hooks are common. Check your pattern.
-
Stuffing: Polyfill stuffing for 3D parts like the body.
-
Needle: Yarn needle for weaving ends and assembling pieces.
-
Embellishments (optional): Googly eyes, small pom poms, felt for features.
-
Scissors: For cutting yarn as you work.
Master the Basic Stitches
Before you start hooking your turkey, take time to practice any stitches used in the pattern that you aren’t familiar with. Common stitches for crochet turkeys include:
-
Single crochet (sc): The most basic stitch and used in every project.
-
Half double crochet (hdc): An easy stitch giving a bit more height.
-
Double crochet (dc): Creates taller, tighter fabric than sc or hdc.
-
Increases/decreases: Used to shape 3D parts like the body.
-
Front/back loops: Crochet into one loop to create texture.
-
Picots: Tiny loops adding decorative shape.
-
Bobbles: Small round puffs of yarn used for feathers.
Spend a few minutes making swatches with these stitches so they feel comfortable when you begin your turkey. Refer to stitch guides as needed.
Crochet the Body
Once your stitches are polished, it’s time to crochet your turkey! The body is often the starting point for amigurumi patterns. Key tips:
-
Crochet in a spiral, working in rounds without joining or chaining between rounds. Use a stitch marker to track rounds.
-
Follow stitch counts provided in the pattern, increasing and decreasing where indicated. This gives the rounded shape.
-
Begin stuffing the piece with polyfil when the pattern specifies, adding a little at a time.
-
When complete, weave the end through the last round and pull tight to close the hole.
Add the Head and Other Parts
The techniques used for the body will be repeated for other turkey pieces like the head, tail, feet, wattle, and more. Follow the same steps, referring to the pattern for stitch counts, color changes, and shaping:
-
Crochet each piece as a flat round in a spiral.
-
Stuff firmly as you go to achieve the right sculpted shape.
-
Finish off and weave the yarn end through the last round to close.
Once all pieces are complete, it’s time for assembly!
Put It All Together
Refer to the pattern instructions for how to assemble your turkey. Here are some common methods:
-
For amigurumi, pin pieces in place then whipstitch together using yarn and a darning needle.
-
For applique and decoration patterns, you may glue or stitch pieces onto a base fabric.
-
Add details like eyes, beaks, and snoods (the turkey’s dangly bit on its beak) using yarn, felt, or other embellishments.
-
Insert pipe cleaners into the wings and tail to give them poseable shape.
Fluff, arrange, and primp your turkey until it looks just the way you want!
Show Off Your Turkey
Once your crocheted turkey friend is all put together, it’s time to find a special spot to show it off! Display options include:
-
Place it on your Thanksgiving table as a centerpiece.
-
Have it greet guests by your front door.
-
Make turkey bunting or garland for over the mantel.
-
Use mini turkeys as napkin rings.
-
Give turkey potholders to aunt Ethel.
-
Add turkey hats to your other fall decor.
However you choose to show off your crochet skills, a handmade turkey is sure to impress. So grab those hooks and yarn skeins to crochet yourself some Thanksgiving spirit!
How to Crochet a Turkey
In this pattern we’ll first start with the colorful turkey feathers which are represented by a modified African Flower motif with a scalloped edge. Then we’ll move on to the head and body, which are worked in one piece. Then it’s on to all the details: the wings, beak, wattle, feet and top of the head feathers. Finally, we’ll sew the completed turkey body to the back feather piece.
Purchase the Beautifully Formatted AD-FREE PDF DOWNLOAD
If you made my crochet bear snuggler, you might even have the teddy bear brown yarn leftover. Otherwise, pop over to Herrschner’s for the best pricing or Amazon. If you can’t locate a color, this Etsy shop seems to stock them all and has pretty fast shipping.
I especially love this squishy turkey head and body which is worked in 1 piece. The tummy has a few extra stitches for that adorable pudgy look.
The details on this little guy make all the difference. Designing with a bulky weight yarn can make it a challenge to get small pieces with a lot of detail. You’ll find the beak, feet, wattle and top feathers I’ve designed have very few stitches, but very intentional placement. It’s so fun and quick to crochet these little elements.
This little crochet turkey is going straight into my Thanksgiving Day decor. It would make a perfect gift for a little one (just make sure to embroider the safety eyes if giving to a very young child). All the adults in my life are loving this crochet turkey too so consider gifting to your adult family and friends too. I can see it being an easy make for a craft show too.

My gauge is 6 sc to 2 inches. However, gauge is not important in this pattern. You may use other weights of yarn. Adjust hook size to fit your needs.
Resources and crochet tutorials you may find helpful in following this pattern: Crochet Abbreviations, US to UK Crochet Conversion Chart. Find links to stitches and basic crochet skills on the “Tutorial” menu: Getting Started will show basic stitches such as the slip stitch, single crochet, double crochet stitch and chain stitch used in many patterns and Crochet Stitch Dictionary shows our growing collection of crochet stitch tutorials.
- ch = chain
- dc = double crochet
- hdc = half double crochet
- sc = single crochet
- sl st = slip stitch
- st = stitch(es)
Long Single Crochet (long sc): A long single crochet is worked exactly like a regular single crochet stitch, but instead of working into the current row, you drop down and work into a lower row beneath. Simply insert the hook into the designated spot and pull up a loop so that the top of the stitch is exactly where the top of the stitch would be in a normal single crochet. Then yarn over and pull through both loops, just like a normal single crochet stitch.