As an auto enthusiast I know how frustrating it can be when your beloved bacon fenders get damaged. Nothing ruins the look of your ride faster than cracked, warped, or misaligned fenders. But before you despair, know that repairing bacon fenders is totally doable even for amateur mechanics like you and me. With some basic tools, materials, and know-how, you can get your fenders looking fresh again.
In this complete guide, I’ll walk you through everything you need to know to fix your bacon fenders and get your car looking sweet once more
Assessing the Damage
The first step is to thoroughly assess the damage to your fenders. Take a close look and determine:
-
Are the fenders just scratched and scuffed up? Or are they actually bent, warped, or misaligned?
-
Are there any cracks or holes that go all the way through the metal?
-
How large of an area is affected? Is it just in one spot or does the damage span a large portion of the fender?
Pro tip: Use a magnet to detect any unseen holes or cracks in the bodywork. The magnet will cling to intact metal but fall away from damaged areas.
Understanding the full extent of the damage will determine what materials and methods you’ll need for the repair. Minor scratches and scuffs can often be fixed with sanding and painting, while warped panels or holes will require body filler, replacement parts, or professional help.
Gather Your Materials
Here are the basic materials you’ll need to fix most fender damage:
- Sandpaper in varying grits – for smoothing damaged areas
- Body filler or Bondo – for rebuilding damaged spots
- Primer – to prep repaired areas for painting
- Touch up paint – to match your car’s factory color
- Paint blending materials – for seamless paint repairs
- Masking tape and plastic sheeting – to protect surrounding areas
- Spreaders, sanding blocks, putty knives – applicator tools
- Respirator mask – for safety when sanding and spraying
Make sure you have the proper grades of sandpaper (usually 80 grit to start, working up to 2000+ grit) and enough touch up paint to cover the entire affected area. Multiple thin coats of paint will yield better results than one thick coat.
Sanding and Smoothing
Start by thoroughly sanding the damaged fender area to remove any paint, rust, or jagged edges around cracks or holes. Use a coarse 80 grit paper to remove material aggressively, then work your way up to finer 400, 800, 1500 grit papers for a smooth finish.
Be sure to feather the edges of repaired areas so they transition smoothly back into the original surface. Wipe away all sanding dust when finished.
If needed, apply body filler material in thin layers to dents, cracks, or holes then sand again once dry to achieve a smooth contour that matches the fender shape.
Priming and Painting
Once any body work is completed and the fender is perfectly smooth, wipe the area with a grease and wax remover before primer. Apply 2-3 even coats of primer, allowing proper dry time between layers. Sand lightly with 600 grit sandpaper between coats for an ultra smooth finish.
When priming is complete, mask off the repair area from the rest of the car body to avoid overspray. Mix your touch up paint according to the manufacturer instructions. Apply 3-5 thin coats of paint in even back and forth passes, allowing each coat to dry in between.
Slowly extend the paint area with each coat to “feather” the new paint into the old surface. Carefully peel off masking when the final coat is dry.
Buffing and Polishing
After a couple days of curing time, wet sand the painted area with 2000+ grit paper to remove any surface imperfections. Use a spray bottle so the surface stays wet during sanding.
Switch to a polishing compound and buffing wheel to bring out the paint’s shine. Work in small areas until the repair blends seamlessly into the rest of the fender.
Finish with a wax or sealant to protect the fresh paint. Now step back and admire your work – those fenders should look factory fresh!
When to Call a Pro
While many fender blemishes can be fixed DIY, there are times it pays to hand it off to the experts:
- If the metal is severely warped, stretched, or misaligned
- If body filler required exceeds 1⁄4 inch thickness
- For rust holes or cracks wider than 2 inches
- If special dent pulling tools are needed to reshape
- For custom paint colors, graphics, or blending into adjacent panels
Trying to pound, pull, or force bodywork back into shape without the proper tools and techniques can actually do more harm than good.
Know your limits – if the damage extends beyond your skill level, don’t be afraid to pay for a pro paint and body shop to handle it.
Maintaining Your Fenders
An ounce of prevention is worth a pound of cure when it comes to fender repairs. Here are some tips to keep your fenders protected from damage:
- Install mudflaps behind tires to prevent flung road debris
- Keep tires properly inflated to avoid rubbing or abrasion on turns
- Apply protective film or clear bra to high impact zones
- Wash regularly and wax quarterly to maintain the paint
- Garage park to shield your car from dings, dents, weathering
With a quality repair and ongoing maintenance, those darling fenders will stay pristine for miles to come. Cruise in confidence knowing you have the skills to fix any future fender benders!
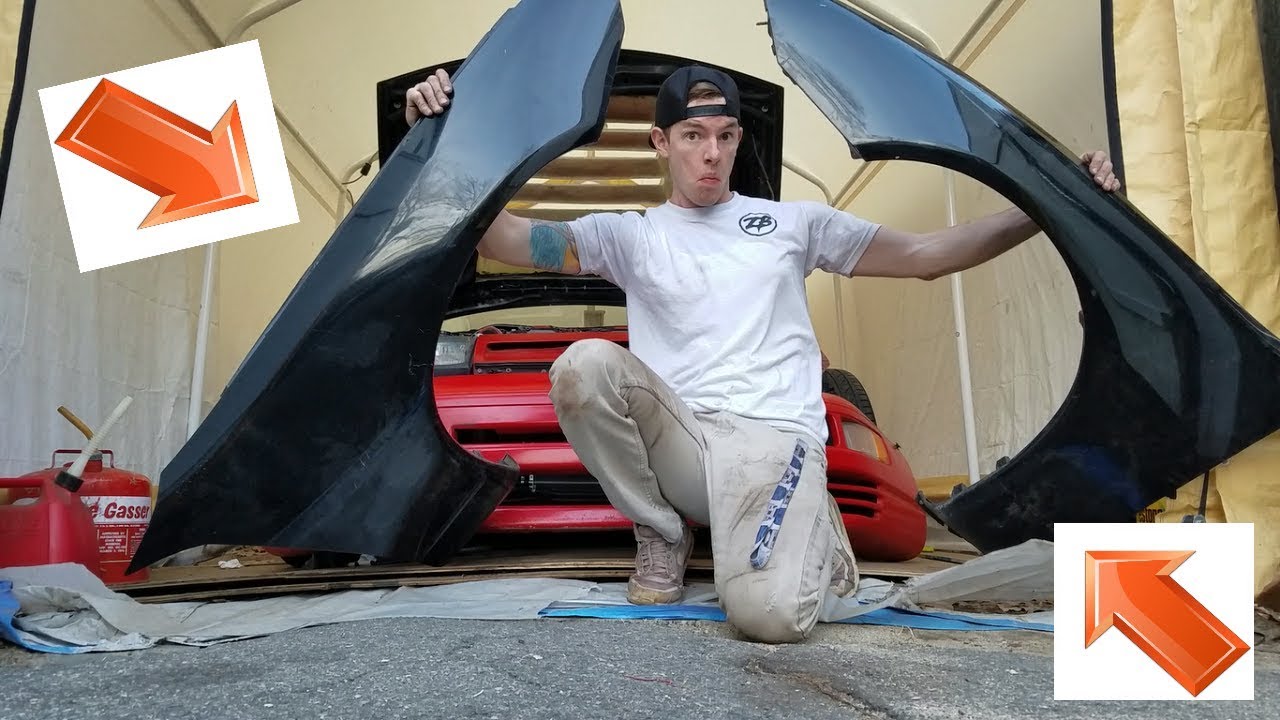
Salvaging Genesis Bacon Fenders
How to repair a car fender?
When it comes to car fender repair, the first step is assessing the extent of the damage. Small dents or scratches can often be fixed through techniques like paintless dent repair or touch-up painting. These methods are cost-effective and can quickly improve the overall look of your vehicle without replacing the entire fender.
How do you fix a broken Fender?
Rubber mallet or hammer with rubber tip: Ideal for shaping the fender back into place. Body filler (Bondo): Used to fill in dents or gaps in the damaged area. Mixing board/spatula: For properly mixing and applying body filler. Sandpaper (various grits): To smooth out the repaired surface.
What tools do you need to fix a broken Fender?
Screwdriver set: Different sizes of screwdrivers for various fasteners. Trim removal tool: Helps in safely removing clips or trim pieces without causing damage. Rubber mallet or hammer with rubber tip: Ideal for shaping the fender back into place. Body filler (Bondo): Used to fill in dents or gaps in the damaged area.
What tools do you use to remove a Fender?
Trim removal tool: Helps in safely removing clips or trim pieces without causing damage. Rubber mallet or hammer with rubber tip: Ideal for shaping the fender back into place. Body filler (Bondo): Used to fill in dents or gaps in the damaged area. Mixing board/spatula: For properly mixing and applying body filler.
How to remove a dent on a car fender?
If you have a dent on your car’s fender, you don’t need to take it to an auto body shop and spend a lot of money. With a few simple tools and techniques, you can remove the dent yourself. Here are some effective DIY techniques for dent removal. The plunger method is a simple and effective way to remove small dents.
How do you know if a Fender is damaged?
These can occur due to minor accidents, hailstorms, or even stray shopping carts in parking lots. Scratches and Scuffs: Another telltale sign of a damaged fender is visible scratches or scuffs on its surface. These can result from collisions with other objects or even brushing against abrasive surfaces like walls or bushes.