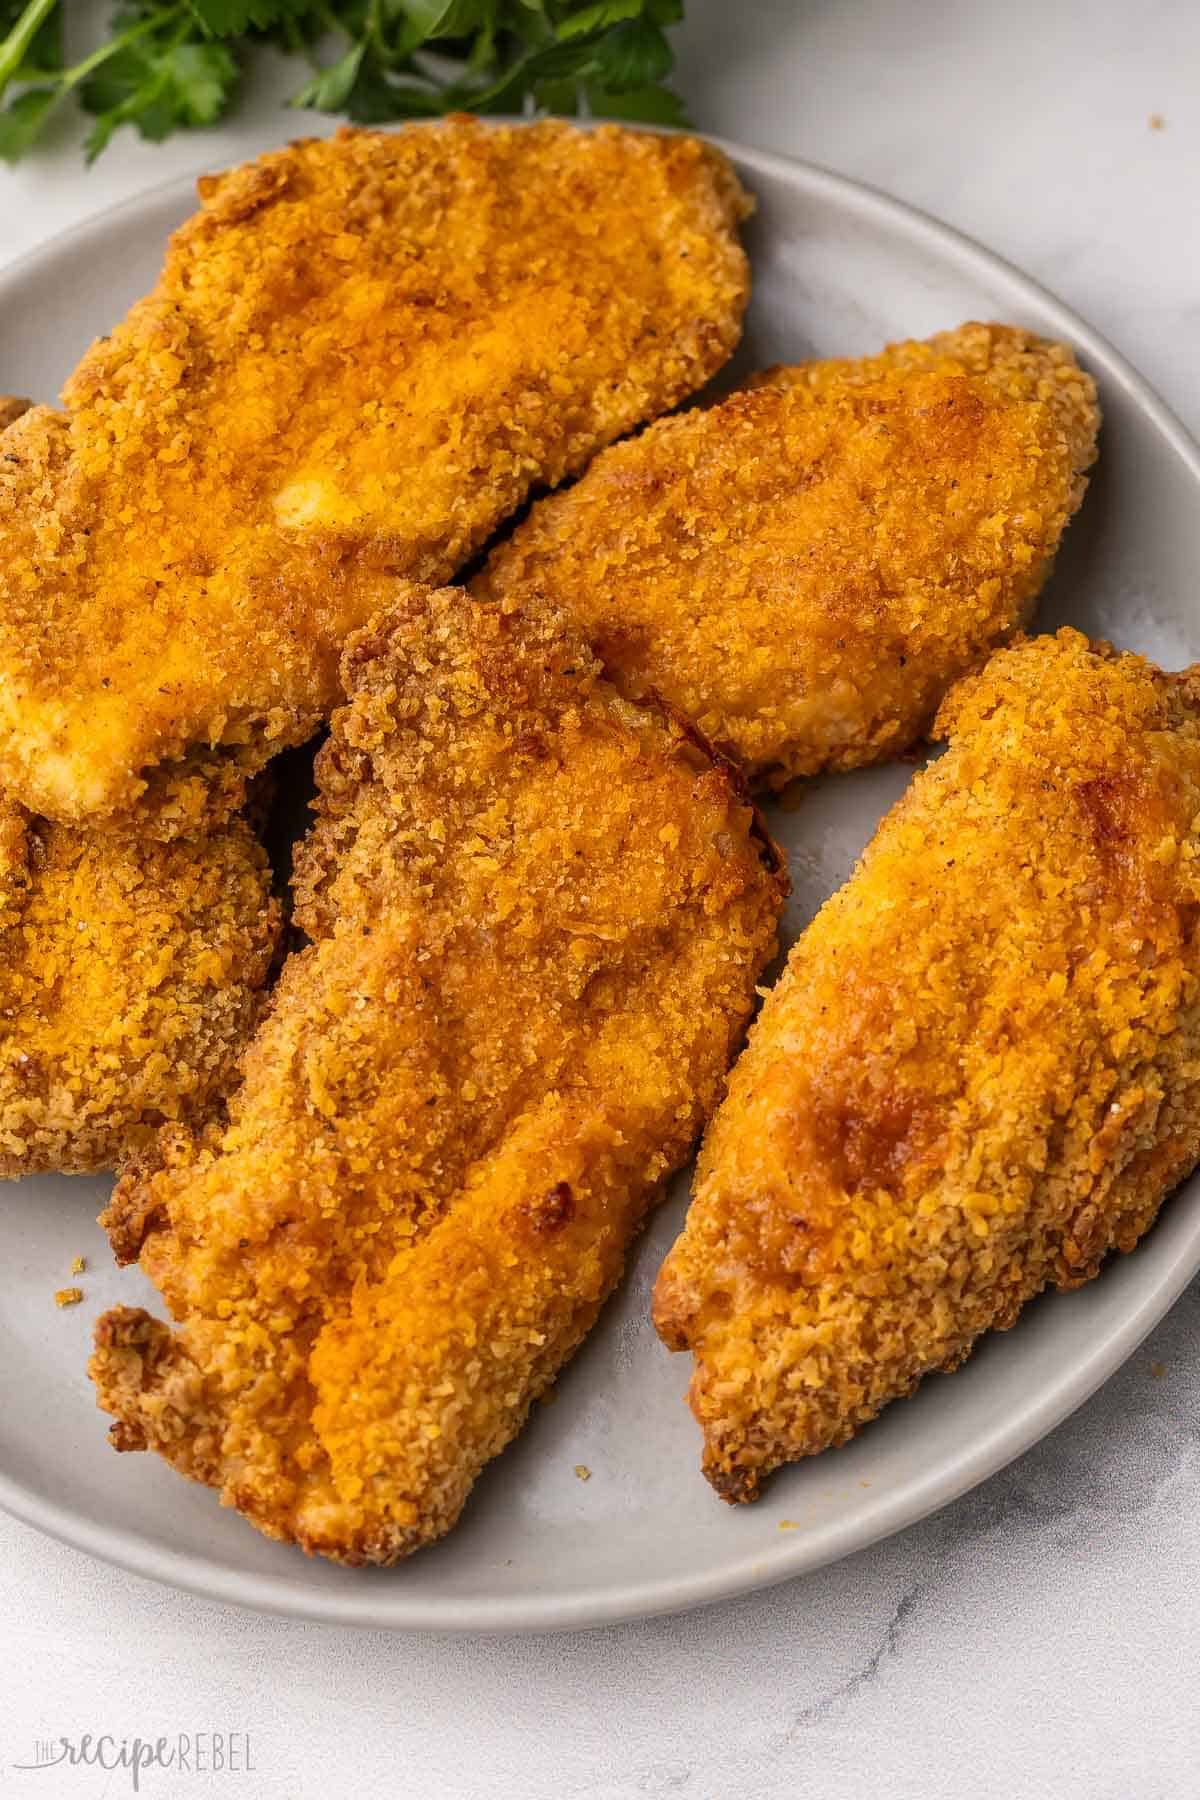
This easy Oven-Fried Chicken turns out perfectly crispy and juicy every time! The special seasoning blend tastes just like KFC, but it’s made with wholesome ingredients in your own kitchen. No deep fryer needed!.
If you’re craving traditional fried chicken but don’t feel like going out, this Oven-Fried Chicken will hit the spot!.
For a crispy outside, this recipe coats chicken strips in eggs and a panko bread crumb mix instead of deep-frying them. They’re baked on a sheet pan with butter to get that signature crunch.
This is a dinner recipe that our whole family loves, especially the kids! Serve it up with Spicy Mayo, Sweet and Sour Sauce, or Homemade BBQ Sauce and watch it disappear fast.
Have you ever wondered why restaurant fried chicken tastes so much better than homemade? The secret often lies in the flour mixture they use! Creating the perfect flour for chicken isn’t just about grabbing all-purpose flour from your pantry – it’s an art that can transform ordinary chicken into a crispy, flavor-packed meal your family will beg for
In this comprehensive guide I’ll walk you through everything you need to know about making delicious flour mixtures for chicken. Whether you’re looking for traditional Southern-style coating gluten-free alternatives, or even the fascinating chicken flour made FROM chicken (yes, that’s a real thing!), I’ve got you covered.
The Basics: Simple Flour Coating for Chicken
Let’s start with the fundamentals. A basic flour coating for chicken typically consists of:
- All-purpose flour (the foundation)
- Salt and pepper (the essential seasonings)
- Optional spices (where you can get creative)
Simple All-Purpose Flour Method
- Prepare your chicken pieces – Pat them dry with paper towels (moisture is the enemy of crispiness!)
- Season the chicken directly – Sprinkle with salt and pepper
- Prepare your flour mixture in a shallow dish or plastic bag
- Dredge the chicken through the flour, shaking off excess
- Let it rest for 5-10 minutes (this helps the coating adhere better)
This basic method works for quick weeknight dinners, but if you want that extra-special crunch and flavor, keep reading!
Leveling Up: Creating Seasoned Flour for Chicken
The difference between good and GREAT fried chicken often comes down to your seasoning blend. Here’s my go-to seasoned flour recipe that never disappoints:
Perfect Seasoned Flour Mix
Base ingredients:
- 2 cups all-purpose flour
- 1 tablespoon salt
- 2 teaspoons black pepper
- 1 tablespoon paprika (regular or smoked)
- 1 teaspoon garlic powder
- 1 teaspoon onion powder
- 1/2 teaspoon cayenne pepper (adjust to your heat preference)
- 1 teaspoon dried herbs (thyme, oregano, or Italian seasoning)
Directions:
- Combine all ingredients in a large bowl
- Whisk thoroughly to ensure even distribution of spices
- Store in an airtight container if not using immediately
Tip: To make it taste even better, add one to two tablespoons of your favorite seasoning mix, like Old Bay, Cajun, or even ranch dressing powder!
The Secret to Extra Crispy Chicken: Multi-Step Coating
If you’re after that satisfying CRUNCH, a multi-step coating process is your best friend:
Three-Step Coating Method
- First station: Seasoned flour (your base mixture)
- Second station: Liquid wash (buttermilk, egg mixture, or even just water)
- Third station: Final coating (more seasoned flour or a crunchier alternative)
For the liquid wash, I highly recommend buttermilk. It tenderizes the chicken while adding tanginess. If you add an egg and a splash of hot sauce, it will taste even better!
For extra crispiness in your final coating, try adding one of these to your flour:
- 1/4 cup cornstarch
- 2 tablespoons baking powder
- 1/2 cup crushed cornflakes or panko breadcrumbs
Alternative Flours for Chicken Coating
Not everyone can or wants to use traditional wheat flour. Here are some excellent alternatives:
Gluten-Free Options
- Rice flour (creates an exceptionally light, crispy coating)
- Cornstarch (use alone or mixed with other gluten-free flours)
- Chickpea flour (adds protein and a unique flavor)
- Gluten-free all-purpose flour blends
Low-Carb Options
- Almond flour (nutty flavor, good crispiness when mixed with parmesan)
- Coconut flour (very absorbent, use less than you would regular flour)
- Crushed pork rinds (zero carb and gets super crunchy)
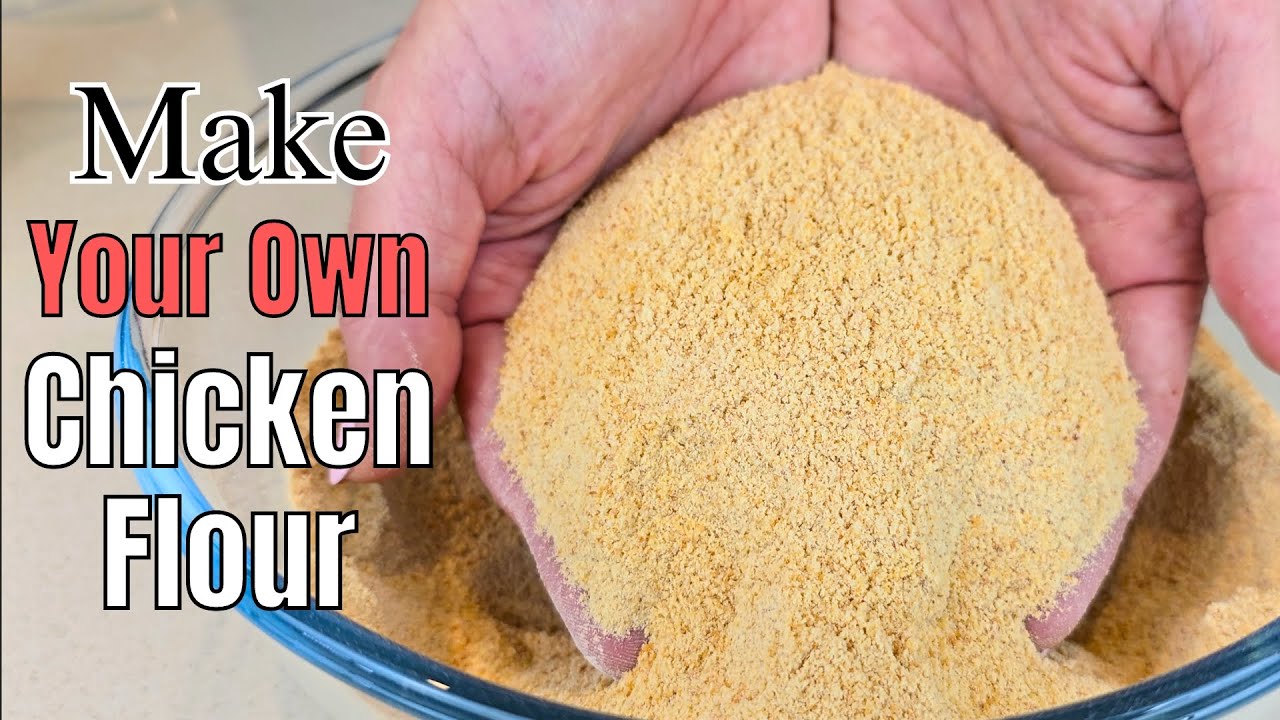
The Innovative Approach: Chicken Flour Made FROM Chicken!
An interesting new trend in low-carb and meat-based diets is making flour out of chicken! This “chicken flour” or “carnivore flour” is basically dehydrated chicken breast that has been ground into a powder.
What is Chicken Flour?
Chicken flour is made by:
- Fully cooking skinless, boneless chicken breasts
- Processing them into small pieces
- Dehydrating them completely in the oven
- Grinding them into a fine powder
The resulting chicken flour is protein-rich, carb-free, and surprisingly versatile. It’s mostly used to make baked goods that meat eaters will enjoy, but it can also be used to coat chicken (though that might seem a bit cannibalistic!).
If you’re curious about this unique option, it’s actually quite simple to make at home. The process takes time but requires only one ingredient – chicken breasts. The yield ratio is about 4:1, meaning 28 ounces (800 grams) of fresh chicken breasts will yield about 7 ounces (200 grams) of chicken flour.
Regional Flour Mixes for Chicken
Different regions have their own special flour mixes that create distinctive flavors:
Southern-Style Flour Mix
- 2 cups all-purpose flour
- 1 tablespoon salt
- 1 tablespoon black pepper
- 2 teaspoons paprika
- 1/2 teaspoon cayenne
- 1/2 teaspoon garlic powder
- 1/2 teaspoon onion powder
- 1/4 teaspoon dried thyme
Nashville Hot Chicken Flour
- 2 cups all-purpose flour
- 1 tablespoon salt
- 2 teaspoons black pepper
- 1 tablespoon cayenne (or more if you dare!)
- 1 tablespoon brown sugar
- 1 teaspoon paprika
- 1 teaspoon garlic powder
Korean-Style Chicken Flour
- 2 cups all-purpose flour
- 1/2 cup cornstarch
- 1 tablespoon salt
- 1 teaspoon baking powder
- 1 teaspoon ginger powder
- 1 teaspoon garlic powder
- 1/2 teaspoon white pepper
Common Mistakes to Avoid When Flouring Chicken
Even experienced cooks make these errors. Here’s what to watch out for:
- Not patting the chicken dry – Moisture prevents the flour from adhering properly
- Skipping the resting period – Let the floured chicken sit for 5-10 minutes before frying
- Seasoning only the flour, not the chicken – Season both for maximum flavor!
- Coating too thick – Shake off excess flour for even cooking
- Crowding the pan – This lowers oil temperature and makes soggy chicken
- Not maintaining oil temperature – Aim for 350-375°F (175-190°C) for perfect crispiness
Storage and Make-Ahead Tips
You can prepare larger batches of your favorite flour mixture and keep it ready for whenever the fried chicken craving hits:
- Dry flour mix can be stored in an airtight container for up to 3 months
- Label your containers with the date and ingredients used
- For best results, store in a cool, dry place away from direct sunlight
- To use from storage, whisk the mixture first to redistribute any settled spices
My Personal Favorite Flour for Chicken
After years of experimenting, I’ve developed what I think is the ULTIMATE flour mixture for fried chicken. Here’s my personal recipe:
Ultimate Crispy Chicken Flour
- 1 1/2 cups all-purpose flour
- 1/2 cup cornstarch
- 1 tablespoon baking powder
- 1 tablespoon salt
- 2 teaspoons black pepper
- 2 teaspoons paprika
- 1 teaspoon garlic powder
- 1 teaspoon onion powder
- 1/2 teaspoon dried thyme
- 1/2 teaspoon dried oregano
- 1/4 teaspoon cayenne pepper
- 1/4 teaspoon celery salt
The cornstarch and baking powder are my secret weapons for that restaurant-quality crunch!
Expert Tips for Perfect Floured Chicken
To elevate your chicken game even further, try these pro tips:
- Double dredge for extra crispiness – flour → liquid → flour again
- Add a splash of vodka to your liquid mixture – it evaporates faster than water, creating a crispier crust
- Let the chicken sit uncovered in the fridge for 30 minutes after flouring
- For boneless pieces, lightly score them before coating to increase surface area
- Fry in peanut oil or vegetable shortening for authentic flavor
- Rest your fried chicken on a wire rack, not paper towels, to maintain crispiness
Frequently Asked Questions
Q: Can I reuse flour mixture that I’ve already dredged raw chicken in?
A: No, this creates a food safety hazard. Always discard flour that’s come into contact with raw chicken.
Q: Why is my coating falling off during frying?
A: This usually happens when the oil isn’t hot enough or the coating wasn’t allowed to rest and adhere properly before frying.
Q: Can I use this flour mixture for baking instead of frying?
A: Absolutely! Spray the coated chicken with oil and bake at 425°F (220°C) until crispy and cooked through.
Q: How do I know when the oil is the right temperature without a thermometer?
A: Drop a small pinch of flour into the oil – if it sizzles and floats immediately, it’s ready. If it sinks or burns instantly, adjust accordingly.
Conclusion
Making the perfect flour for chicken isn’t rocket science, but it does involve some know-how and experimentation to find what works best for your taste preferences. Whether you’re using traditional all-purpose flour with seasonings, exploring gluten-free alternatives, or even venturing into the world of chicken flour made FROM chicken, the key is balancing flavors and achieving that perfect texture.
Remember that practice makes perfect! Don’t be discouraged if your first few attempts aren’t restaurant-quality. Each time you make fried chicken, you’ll learn something new about what works best for you and your family.
So grab your mixing bowl, whisk together your seasonings, and get ready to create fried chicken that will have everyone asking for seconds. The perfect flour coating is just the beginning of your fried chicken journey!
Quick things to remember:
- Cooking time: The cooking time may need to be changed depending on the size and thickness of your chicken pieces. Always make sure the chicken is done before eating it.
- Add oil: If the pan is dry when you flip the chicken, add a little oil to make sure the chicken on the bottom gets crispy.
How to store leftover chicken:
To refrigerate leftover chicken, allow it to cool on a wire rack or paper-towel-lined plate. Then transfer the cooled pieces into shallow, airtight containers. Store in the fridge for 3 to 4 days.
To freeze, place the chicken in a single layer on a tray in the freezer until frozen solid. Then, transfer the frozen pieces to freezer bags and store them in the freezer for up to 3 months.
To heat up Oven-Fried chicken again, put the chicken on a wire rack on a baking sheet and heat it in the oven at 250 degrees for just a few minutes.