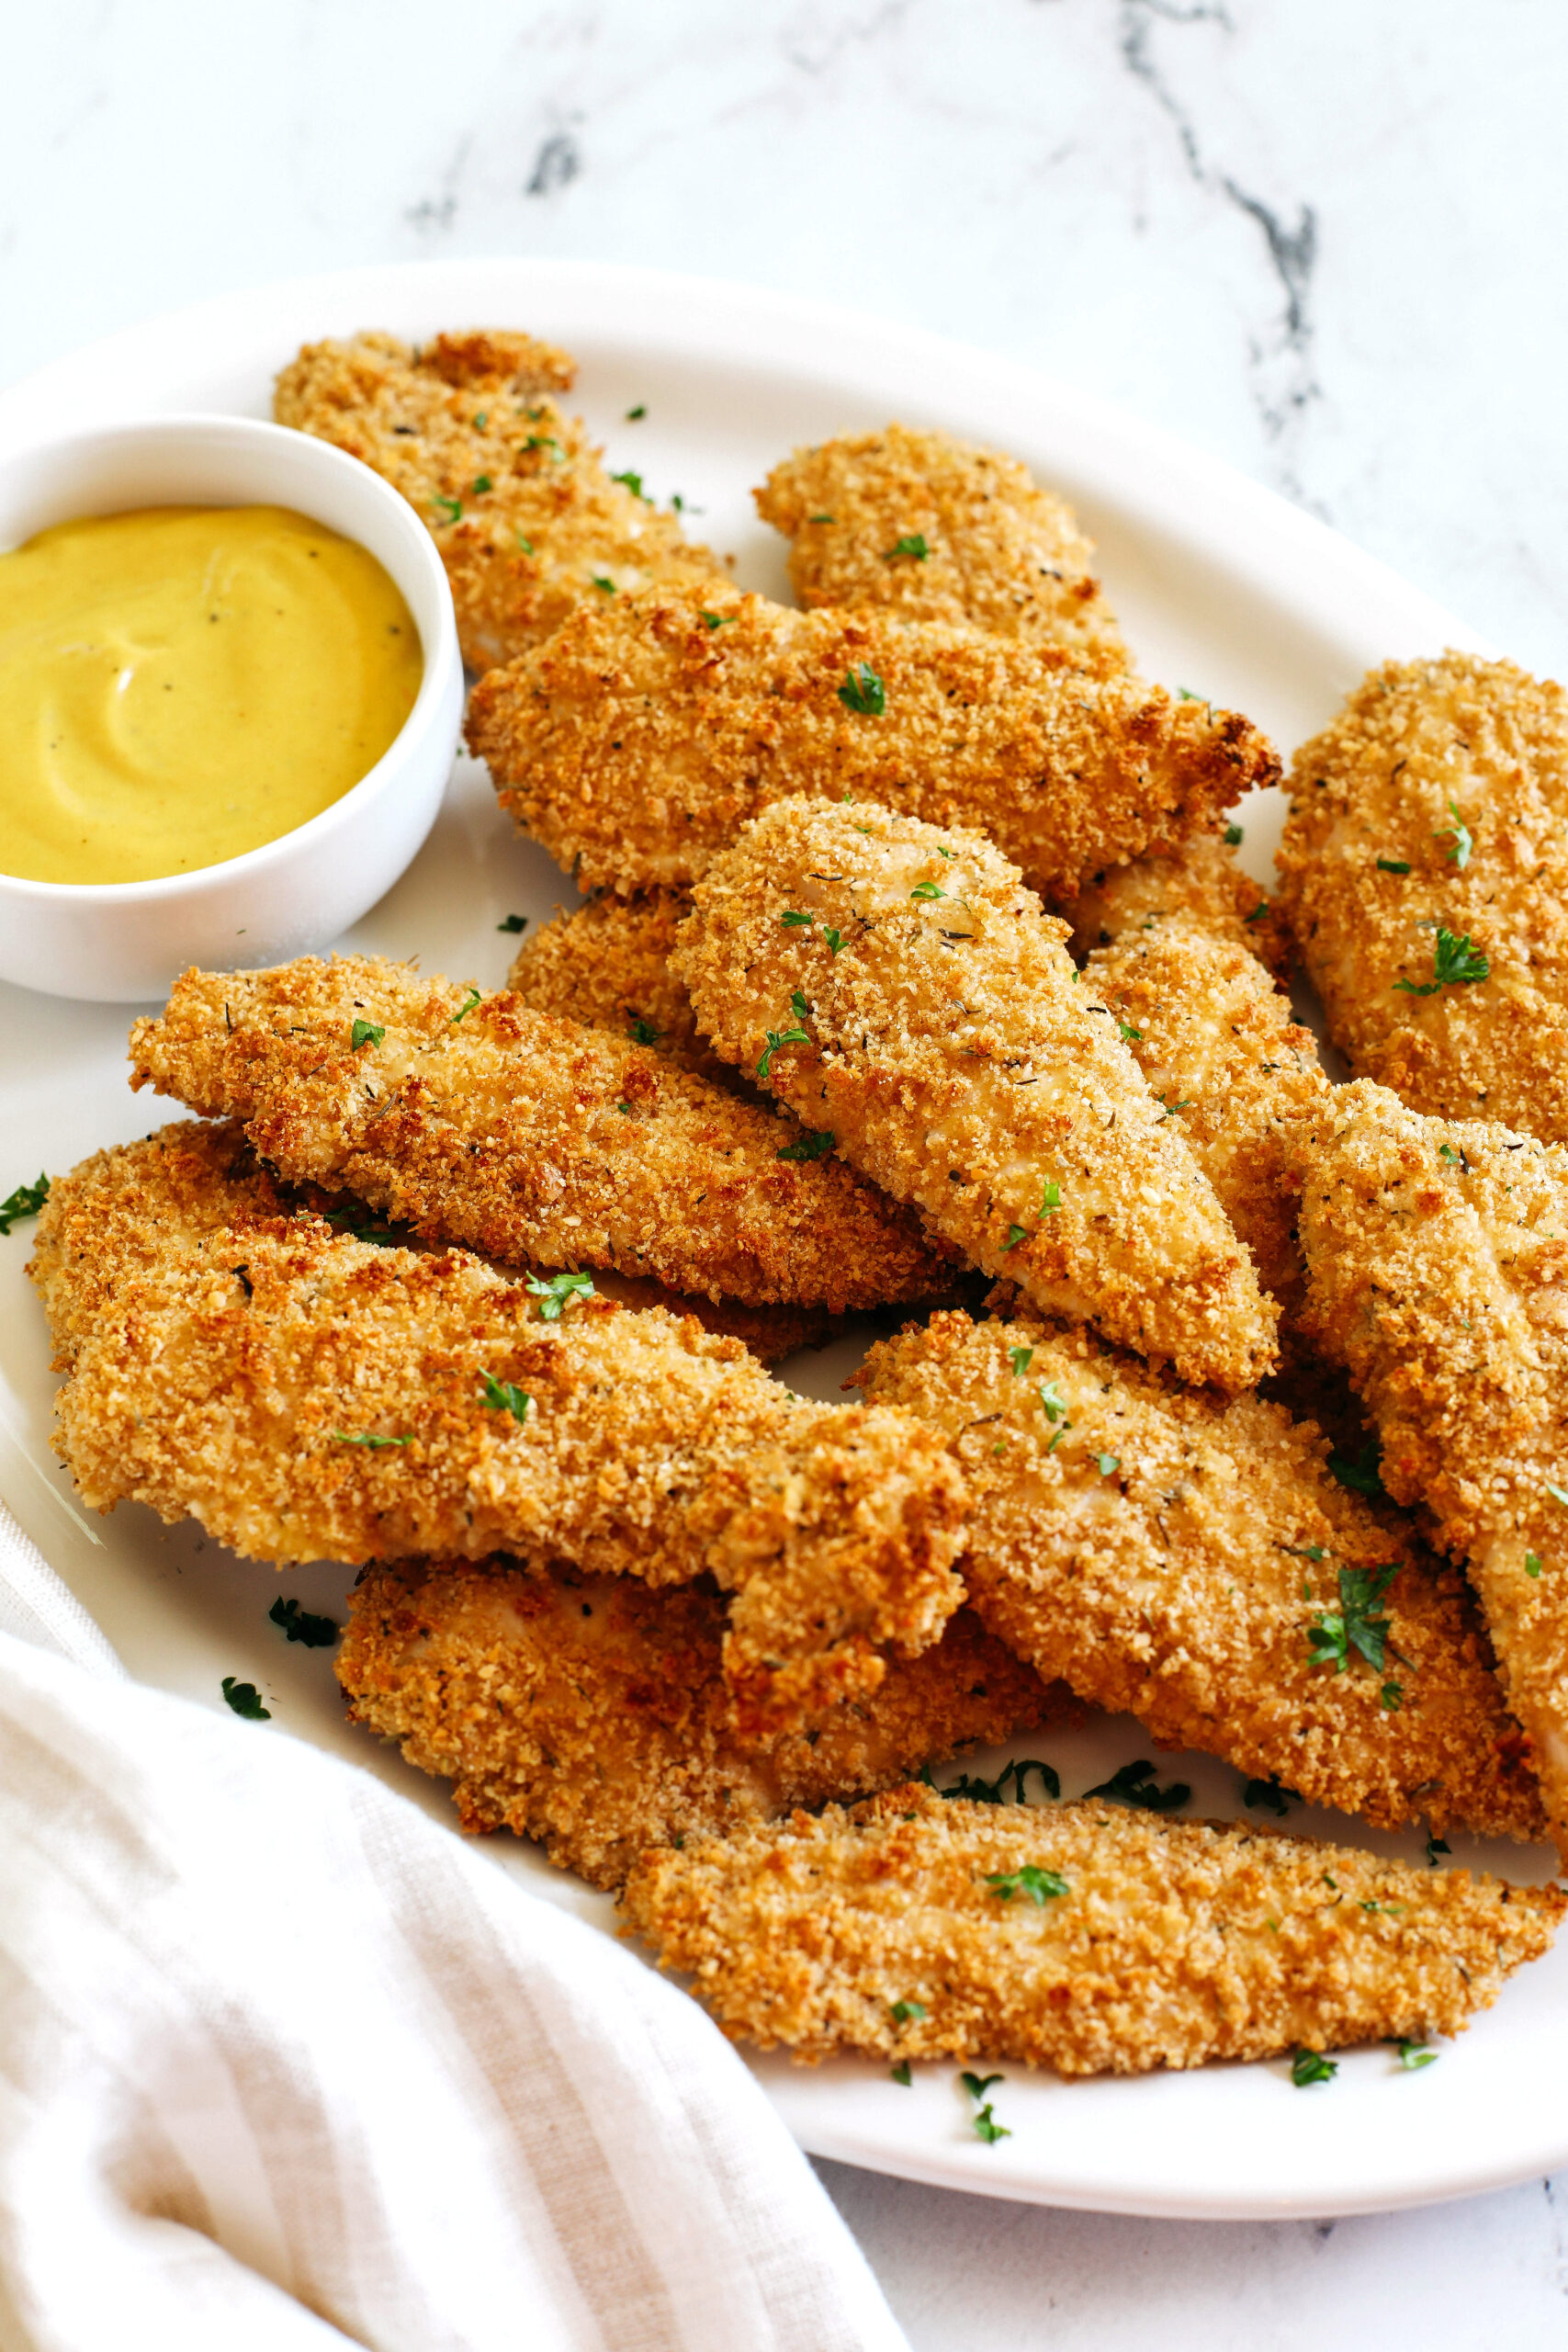
These easy baked chicken tenders are perfectly crispy, full of flavor, and only take 20 minutes to make. They taste great with your favorite dipping sauce.
There’s is nothing better than flavorful, crispy chicken tenders and these beauties are baked (not fried!) so you can feel good about serving them to your kids and family! Chicken strips are a classic childhood favorite, but trust me when I say that adults will absolutely love these too. Serve with your favorite dipping sauce (I highly recommend my creamy honey mustard sauce!) and enjoy with a side of sweet potato fries or even some mixed veggies.
These easy oven-baked chicken tenders are golden and perfectly crispy on the outside, juicy and flavorful on the inside. Easily made in just 20 minutes. I mean, what’s not to love??.
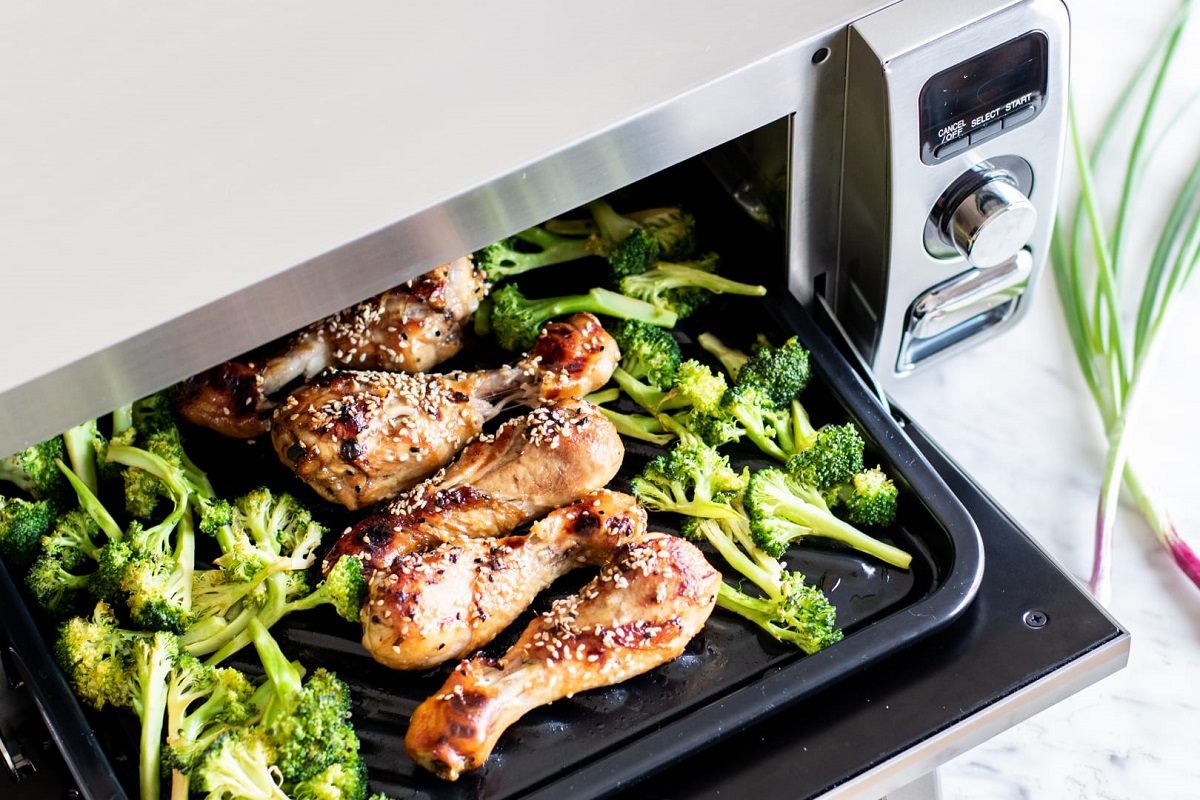
Want some juicy, crunchy chicken tenders but don’t want to heat up the whole kitchen with the big oven? I’ve been there! My toaster oven has become my best friend for quick meals, and chicken tenders are one of my favorites. But it can be hard to get the timing just right—cook them for too long and they’re as dry as cardboard, and cook them for too little and… nobody wants undercooked chicken!.
In this guide, I’m gonna walk you through everything you need to know about cooking perfect chicken tenders in your toaster oven. The short answer is that most chicken tenders need about 15-20 minutes at 400-450°F in a toaster oven, but there’s a lot more to the story if you want truly delicious results!
The Perfect Cooking Time and Temperature
Let’s get straight to the point – here’s what you need to know about timing
- Temperature: 400-450°F is ideal for chicken tenders in a toaster oven
- Cooking time: 15-20 minutes total cooking time
- Flip halfway: Turn tenders over at around 8-10 minutes for even cooking
- Internal temperature: Cook until they reach 165°F internally for food safety
The exact time can vary based on a few factors like the size of your tenders, whether they’re breaded, and your specific toaster oven model. I’ve found that my newer toaster oven cooks a bit faster than my old one did, so I always check a few minutes early.
Preparing Your Chicken Tenders
Before we even talk about cooking times, proper preparation is crucial for tasty results!
Ingredients You’ll Need:
For basic breaded chicken tenders:
- 1½ pounds chicken tenders
- ⅔ cup seasoned panko breadcrumbs
- ⅔ cup cheese crackers, crushed (optional but adds amazing flavor!)
- 2 teaspoons melted butter
- 2 large eggs, beaten
- Salt and pepper to taste
- Cooking spray
- Your favorite dipping sauce (BBQ sauce is classic!)
Preparation Steps:
- Preheat your toaster oven to 450°F – this is important! Don’t skip the preheat.
- Prepare your coating station: In one bowl, mix breadcrumbs, crushed crackers, and melted butter. In another bowl, beat eggs with salt and pepper.
- Coat the chicken: Dip each chicken tender in the egg mixture first, then dredge in the breadcrumb mixture, making sure they’re fully coated.
- Prepare the pan: Spray your toaster oven baking pan with nonstick cooking spray.
The Cooking Process
Now for the main event – actually cooking those tenders to perfection!
- Arrange tenders carefully: Place chicken tenders on the prepared pan in a single layer, ensuring they don’t overlap. This is super important for even cooking!
- Bake initially: Place the pan in your preheated toaster oven and bake for about 8-10 minutes.
- Flip ’em over: Open the toaster oven and carefully turn each tender over using tongs.
- Finish baking: Continue baking for another 7-10 minutes until golden brown and crispy.
- Check temperature: The internal temperature should reach 165°F to ensure they’re safely cooked. If you don’t have a meat thermometer (you should really get one!), cut into the thickest part to ensure there’s no pink.
Tips for Extra Juicy and Crunchy Tenders
If you want to make the best toaster oven chicken tenders ever, here are some tips I’ve picked up over the years:
For Extra Juiciness:
- Brine the chicken: Soak chicken tenders in saltwater solution (2 tablespoons salt per quart of water) for 30 minutes before cooking
- Don’t overcook: This is the #1 reason for dry chicken! Use a timer and check early
- Let them rest: Give tenders 3-5 minutes to rest after cooking before serving
For Maximum Crunchiness:
- Pat chicken dry: Before coating, pat the chicken completely dry with paper towels
- Double coating: For extra crispy tenders, double-dip in egg and breadcrumb mixture
- Add a touch of oil: Spray or brush a little oil on the breaded tenders before baking
- Use panko breadcrumbs: They’re airier than regular breadcrumbs for better crunch
How to Tell When Chicken Tenders Are Done
Nobody wants undercooked chicken, but overcooked is just as bad! Here’s how to know they’re perfectly done:
- Check the internal temperature: 165°F is the safe temperature according to food safety guidelines
- Visual check: Properly cooked tenders will be golden brown and crispy on the outside
- Texture test: When cut, the meat should be white throughout with no pink areas
- Juice check: The juices should run clear, not pink or bloody
If you’re not sure, it’s always better to cook a minute or two longer than to undercook chicken!
Common Mistakes to Avoid
We’ve all been there… here are some mistakes I’ve made so you don’t have to:
- Skipping the preheat: Your toaster oven NEEDS to be hot before the tenders go in
- Overcrowding the pan: Leave space between each tender for proper air circulation
- Not flipping halfway: This leads to unevenly cooked tenders – crispy on top, soggy on bottom
- Opening the door too much: Every time you open the door, heat escapes
- Using wet chicken: Excess moisture prevents crispiness – always pat dry first!
Reheating Leftover Chicken Tenders
Got leftovers? Lucky you! Here’s how to reheat them without losing that delicious texture:
- Preheat toaster oven to 375°F
- Arrange tenders on the baking pan
- Reheat for 5-7 minutes until heated through
- Flip halfway for even reheating
Pro tip: Avoid using the microwave for reheating as it’ll make your once-crispy tenders soggy!
Serving Suggestions
Chicken tenders are awesome on their own, but they’re even better with the right accompaniments:
Dipping Sauces:
- BBQ sauce (a classic choice!)
- Honey mustard
- Ranch dressing
- Buffalo sauce
- Sweet and sour
- Garlic aioli
Side Dishes:
- French fries or sweet potato fries
- Cole slaw
- Corn on the cob
- Mac and cheese
- Garden salad
- Roasted vegetables
Variations to Try
Once you’ve mastered the basic recipe, try these variations to keep things interesting:
Flavor Variations:
- Spicy: Add cayenne pepper to your breadcrumb mixture
- Italian: Mix Italian seasoning into breadcrumbs and serve with marinara
- Parmesan: Add grated parmesan to your coating for a cheesy crust
- Lemon Pepper: Add lemon zest and black pepper to your seasoning
Coating Variations:
- Cornflake Crust: Use crushed cornflakes instead of breadcrumbs
- Pretzel Coating: Crushed pretzels make an amazing crunchy coating
- Gluten-Free: Use almond flour or gluten-free breadcrumbs
- Keto-Friendly: Use crushed pork rinds as your coating base
FAQs About Cooking Chicken Tenders in a Toaster Oven
Here are some questions I get asked a lot about making chicken tenders:
Q: Can I use frozen chicken tenders in a toaster oven?
A: Yes, but add about 5-8 minutes to the cooking time. It’s better to thaw them first for more even cooking.
Q: Do I need to spray the chicken tenders with oil?
A: You don’t have to, but a light spray of oil helps them get more golden and crispy.
Q: Can I make chicken tenders without breading in a toaster oven?
A: Absolutely! Season them well with your favorite spices and reduce cooking time by about 2-3 minutes.
Q: How many chicken tenders can I cook at once?
A: It depends on your toaster oven size, but make sure they’re in a single layer with some space between each piece.
Q: Is it necessary to flip the chicken tenders halfway through cooking?
A: Yes! Flipping ensures even cooking and crispiness on both sides.
Why Toaster Oven Chicken Tenders Are The Best
I gotta say, ever since I started making chicken tenders in my toaster oven, I rarely use the big oven anymore. Here’s why:
- Faster preheating – toaster ovens heat up in minutes
- Energy efficient – why heat up the whole kitchen for a small batch?
- Perfect for small portions – ideal when cooking for 1-4 people
- Crispier results – the smaller space often creates better browning
- Easy cleanup – smaller pans and less splatter
The Bottom Line
Cooking chicken tenders in a toaster oven is quick, easy, and gives you amazing results when done right. Remember the magic formula: 15-20 minutes at 400-450°F, flipping halfway through, until they reach an internal temperature of 165°F.
With these tips, you’ll be able to make restaurant-quality chicken tenders at home in no time! They’re great for a quick dinner during the week, a snack on game day, or whenever you want something crunchy and filling.
Do you have any special tricks for making toaster oven chicken tenders? I’d love to hear your suggestions in the comments below!
Happy cooking!
How to Serve Baked Chicken Tenders
- As a main dish with sweet potato fries and ketchup or barbecue sauce of your choice
- Throw on a salad with my lemon dijon herb dressing.
- Put it in a wrap with some crunchy vegetables, leafy greens, and honey mustard or avocado ranch sauce.
- This is a great appetizer for a game or a tasty snack for after school.
- With a vegetable side dish like broccoli, green beans, or even potatoes
Pin this now to find it later
These baked chicken tenders will last in a sealed, airtight container or freezer bag in the fridge for up to 4 days. When ready to reheat, simply pop them back in the oven, a toaster oven or even your air fryer to crisp them right back up! These chicken tenders will also freeze for up to 3 months, just make sure to thaw completely before re-heating.
Here’s What You’ll Need
- To make things easier, I like to buy chicken tenderloins that have already been cut. But you could also cut chicken breasts into strips; just make sure they are all the same size.
- egg: this helps the bread crumbs stick together and coats the chicken.
- Any kind of bread crumbs will work for this. I used whole wheat panko bread crumbs because I love how crunchy they are. You can use my almond flour breadcrumb coating in this recipe if you want to avoid grains or watch your carb intake.
- The bread crumbs and parmesan cheese work well together to coat the chicken and make it taste even better.
- flaxseed meal—flaxseed gives the chicken extra fiber and nutrition.
- Dijon mustard makes the chicken taste better and give it more zip!
- Worcestershire sauce—these chicken tenders are ALL about flavor, so adding a splash of this sauce makes them taste even better.
- Seasonings: kosher salt, pepper, garlic powder, onion powder, dried thyme (or fresh), thyme leaves, and thyme leaves. You could also add paprika or cayenne pepper for extra heat.