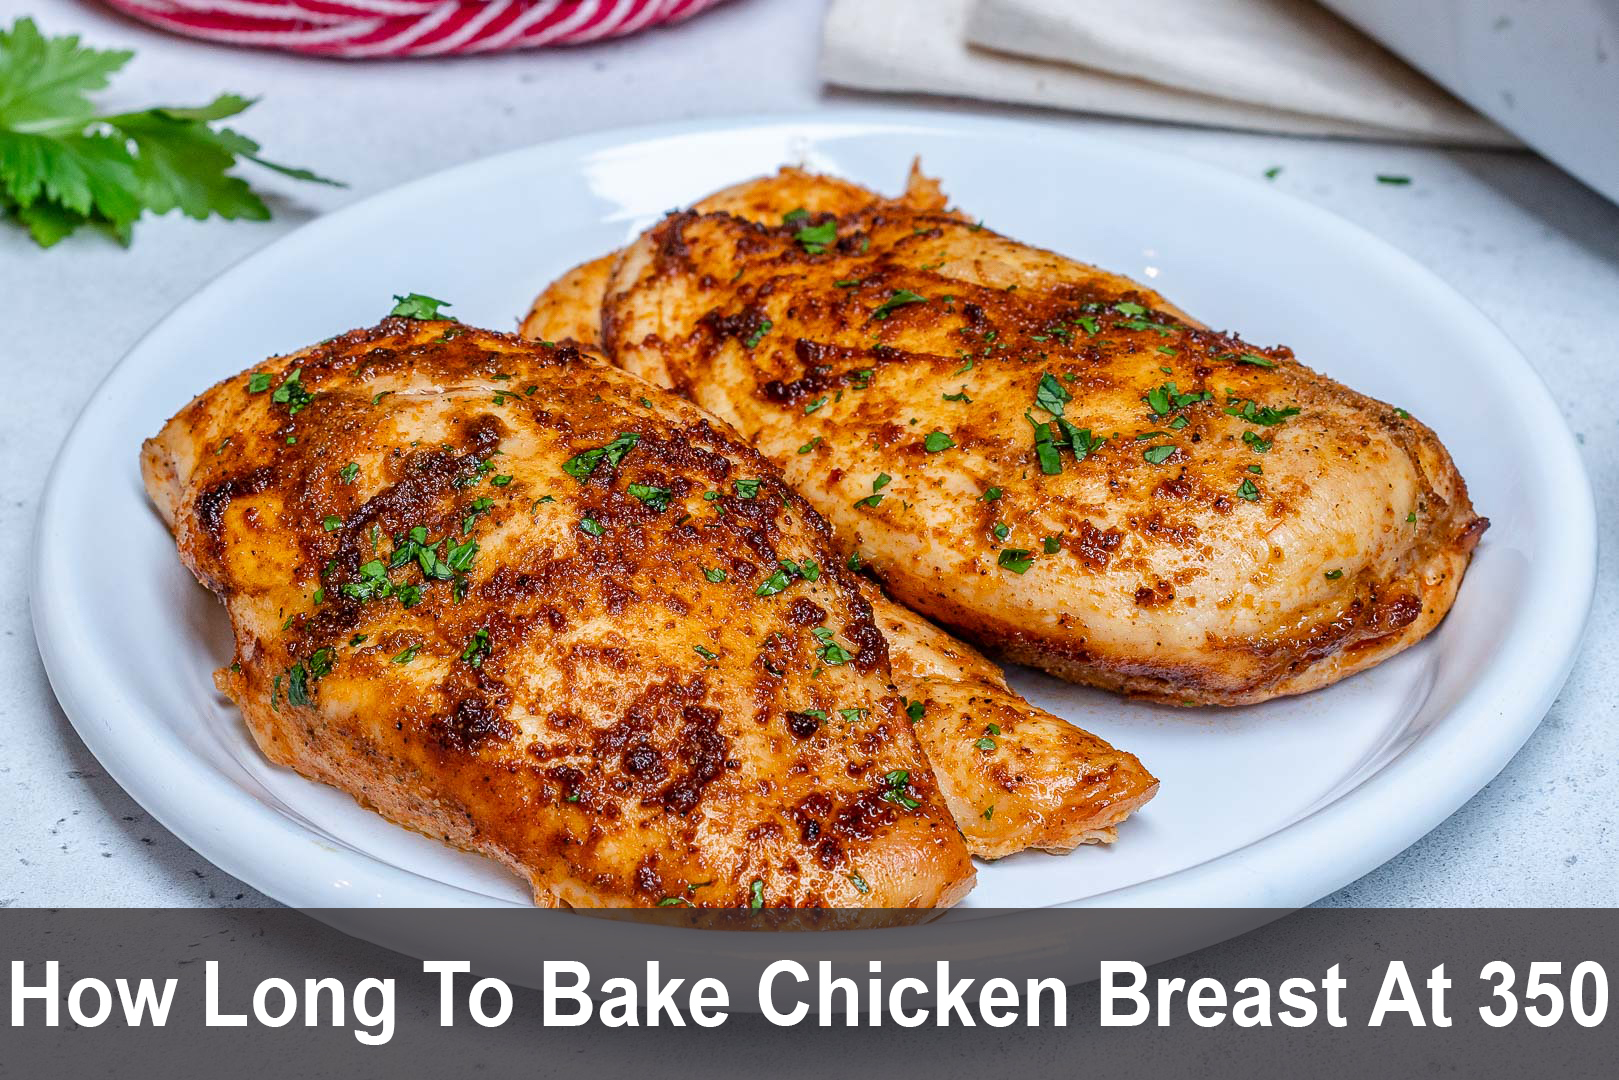
Are you staring at those raw chicken strips wondering exactly how long they need to stay in your oven? I’ve been there too! Cooking chicken strips at 350°F is pretty much my go-to method when I want something quick, tasty, and relatively healthy for dinner. In this comprehensive guide, we’ll explore everything you need to know about baking perfect chicken strips every single time.
The Short Answer (For Those in a Hurry!)
If you’re rushing and just need the basic info, here it is:
For standard chicken strips (about 1/2 inch thick) at 350°F
- Breaded chicken strips: 15-20 minutes
- Unbreaded chicken strips: 12-15 minutes
- Frozen chicken strips: 25-30 minutes
What’s more? There’s a lot more you need to know if you want really tasty results. Let’s dive deeper.
Factors That Affect Cooking Time
Several things can change how long your chicken strips need to cook
- Thickness of the strips – Thicker strips need more time, obviously!
- Whether they’re breaded or not – Breading acts as insulation and extends cooking time
- If they’re frozen or thawed – Frozen strips take about 50% longer
- Your specific oven – Some ovens run hotter than others (mine definitely runs hot!)
- The type of baking sheet – Dark pans cook faster than shiny ones
- How many strips you’re cooking – Overcrowding the pan increases cooking time
Detailed Cooking Times by Type
Homemade Fresh Chicken Strips
When you cut your own chicken strips from chicken breast, they’re usually the freshest option. Here’s what I’ve found works best:
| Strip Thickness | Cooking Time at 350°F | Internal Temperature |
|---|---|---|
| Thin (1/4 inch) | 10-12 minutes | 165°F |
| Medium (1/2 inch) | 15-18 minutes | 165°F |
| Thick (3/4+ inch) | 20-25 minutes | 165°F |
Store-Bought Raw Chicken Strips
These are convenient but often have additives that might affect cooking time:
- Marinated strips: 16-20 minutes
- Plain strips: 15-18 minutes
- Breaded strips: 18-22 minutes
Frozen Chicken Strips
We’ve all been there – forgot to defrost dinner! When cooking from frozen:
- Unbreaded frozen strips: 22-25 minutes
- Breaded frozen strips: 25-30 minutes
- Extra crispy varieties: 28-32 minutes
The Foolproof Method for Perfect Chicken Strips
Here’s my step-by-step process that never fails:
-
Preheat your oven properly – Don’t skip this! I always give my oven at least 15 minutes to reach 350°F.
-
Prepare your chicken strips – If making homemade, try to cut them all roughly the same size. If using store-bought, arrange them in a single layer.
-
Use a wire rack – This is my secret weapon! Placing strips on a wire rack over a baking sheet allows air to circulate all around the chicken, resulting in more even cooking and crispier strips.
-
Don’t overcrowd – Leave some space between strips. When I rush and pack too many on a tray, they steam instead of bake and turn out soggy.
-
Flip halfway through – At about the 10-minute mark, flip each strip for even browning.
-
A meat thermometer is the best way to tell when chicken is done. When the internal temperature reaches 165°F, it’s done. Before I bought a good thermometer, I guess when chicken was done and sometimes serve it dry and overcooked.
-
Rest before serving: After taking the strips out of the oven, let them rest for three to five minutes. This helps the juices redistribute.
My Favorite Seasoning Ideas
If we’re going to talk about chicken strips, let’s make them taste great! Here are some of my favorite seasoning mixes:
- Classic: Salt, pepper, garlic powder, and paprika
- Spicy: Cayenne, chili powder, cumin, and a touch of brown sugar
- Italian: Dried oregano, basil, thyme, and a bit of lemon zest
- Asian-inspired: Five-spice powder, ginger, and a touch of brown sugar
Common Mistakes to Avoid (I’ve Made Them All!)
-
Cooking at too high a temperature – When I’m in a hurry, I’m tempted to crank up the heat. Bad idea! You’ll get strips that are burnt outside but raw inside.
-
Not patting the chicken dry – Moisture is the enemy of crispiness. Always pat your chicken strips dry with paper towels before seasoning or breading.
-
Opening the oven door too often – Every time you peek, the oven temperature drops. I try to limit myself to one check and flip halfway through.
-
Cutting into the chicken to check doneness – This releases all those precious juices! Use a thermometer instead.
-
Skipping the rest period – I know it’s hard to wait when your hungry, but those 3-5 minutes of resting time make a huge difference in juiciness.
Health Considerations
If your watching your calorie intake like I am sometimes, consider these healthier cooking options:
- Skip the breading for a lower-carb option
- Use panko instead of regular breadcrumbs for a lighter, crispier coating
- Try an oil spray rather than drizzling oil to reduce fat content
- Add herbs and spices for flavor instead of salt
How to Know When Chicken Strips Are Done
The most reliable sign is temperature – chicken is safe to eat when it reaches 165°F internally. But if you don’t have a thermometer, look for these signs:
- The strips are firm to the touch but not rock hard
- When cut, the juices run clear, not pink
- The meat is white throughout, with no pink areas
- Breaded strips have a golden-brown coating
Serving Suggestions
Now that you’ve got perfect chicken strips, what should you serve with them? Here are my go-to sides:
- Fresh green salad
- Sweet potato fries
- Steamed vegetables
- Mac and cheese (for a comfort food feast!)
- Rice pilaf
- Coleslaw
Storage and Reheating Tips
Made too many strips? Lucky you! Here’s how to store and reheat them:
- Refrigeration: Store in an airtight container for up to 3 days.
- Freezing: Cooked strips freeze well for up to 2 months.
- Reheating: For best results, reheat in the oven at 350°F for 10 minutes. Microwaving works in a pinch but makes them soggy.
Frequently Asked Questions
Q: Can I use chicken tenders instead of strips?
A: Absolutely! Chicken tenders are slightly smaller, so reduce cooking time by about 2 minutes.
Q: Is it better to bake chicken strips at 350°F or 400°F?
A: It depends on your preference. I find 350°F gives more even cooking and juicier results, while 400°F gives a crispier exterior but requires more careful monitoring.
Q: Do I need to spray the baking sheet?
A: Yes! Even with non-stick baking sheets, a light coating of cooking spray helps prevent sticking and promotes browning.
Q: Can I cook chicken strips in an air fryer?
A: Definitely! Air fryers are great for chicken strips. Try 370°F for about 10-12 minutes, flipping halfway through.
Conclusion
Cooking chicken strips in the oven at 350°F isn’t rocket science, but getting them just right—juicy inside with a flavorful, crispy exterior—takes a bit of know-how. The key points to remember are:
- Most chicken strips take 15-20 minutes at 350°F
- Always check for an internal temperature of 165°F
- Don’t overcrowd the pan
- Let them rest before serving
With these tips in mind, you’ll be serving up perfect chicken strips every time. Trust me, your family will notice the difference! They might even think you’ve been taking secret cooking classes!
What’s your favorite way to season chicken strips? I’d love to hear your ideas in the comments below!
Happy cooking,
[Your Blog Name]