Beer can chicken is a classic grilling recipe that produces moist, flavorful chicken infused with beer. But nailing the right cooking time can be tricky. Undercook it and you risk foodborne illness. Overcook it and you’ll end up with a dried-out bird. Follow these tips to learn exactly how long to cook beer can chicken on the grill or in the oven for ideal results.
What is Beer Can Chicken?
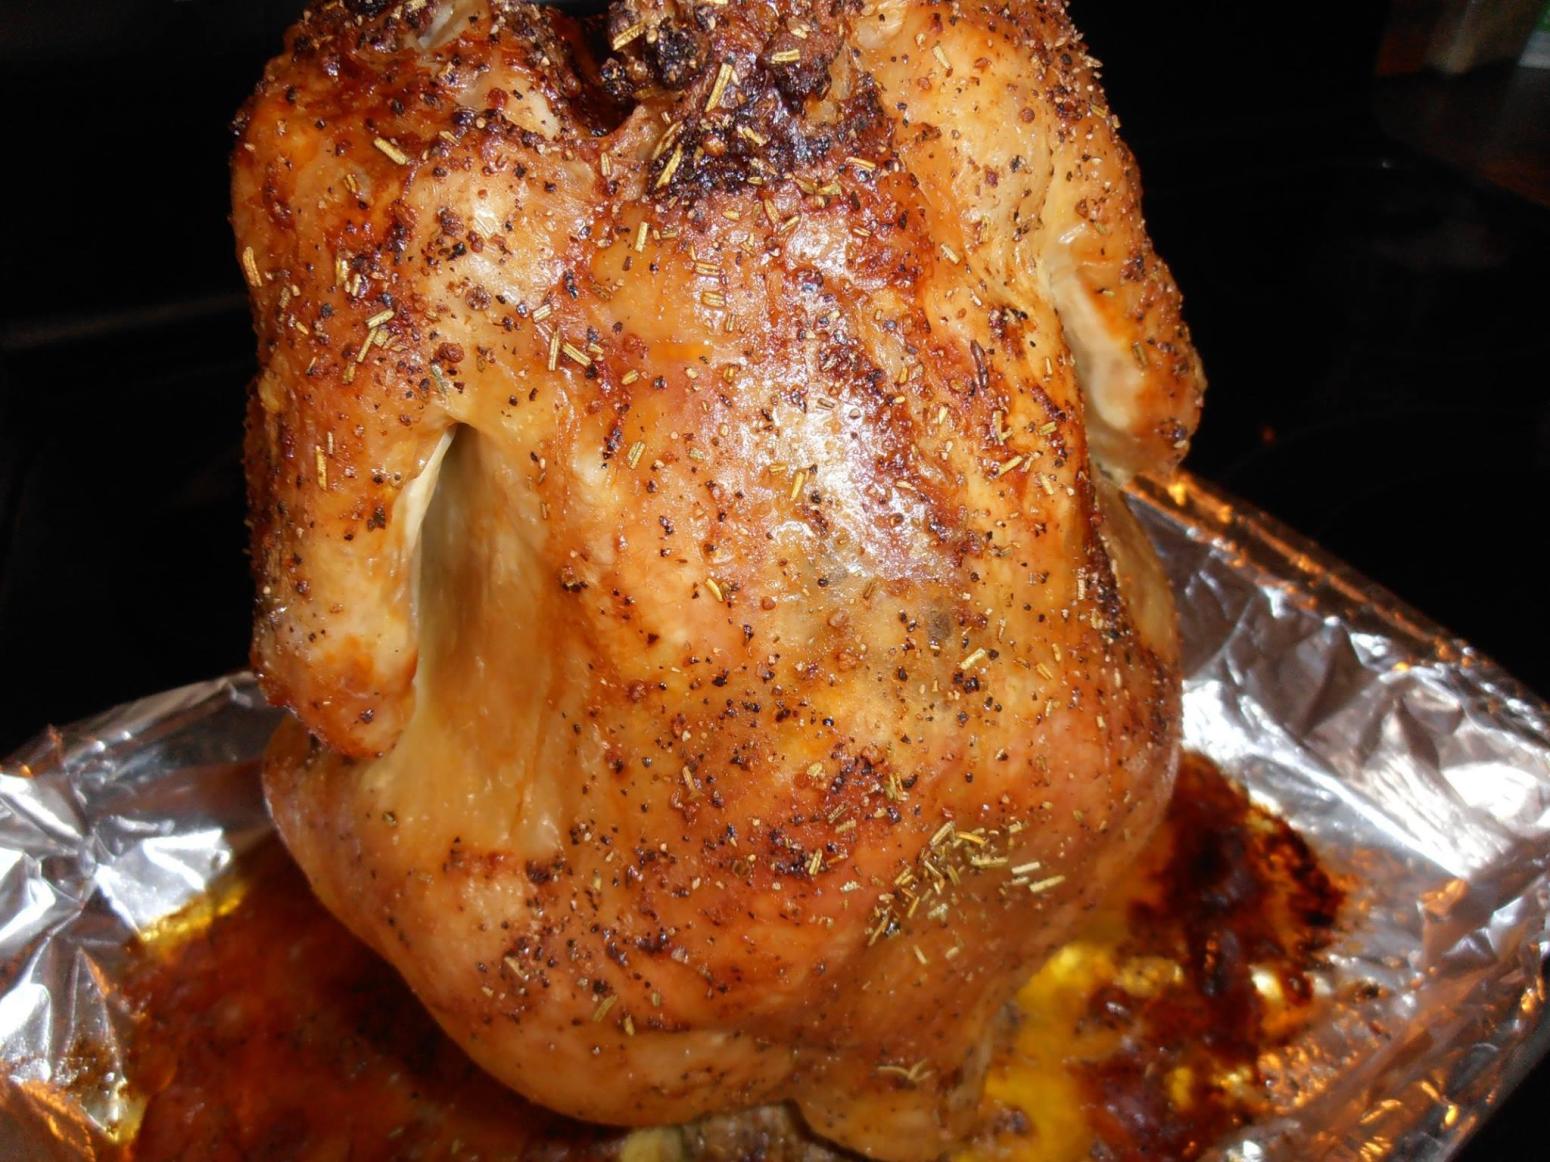
Beer can chicken is made by seasoning a whole chicken and putting it on top of an open beer can. The bird is sitting up straight, and the can is in the hole in its back. Since the beer is simmering and getting into the chicken, it keeps it very moist and gives it flavor. Since the inner thighs are exposed to heat, this method helps cook the chicken evenly. It’s easy to make beer can chicken, and it looks great when you serve it.
Factors That Affect Cooking Time
Several key factors impact the total cooking time for beer can chicken:
-
Chicken size: A larger 5 lb chicken will take longer than a 3 lb chicken.
-
Grill temperature: Maintaining consistent heat around 350-375°F is ideal. Fluctuations lengthen the cook time.
-
Grill type: Charcoal grills are less controllable than gas grills.
-
Weather conditions: Wind, rain and cold affect the grill temperature.
-
Frequently opening the lid: This releases heat and moisture.
-
Altitude: At higher altitudes water boils at lower temps, affecting cook time.
How Long on a Gas Grill?
For a 4 lb chicken on a gas grill consistently held at 350°F, the approximate cook times are:
- Indirect heat: 1 hour 15 minutes to 1 hour 30 minutes
- Direct heat: 45 minutes to 1 hour
Use a meat thermometer to confirm the internal temperature reaches 165°F in the thickest part of the thigh before removing from heat.
How Long on a Charcoal Grill?
It takes longer to cook beer can chicken on a charcoal grill because you can’t control the temperature as well. For a 4 lb bird, expect:
- Indirect heat: 1 hour 30 minutes to 1 hour 45 minutes
- Direct heat: 1 hour to 1 hour 15 minutes
Again, rely on a meat thermometer for doneness, not just cook time estimates.
How Long in the Oven?
Make beer can chicken in the oven too! Heat the oven to 375°F. For a 4 lb chicken, plan on:
- Convection oven: 1 hour 15 minutes to 1 hour 30 minutes
- Standard oven: 1 hour 30 minutes to 1 hour 45 minutes
Check the internal temp and let it rest before carving.
Tips for the Best Results
Follow these tips for beautifully cooked beer can chicken every time:
- Pat the chicken dry before seasoning – this helps crispy skin form.
- Use an instant-read thermometer to check for 165°F.
- Let it rest at least 10-15 minutes before cutting to retain juices.
- Maintain consistent heat by minimizing opening the grill.
- Use a beer can chicken stand for stability.
- Try adding wood chips or herbs to the can for extra flavor.
- Brining the chicken first helps keep it extra moist.
How to Tell When It’s Done Without a Thermometer
For accuracy, a meat thermometer is best, but if you don’t have one, here are some ways to tell if the meat is done:
- The thighs/legs feel firm when pierced with a skewer or fork.
- The juices from the thickest part of the thigh run clear.
- The skin is dark golden brown and crispy.
But these cues can be inaccurate, so investing in a good thermometer is recommended for food safety and ideal doneness.
Common FAQs
Can I use something other than beer in the can?
Yes! Try broth, wine, cider, soda or flavored water.
How long does it need to rest afterward?
At least 10-15 minutes.
Can I make it in a slow cooker?
Not recommended. You need the vertical beer can method and open-air grill or oven.
What temperature should the grill or oven be?
350-375°F is ideal.
Can I stuff herbs under the skin?
Absolutely! Try rosemary, thyme or sage.
Takeaway Tips
- For a 4 lb chicken, expect around 1 hr 30 mins at 350°F.
- Use a meat thermometer for accuracy – target 165°F.
- Let it rest at least 10-15 mins before carving.
- Maintain steady heat and minimize opening the grill.
- Flavor the beer can with herbs or seasonings.
- Brining keeps the meat extra moist and flavorful.
Mastering beer can chicken is easy with the right technique. Focus on regulating the temperature and using a meat thermometer for perfectly juicy, unsafe chicken every time. Now go relax with a cold one while the grill does the work!
Prepare The Beer Cans And Apply The Rub
Wash 2 12-ounce beer cans with soapy water and rinse well. Open the cans and drink half the beer in each. Use a church key-style can opener to make two additional holes in the lid.
Now prepare a batch of the rub.
Wild Willy’s Number One-derful Rub
- 6 Tablespoons paprika
- 2 Tablespoons ground black pepper
- 2 Tablespoons salt
- 2 Tablespoons sugar
- 1 Tablespoon chili powder
- 1 Tablespoon granulated garlic powder
- 1 Tablespoon onion powder
- 1 teaspoon cayenne
Combine all ingredients and mix thoroughly.
First, cover the inside of the chicken with the rub. Then, cover the outside of the chicken with the rub. Some rub can be put under the skin of the breasts if you want. Use your fingers to rub it in.
Place the chicken over the beer can, making sure it’s firmly seated inside the cavity as far as possible. Position the legs forward to form a tripod, keeping the chicken balanced.
Let the chickens sit at room temperature as you fire-up your Weber Bullet.
Select The Smoke Wood
Use 3 chunks of apple smoke wood. Each chunk should be small, for example 3″ x 2″ x 2″ or similar. Cherry, oak, or other mild fruit wood can be used if apple is not available.
There is no need to soak the wood or remove the bark before use.
Fire-up the cooker using the Minion Method. Fill the charcoal chamber 1/2 full with unlit Kingsford Charcoal Briquets. Light 20-40 briquettes using a Weber chimney starter and spread them over the unlit charcoal.
Put the water pan in the cooker and fill it with cold tap water to help with temperature control.
Assemble the cooker, add the smoke wood chunks, and put the chickens back-to-back on the top cooking grate.
Set the 3 bottom vents to 100% open. Open the top vent fully and leave it that way throughout the entire cook.
When the liquid level in the cooker reaches about 225%C2%B0F, open the bottom vents all the way so the cooker stays at that temperature, as measured at the lid. Adjust the 3 bottom vents as necessary to maintain this temperature range throughout the cooking session.
Cook for 2 hours, then baste the chickens with apple juice using a spray bottle. To make sure the chickens are cooking evenly, rotate them by carefully turning the grate 180°.
Cook for another hour, then baste again with apple juice.
Cook for another 30 minutes to 1 hour, then check the internal meat temperature using an instant-read thermometer. The chicken is done when the breast meat registers 160-165°F and the thigh registers 170-175°F.
There should be no need to add water to the pan during the cooking session.
Here’s how the cooker temperatures and vent settings went during my cook:
| Time | Lid Temp | Vent 1 % | Vent 2 % | Vent 3 % |
| 1:00 pm | – | 100 | 100 | 100 |
| 1:15 pm | 220 | 25 | 25 | 25 |
| 1:30 pm | 215 | 25 | 25 | 25 |
| 1:45 pm | 220 | 25 | 25 | 25 |
| 2:00 pm | 229 | 25 | 25 | 25 |
| 2:15 pm | 236 | 15 | 15 | 15 |
| 2:30 pm | 235 | 15 | 15 | 15 |
| 3:00 pm (r)(b) | 235 | 15 | 15 | 15 |
| 3:30 pm | 230 | 15 | 15 | 15 |
| 4:00 pm (b) | 235 | 15 | 15 | 15 |
| 4:30 pm | 242 | 10 | 10 | 10 |
| 5:00 pm | 232 | 10 | 10 | 10 |
(r) rotated meat (b) basted with premium apple juice
Note that the vent percentages represent the way I set the vents at the time indicated.
Using heat-resistant gloves, remove the chickens carefully from the cooker and let cool for 5 minutes before serving.
Since the beer in the can will be very hot, make sure to support the can as you lift the chicken off the grate. You can do this with your gloved hand, or you can grasp the can with tongs to support the chicken from below while using your other gloved hand to steady the chicken.
To remove the can, hold the chicken at a slight angle in the palm of one gloved hand, grasp the can with your other gloved hand, twist the can back and forth to loosen it, and pull it out carefully. Do this over the sink or a rimmed baking sheet pan to catch any spills.