For good reason, chicken strips coated in a crunchy batter and fried until golden are a beloved comfort food. The juicy chicken tenderloin with a crunchy outside is the perfect balance of flavors and textures. Takeout chicken tenders are convenient, but making your own lets you control the ingredients, making a fresher, healthier version.
Breading and frying chicken strips at home may seem daunting to some home cooks. However, with a few simple tricks and the right technique, you can easily achieve restaurant-quality chicken tenders. In this comprehensive guide, we’ll walk through the entire process step-by-step, from preparing the chicken to frying and serving these irresistible fingers of flavor.
Ingredients You’ll Need
Breading chicken strips starts with gathering the right ingredients
-
Chicken breast: Fresh chicken breasts that are boneless and skinless are the most important part. Opt for good quality chicken without excess fat or sinew.
-
Flour – All-purpose flour serves as the base for the breading station. You’ll dredge the chicken strips in flour first.
-
Eggs: The breadcrumbs stick to the chicken because the eggs hold them together. Beat 2 eggs in a shallow bowl.
-
Breadcrumbs – For maximum crunch, use panko breadcrumbs. However, you can also use plain dried breadcrumbs.
-
Seasonings – For flavor, add 2-3 teaspoons of seasoning like garlic powder, paprika, salt, and pepper to the flour and breadcrumbs.
-
Oil for frying – Use a neutral tasting oil like vegetable, peanut, or canola oil.
Prepping the Chicken Breasts
Before breading, the chicken needs some prep:
-
Cut into strips – Slice the chicken breasts lengthwise into long 1-inch wide strips. Cutting against the grain helps tenderize.
-
Pound for even thickness – Use a meat mallet or rolling pin to gently pound each strip to an even 1⁄2 inch thickness. This promotes even cooking.
-
Pat dry – Use paper towels to pat the chicken strips completely dry. The drier the surface, the better the coating adheres.
Setting Up Your Dredging Station
A proper dredging station is key for perfectly breaded chicken. Set up three shallow dishes or pans:
- Dish 1: Flour mixed with seasonings
- Dish 2: Beaten eggs
- Dish 3: Breadcrumbs
This efficient assembly line streamlines the process.
Coating the Chicken in the Breading
Now comes the fun part – breading the chicken! Follow these easy steps:
-
Dredge in flour – Drop strips into the flour mixture, coat well while shaking off excess.
-
Dip in egg – Transfer floured strips to the egg wash, allowing excess to drip off.
-
Toss in breadcrumbs – Finally, place the strip in the breadcrumbs, pressing gently to adhere.
-
Repeat – Do this process twice with each chicken strip for a thicker coating.
Refrigerating the breaded strips for 10-15 minutes helps the coating set.
Frying the Chicken Strips
Crispy, golden chicken strips are just minutes away!
-
Heat oil to 350°F – Use a deep skillet or Dutch oven and fill with at least 2-inches of oil. Heat to 350°F.
-
Fry in batches – Add 3-4 strips without overcrowding. Fry for 4-5 minutes until deep golden brown.
-
Drain on paper towels – Remove strips and let drain on a paper towel lined platter. Season with salt immediately.
-
Repeat – Bring oil back to 350°F between batches. Frying in smaller batches maintains oil temperature.
Baking Breaded Chicken Strips
For a healthier baked version, follow these easy steps:
-
Preheat oven to 425°F – Line a baking sheet with parchment paper or foil.
-
Arrange strips on sheet – Place breaded strips on the baking sheet spaced apart. Lightly mist or drizzle with oil.
-
Bake 20-25 minutes – Flip halfway through. Chicken is done when golden brown and 165°F internally.
While frying makes them crispiest, baked chicken strips are also full of flavor!
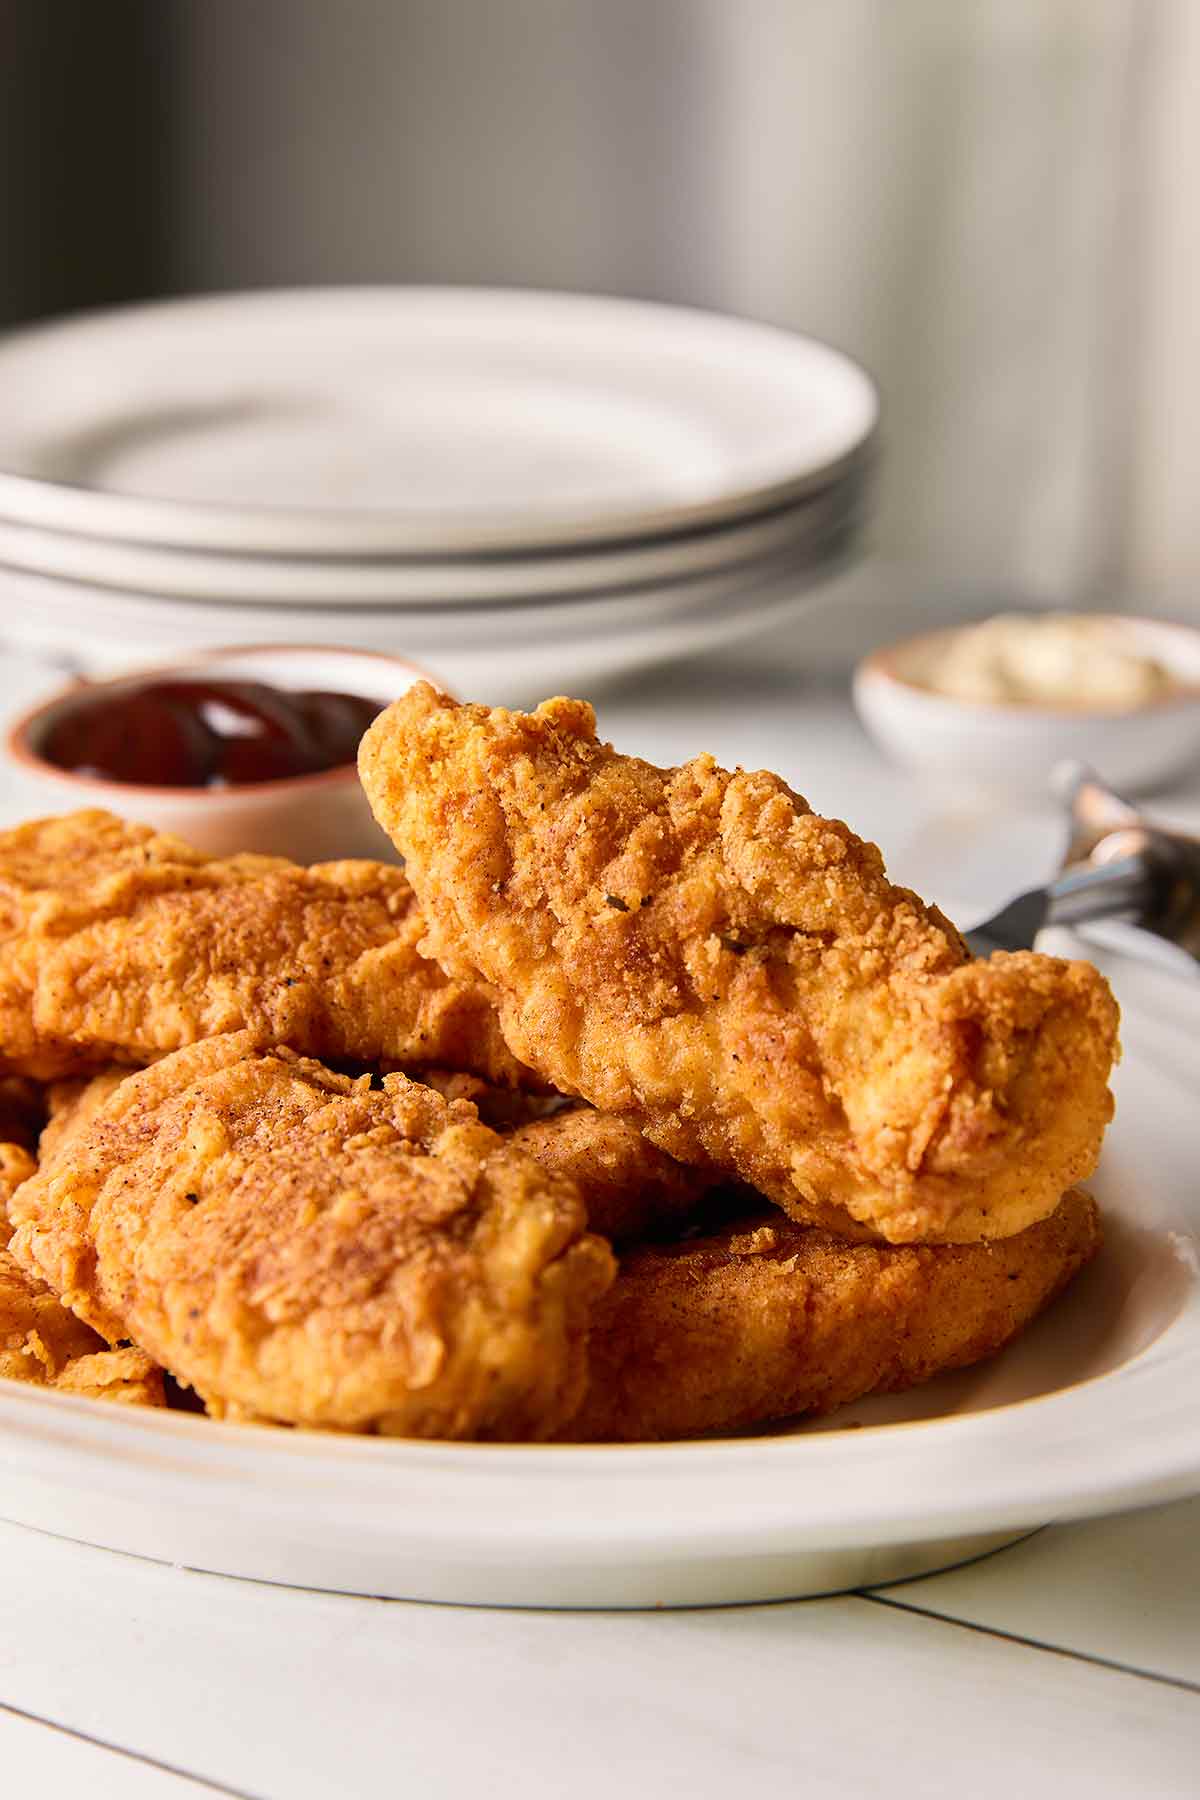
Serving Up Your Homemade Chicken Tenders
Now for the best part – dig into these flavorful chicken strips! Consider serving them with:
-
Dipping sauces – Honey mustard, ranch, barbecue, buffalo, or bleu cheese sauce for dunking.
-
Sides – French fries, coleslaw, potato salad, or mac and cheese.
-
On sandwiches – Chicken tenders are tasty on rolls or sandwiches too.
With the right technique, you can enjoy restaurant-quality chicken tenders without leaving your kitchen! Crunchy, juicy, and flavorful – these homemade chicken strips are sure to become a new favorite.
Frequently Asked Questions
Still have some questions about making these irresistible chicken tenders? Here are answers to some common queries:
What’s the best cut of chicken to use?
Boneless, skinless chicken breasts work best. Cutting them into strips against the grain helps tenderize the meat. Chicken tenderloins can also be used.
Is pounding the chicken necessary?
Gently pounding the chicken to an even thickness helps ensure uniform cooking so the exterior doesn’t burn before the interior cooks through.
Should I use all-purpose or bread flour?
All-purpose flour contains enough gluten to make the crispiest coating. Using bread flour can result in a gummy texture.
Do I need buttermilk or eggs for the coating?
You don’t need buttermilk for breading chicken strips. However, eggs work as the “glue” to hold the breading together.
How long do breaded chicken strips last in the fridge?
Cooked chicken strips keep 3-4 days refrigerated. Store breaded raw strips for just 1-2 days max before the coating gets soggy.
Can I freeze cooked chicken strips?
Yes, freeze cooked strips in a single layer then transfer to bags. Reheat still frozen at 375°F from 15-20 minutes until hot and crispy.
So simple yet so delicious, now you’re ready to make the best breaded homemade chicken strips! With the right prep and frying method, you can satisfy that crispy chicken craving any night of the week.

How to Pan-Fry Chicken Tenders
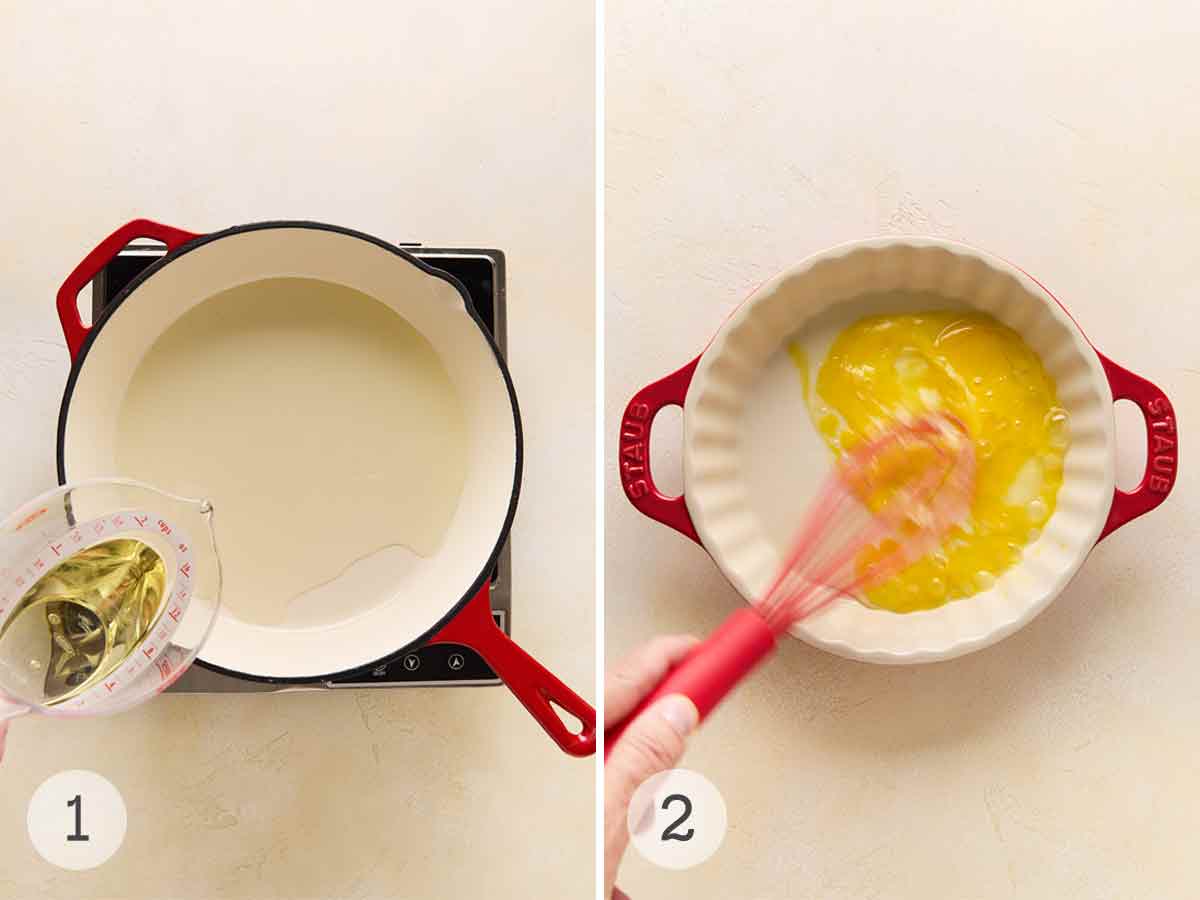
- Put oil on the bottom of a big skillet and set it over medium-low heat.
- Whisk the eggs and water together in a shallow bowl.

- Put the flour and spices in a bag or container that can be closed again.
- Dip the chicken tenders one at a time in the egg, letting any extra run off.
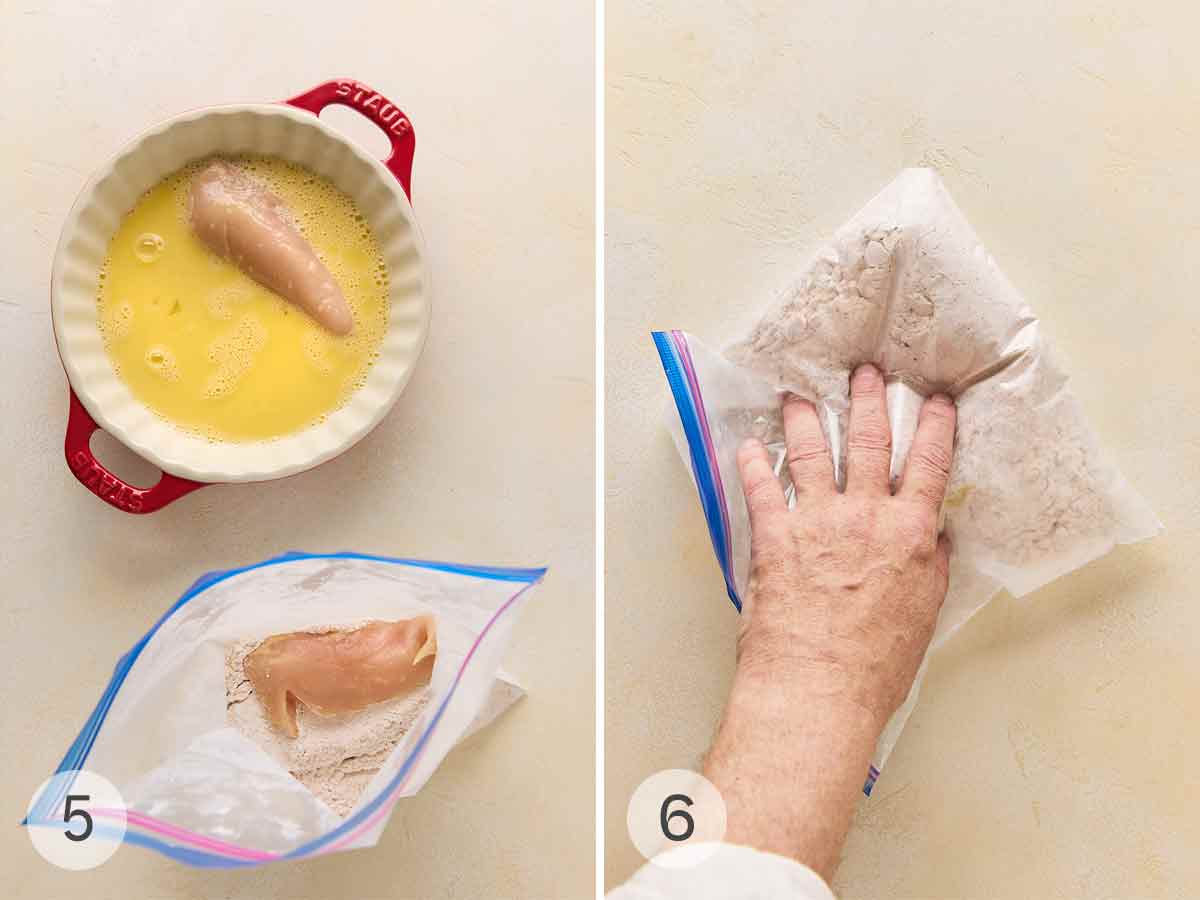
- Place the chicken strips in the spiced flour.
- Close the bag and toss the chicken strips around to cover them all.
Want to Save This?
Ill email this to you, so you can come back to it later. Booyah!
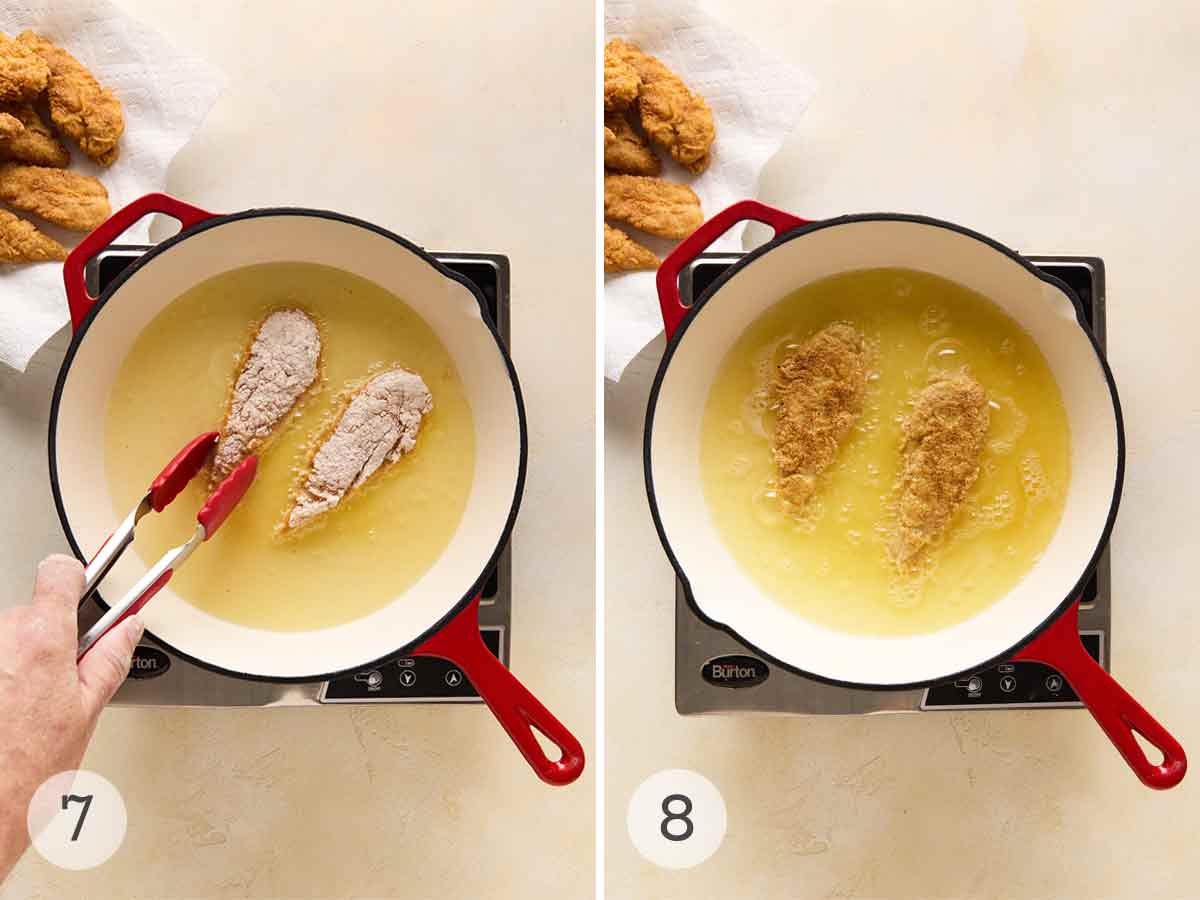
- For six to seven minutes, fry the chicken in hot oil.
- Fry the tenders until they are golden brown and cooked all the way through. Move to a plate with paper towels on it and serve hot.
You could, obviously, take a couple of chicken breasts and thinly slice them. You know, so they look like chicken strips. But if you’ve ever bought boneless breasts, then you’ve probably seen fillets. Also known as tenders, these are the strips of meat that connect the breast to the breastbone. They’re the perfect size for this recipe, as well as being, well…rather tender.
To ensure even cooking and to avoid burning the coating, I recommend thawing the chicken tenders in the refrigerator before frying them.
Store leftover chicken tenders in a sealed container in the fridge for up to 3 days. Reheat them in a single layer in a 350°F toaster oven or air fryer until warmed through. Then, serve leftover tenders tucked inside a chicken sandwich or wrap or cut up into a salad.
- To make sure the chicken doesn’t get too done or too raw, use a meat thermometer.
- This recipe is suitable for dairy-free diets.