Building a chicken house is an exciting project for any backyard farmer. Having a proper housing structure for your flock is essential to keep them healthy safe, and productive. In this comprehensive guide, we will walk through all the steps and considerations for constructing your own chicken coop from scratch. Whether you’re a total beginner or have some carpentry experience follow along as we cover building a coop frame, installing walls and roofing, adding necessary fixtures like doors, windows, and nesting boxes, and more. With the right materials, tools, and this advice, you’ll have a custom chicken house that perfectly suits your flock in no time!
Getting Started: Chicken Coop Design Basics
When embarking on building a chicken coop, there are some basic factors to consider:
-
Size and Number of Birds: Generally plan for a minimum of 3-4 square feet per bird inside the coop, and 8-10 square feet per bird if they don’t have an outside run. The coop must accommodate roosts, nesting boxes, feeders, and waterers.
-
Predator Protection Use sturdy predator-proof construction like hardware cloth under the frame, latches on doors no gaps, etc.
-
Ventilation: Good airflow prevents moisture buildup and keeps odors down. Include vents, windows, and air gaps.
-
Accessibility: Doors wide enough for you and nest boxes should be easily reachable for egg collection.
-
Location: Find a dry, well-draining spot; avoid drafty, damp areas. Consider sun exposure and access.
-
Materials: Use weather-resistant, non-toxic materials. Wood, hardware cloth, and wire mesh are common.
Constructing the Coop Frame
The frame of the coop is what holds it together, so use good lumber to build it strong. Follow these steps:
-
Cut two side frame pieces from 2×2 or 2×3 lumber. Make them the desired coop length.
-
Cut the support studs shorter and use exterior screws to attach them between the side frames. Space them out evenly.
-
Join the side frames together with short lengths of lumber screwed into the inside to create a rectangle. Check for square.
-
Add a lower support stringer on the outside edges and any additional framing components your design needs.
-
Elevate the finished frame on cinder blocks, bricks, or wood posts to deter predators.
Adding the Roof
The roof needs to be watertight and durable. We’ll use a simple gable style roof here:
-
Cut rafters out of 2x3s and fasten them together into triangles for trusses.
-
Install the trusses across the top of the coop frame using sturdy corner brackets or screws.
-
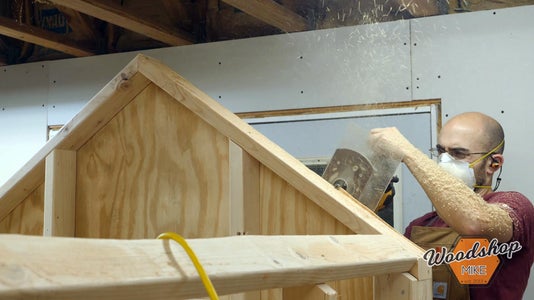
Affix plywood sheathing cut to size to the trusses on both roof sloped sides.
-
Add reinforcing framing like ridge boards and gussets to strengthen the roof.
-
Shingle or metal roofing can go on top later for extra weather protection if desired.
Installing Walls and Siding
Now it’s time to enclose the coop:
-
Measure and cut plywood, plank siding, or other sheathing materials to size for each exterior wall.
-
Screw or nail wall panels to the outside of the framing, keeping edges flush.
-
Make openings for windows, ventilation, and access doors by measuring and cutting holes in the sheathing.
-
Consider painting or sealing the walls for added weather resistance.
-
For extra insulation, you can “wrap” the walls by affixing rigid foam boards or batt insulation to the interior framing before adding interior wall boards.
Doors, Windows, and Ventilation
Proper openings are key for access, airflow, and brightness:
-
Cut access doors from plywood or planks, and hang with exterior hinges. Include locking latches.
-
Make a chicken door with a slide-up ramp or hinged flap and hardware cloth.
-
Add wire mesh-covered vents near roof areas to let hot air escape.
-
Windows can provide light and ventilation. Use plexiglass or glass sealed in wood frames.
-
Hardware cloth can cover all open areas to keep predators out while allowing airflow.
Interior Furnishings and Fixtures
The coop needs roosting bars, nest boxes, food and water stations:
-
Roosts can be 2x4s or tree branches spaced for perching across a higher area of the coop interior.
-
Build nesting boxes out of wood and fill with bedding material. Provide 1 box per 2-3 hens.
-
Use galvanized feeders and waterers made for chickens and secure in place.
-
Affix latches, perches, and other accessories at appropriate heights for the chicken breeds.
-
Consider adding shelves for feed storage, dust bath boxes, lighting, or other optional items.
Final Touches
To complete your chicken house:
-
Install metal mesh fencing around the base to enclose an outdoor run area. Bury mesh to prevent digging.
-
Paint or finish the coop interior and exterior as desired.
-
Add shingles, roofing paper, or other weatherproofing material to the roof.
-
Consider accessories like automatic coop door openers, heaters, electricity, soundproofing, etc.
-
Furnish with 6+ inches of coop bedding like pine shavings, straw, or sand.
-
Do a final safety check and repair any gaps, sharp edges, weak points, etc.
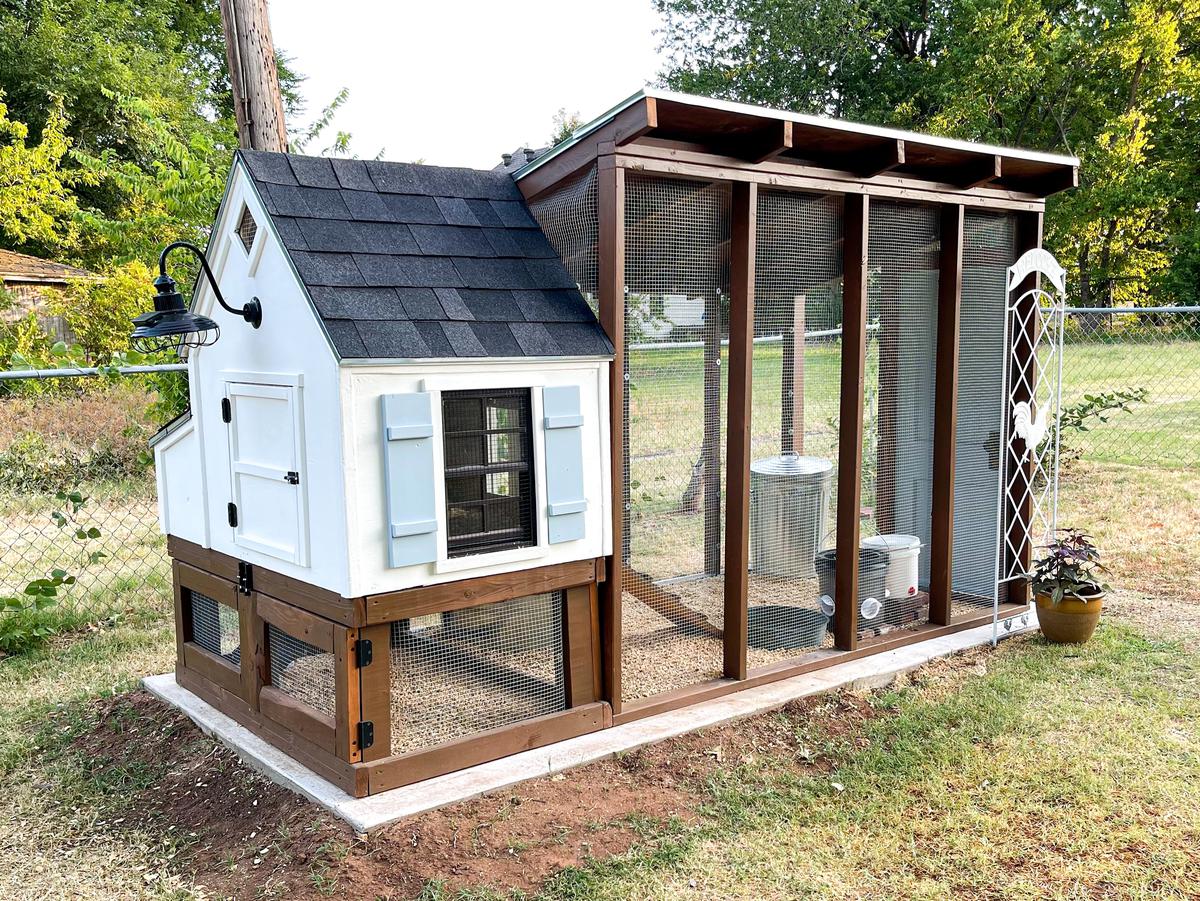
With your completed chicken coop, do an initial disinfecting clean before introducing your flock to their new home! Be sure to make any modifications needed as you gain experience caring for your chickens. Enjoy the rewarding experience of raising chickens in the hand-built coop you created just for them!
Step 5: Sheath Walls
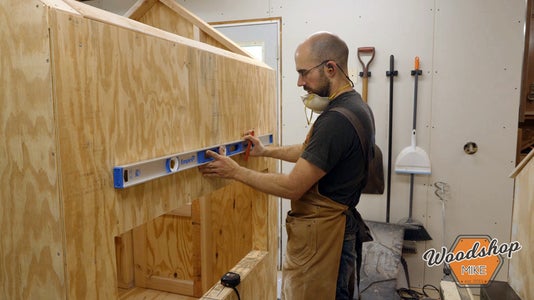
The next step is to sheath the walls. I cut the sheathing so that the seams fall in the middle of studs where necessary.
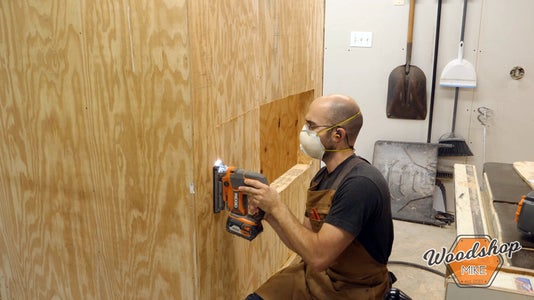
I used 2” nails to secure the sheathing to each stud.
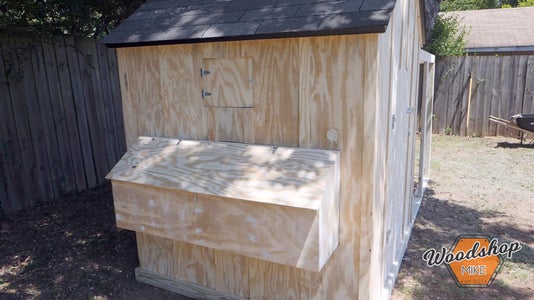
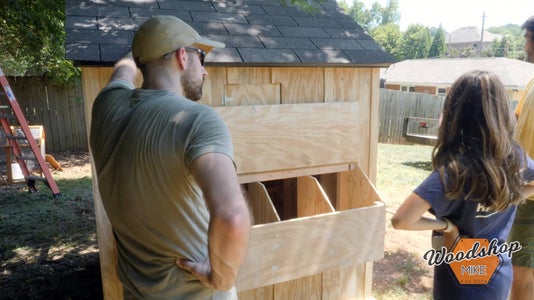
With the walls sheathed it’s time to cut some holes in it! There will be openings for the nesting box, entry door, chicken door, and window.
Step 6: Build Chicken Coop Nesting Box
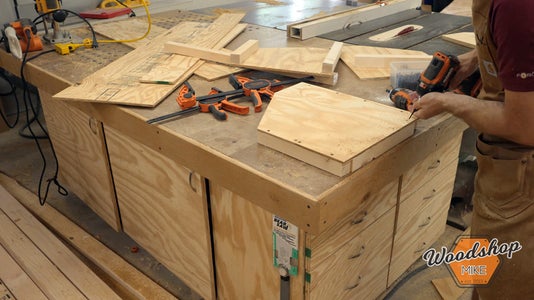
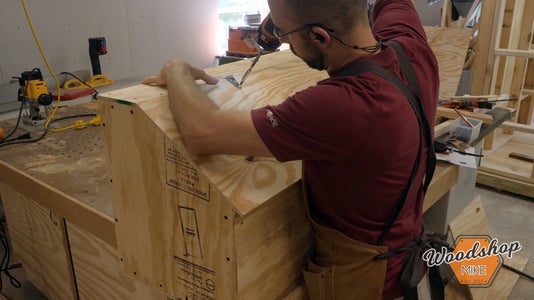
This nesting box is constructed with 2X2s and 7/16″ plywood. You could also build it from 3/4” plywood and use pocket hole construction if you preferred.
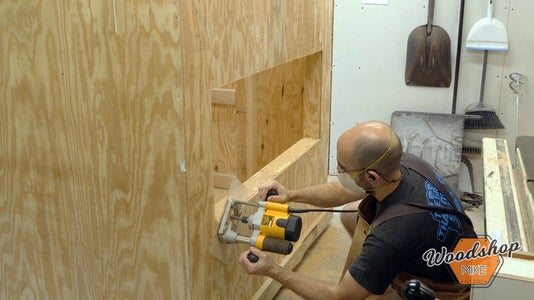
To make the box, I rough cut the ends and dividers first. I then clamped them all together and used a flush trim bit in my router to make them all identical.
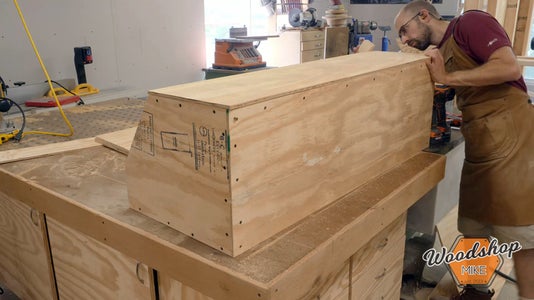
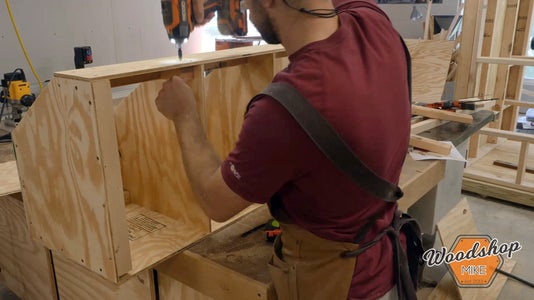
With that done, I secured 2X2s to each end piece. Then I added the remaining pieces to make the box.
After that, the dividers were installed per my plans and the lid was attached.
Why a Chicken Coop is Your Best DIY Project
FAQ
How to build a chicken house from scratch?
Gather Tools and Materials. Building a chicken coop begins with gathering the supplies and tools you need for the job. Cut Chicken Coop Pieces from Plywood. Paint Plywood for the Chicken Coop. Cut the Square-End Lumber. Cut 20-Degree Angled End Lumber. Build the Frames. Finish the Frame. Connect the Sides.
How much does a chicken house cost to build?
One of the most important things is the size of the coop; bigger coops are needed for bigger flocks. If you only need a small coop for a few chickens, your cost will be around $300, while a large coop for a dozen or more chickens will cost $500 to $2,000, depending on the size.
Is a 4×8 coop big enough for 12 chickens?
These 4×8 chicken coops can house a wide range of chickens. Since the Q48C is both a chicken run and a coop, it can’t fit as many chickens as the other models. The Q48C is a great choice for someone looking for a chicken coop for 6 chickens. Our D48 and Q48 chicken coops house 12-16 chickens.
How to build a simple poultry house?
The floor should be made of concrete with rat proof device and free from dampness. The floor of the house should be extended 1. 5 feet outside the wall on all sides to prevent rat and snake problems. The door must be open outside in case of deep-litter poultry houses. The size of door is preferably 6 x 2. 5 feet.