A marinated pork shoulder or butt roast recipe that is slow-cooked and very tender. It tastes great on its own and can be used in a lot of different ways. One of my go-to dishes for casual crowd entertaining.
Pork Boston butt also known as pork shoulder is one of the most flavorful cuts of pork that’s perfect for roasting. With the right technique, this tough cut transforms into juicy, tender meat that pulls apart effortlessly.
Cooking a Boston butt roast in the oven results in delicious pulled pork or roast pork that makes incredible sandwiches, tacos, soups and more. While it takes time, the hands-off oven method yields incredibly moist pork that’s loaded with flavor.
Follow this simple step-by-step guide to learn how to cook a pork Boston butt roast in the oven to juicy fall-apart perfection every time.
Benefits of Cooking Pork Butt Roast in the Oven
There are several advantages to using the oven to cook pork Boston butt roast:
- Requires minimal prep work. Simply season the meat and pop it in the oven.
- The low, slow roasting method breaks down tough connective tissues and fat, resulting in succulent, pull-apart meat.
- Cooking in its own juices leads to incredible depth of flavor in the pork.
- Leftovers can be used in many ways like tacos, pizza, sandwiches, soups, etc.
- Roasting is a more budget-friendly option compared to other cuts like pork tenderloin.
- Hands-off cooking leaves you free to prepare side dishes while the pork cooks.
Tips for Choosing a Pork Boston Butt Roast
- Weight – For pulled pork, choose a 4-6 lb roast to serve 6-8 people. Larger roasts work well for big gatherings.
- Fat marbling – Look for good marbling throughout the meat and a cap of fat on one side. This keeps the roast moist as it cooks.
- Bone-in or boneless – Bone-in roasts have more flavor but take a little longer to cook. The bone slides right out once cooked.
- Shape – Opt for a uniform shape to ensure even cooking. Avoid thin or oddly shaped sections.
- Color – Select a roast with reddish-pink color without any pale or dark spots.
- Packaging – Choose vacuum-sealed packaging for maximum freshness.
Step-by-Step Guide to Roasting Pork Butt in the Oven
Follow these simple steps for perfectly cooked oven-roasted pork butt:
1. Prepare the Pork Roast
- Take the roast out of the packaging and pat it completely dry with paper towels.
- Trim off any large chunks of fat, leaving about a 1⁄4 inch layer.
- Use a knife to poke holes all over the roast to allow seasonings and flavors to penetrate deeply.
2. Season the Pork Butt
- Generously season the entire roast with salt, pepper, garlic powder, smoked paprika, oregano, etc.
- You can also coat it with a wet rub, spice paste or herb-infused oil.
- For best results, season it at least 2-4 hours before roasting or even overnight.
3. Preheat Oven and Prepare Pan
- Preheat oven to 300°F.
- Place a wire roasting rack inside a large roasting pan or baking dish. This allows air circulation.
- You can add veggies like onions, carrots, potatoes beneath the roast to cook in the juices.
4. Roast the Pork Butt
- Place the seasoned pork roast on the rack fat side up.
- Roast for approx. 40 minutes per pound, until internal temp reaches 200°F.
- For a 4-6 lb roast, this is about 3-4 hours total.
- Baste the roast every 45 minutes with pan juices for added moisture and flavor.
5. Rest and Finish the Roast
- Once roast reaches 200°F, remove it from the oven.
- Tent it loosely with foil and let rest for 30 minutes.
- Increase oven temp to 450°F. Return roast to oven for 15-20 minutes to crisp and brown the outside.
- Check temperature again and remove roast when it reaches 205°F.
- Let it rest for 10 minutes more before pulling or slicing.
Tips for Cooking Pork Butt Roast
- For a smoky flavor, add smoked paprika, chipotle chili powder or cumin to the seasoning rub.
- Brining the roast overnight improves moisture retention and flavor.
- Use apple juice, root beer or Dr. Pepper in the roasting pan for sweet, caramelized pork.
- Monitor the internal temperature, not the cooking time, for perfect doneness.
- Letting the roast rest after cooking allows juices to redistribute for moist, tender meat.
- Cutting against the grain when slicing or pulling makes the pork more tender.
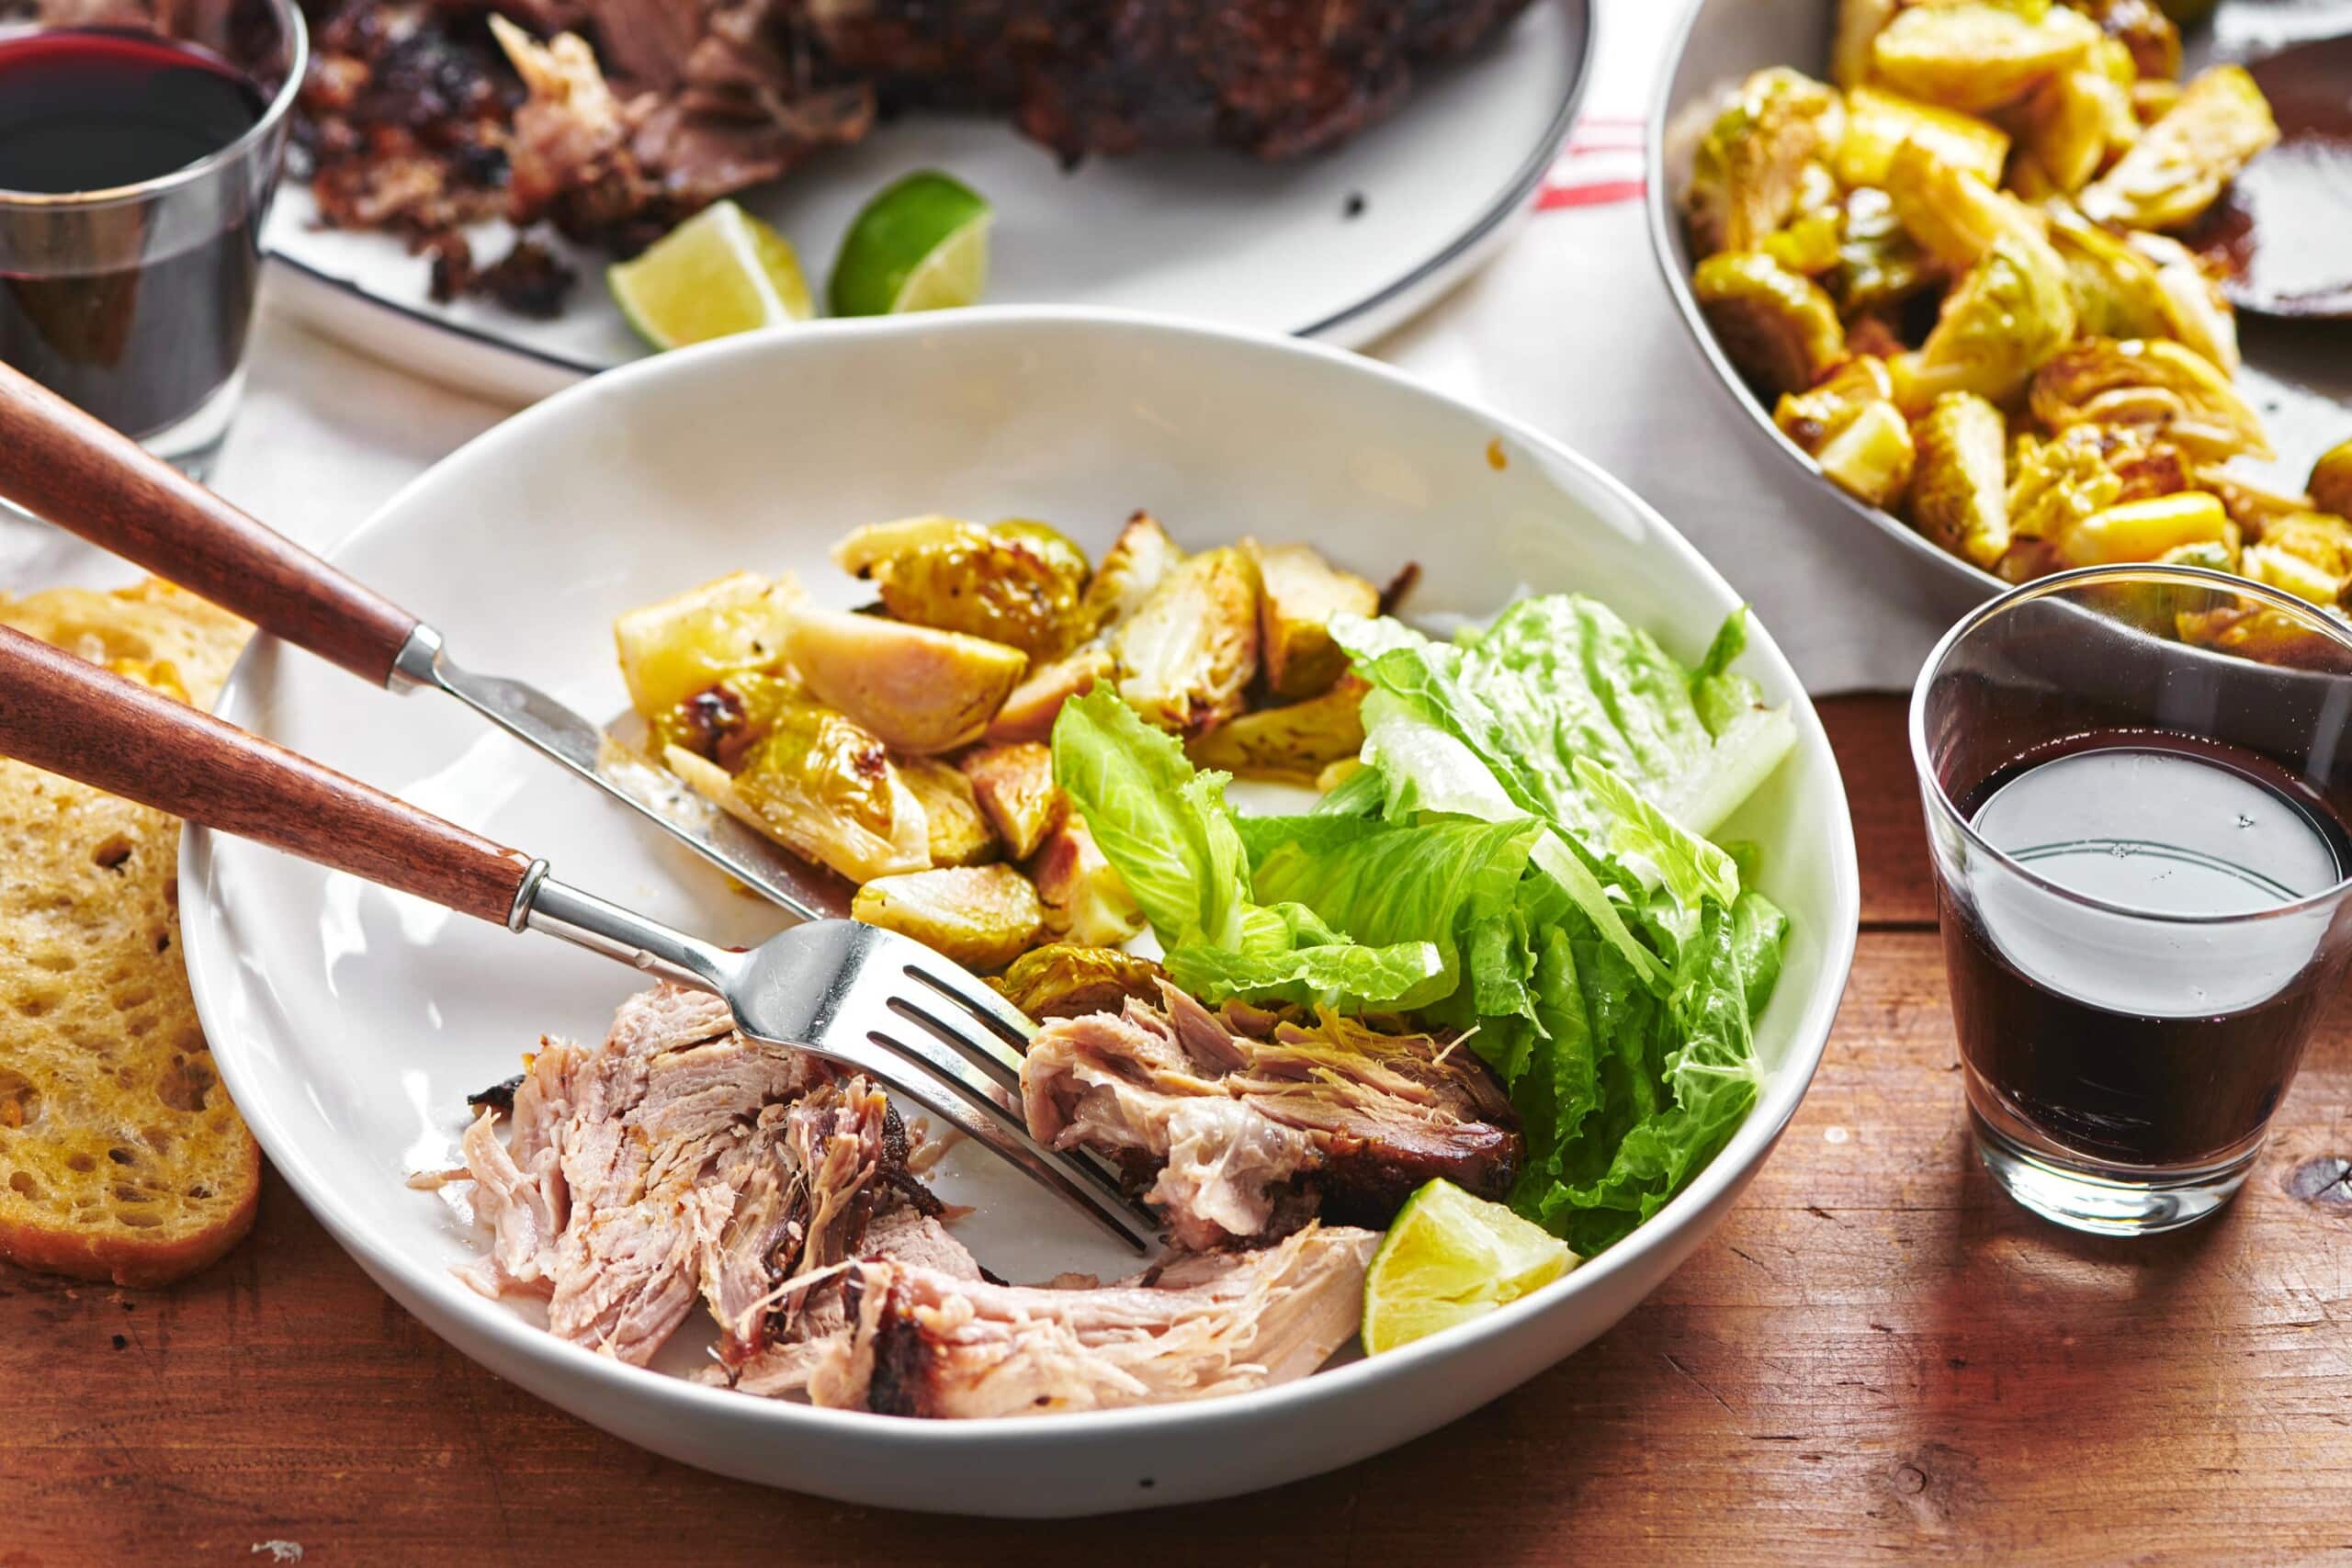
Serving Suggestions for Oven-Roasted Pork Butt
Pork Boston butt roast makes for amazing meals:
- Pulled pork sandwiches – Pile tender shredded pork on rolls with bbq sauce and coleslaw.
- Tacos – Top warmed corn tortillas with pulled pork, salsa, avocado, cilantro.
- Pizza – Shredded pork, caramelized onions and bacon on pizza is amazing.
- Soups – Use leftover pork in posole, ramen, chili, split pea or lentil soups.
- Salads – Toss roasted pork pieces in fresh green salads with vinaigrette.
- Casseroles – Mix shredded pork with rice, beans, corn and enchilada sauce and bake.
Storage Tips for Leftover Pulled Pork
- Store pulled pork in an airtight container in the fridge for up to 4 days.
- Portion pork into freezer bags or containers and freeze for 2-3 months.
- Thaw frozen pork in the fridge before using.
- Reheat gently in the oven or microwave with a splash of broth to prevent drying out.
With this easy step-by-step guide, you can now roast pork Boston butt roast to tender, juicy perfection. The oven does most of the work while you enjoy time with family and friends. Impress them with your own delicious, budget-friendly pulled pork any night of the week.

Low and Slow and Flexible
The flexibility of this recipe bears repeating, because it’s one of the best things about this dish. It won’t hurt the roast to leave it in the very low oven for another hour, two, or even three. The pork is roasted without a lid, which gives it a great crusty brown outside and a fall-apart tender inside.
Turn the heat up to 450°F if you think it needs a little more browning or caramelization at the end. for 15 minutes before pulling it out of the oven. Let it rest for a while so the fibers can loosen up and the juices can re-group.
Also, if everything goes as planned, the meat will be so soft that the slices won’t stick together. That’s part of the appeal.

For a Smaller Pork Shoulder Roast
If your roast is smaller than 6 pounds, you can still use the recipe fully successfully, just shorten the cooking time slightly. You still want to start it at high heat, in a preheated 450°F oven. Roast the pork for 20 minutes, then turn the heat down to 250°F and continue to cook for 4 to 7 hours until the middle of the roast registers 180°F on an internal thermometer, and as you slide the thermometer in you can feel that the meat is very tender throughout.
- For a 3-pound pork roast, heat the pan at 450°F for 20 minutes. Then, lower the heat to 250°F and cook for another 4 to 5 hours, until the meat registers 180°F in the middle.
- For a 4-pound pork roast, heat the pan at 450°F for 20 minutes. Then, lower the heat to 250°F and cook for another 4 1/2 to 5 1/2 hours, or until the thigh registers 180°F.
- For a 5-pound pork roast, heat the oven to 450°F for 20 minutes. Then, lower the heat to 250°F and cook for another 5 1/2 to 7 hours, or until the meat registers 180°F in the middle.
FALL-APART BOSTON BUTT PORK ROAST – Award Winning RECIPE
FAQ
Should I cover my pork roast in the oven?