For Edo•Mae (Tokyo) Style Sushi Restaurants, tuna is the definitive fish that showcases their quality, style, and artistry. The selection of tuna is a critical task for sushi chefs when visiting the fish market. It’s the main dish in the “omakase,” which is like the main dish in a French or Italian course meal.
Tuna is synonymous with a sushi restaurant, and for sushi chefs, a sushi establishment without Maguro/Tuna is inconceivable. Here are the detailed steps for making tuna sushi, both nigiri, and rolls:
Sushi lovers know that high-quality tuna is essential for creating tasty nigiri, sashimi, and rolls that melt in your mouth. But did you know that curing the tuna before using it can take your sushi to the next level?
Curing tuna for sushi involves treating it with salt and sometimes sugar to draw out moisture, condense the flesh, and infuse it with flavor. This results in tuna with a unique silky texture and enhanced taste.
Below is a step-by-step guide to teach you how to easily cure tuna at home to create show-stopping sushi
Why Cure Tuna for Sushi
Curing tuna provides several advantages that enhance the fish for sushi:
-
Removes moisture to condense the flesh – This gives it a smooth, velvety texture when sliced.
-
Enhances natural flavor – Drawing out liquid concentrates the savory umami taste.
-
Firms up the texture – Less moisture makes the tuna meat more dense.
-
Infuses seasoning – Salt, sugar, spices add extra flavor.
-
Improves slicing – Thinner slices hold together better.
So curing improves both the mouthfeel and taste of the tuna.
Step 1: Get High-Quality Tuna
The starting point is choosing tuna suitable for eating raw. Opt for sashimi or sushi-grade yellowfin, bigeye, or bluefin tuna. Make sure the tuna has:
-
Deep red flesh without brown spots
-
No “fishy” odor – should smell clean and briny
-
Ultra fresh – get it from a trusted fishmonger
For best flavor, use tuna steaks cut from the fattier belly portion. The higher fat content results in more luscious cured tuna.
Step 2: Prepare the Tuna
Rinse the tuna under cold water and pat dry with paper towels. Using a sharp knife, remove any bloodlines, skin, or discolored portions.
Cut the tuna into manageable fillets or steaks about 1-2 inches thick. Trim off uneven edges to square off the pieces – this allows for easier slicing later.
Step 3: Make Curing Mixture
In a small bowl, combine:
- 1⁄4 cup salt (use non-iodized salt like kosher or sea salt)
- 1⁄4 cup sugar
- 1 tbsp ground white pepper
- 1 tsp garlic powder
Mix thoroughly until well blended. This dry cure will draw moisture out of the fish. Feel free to experiment with spices like ginger, shiso, or sansho pepper for unique flavors.
Step 4: Cure the Tuna
Place tuna pieces in a baking dish or rimmed plate. Generously rub the curing mixture on all sides of the fish until completely coated.
Wrap the tuna tightly in plastic wrap. Refrigerate for 2-3 days, flipping the tuna over each day to cure evenly.
Step 5: Rinse and Pat Dry
After curing, unwrap the tuna and briefly rinse under cool water to remove any excess cure. Pat extremely dry with paper towels – removing all moisture is key.
Step 6: Slice the Cured Tuna
Use a very sharp sushi knife to cut thin slices across the grain. For nigiri, cut slices about 1⁄4 inch thick. For sashimi, slices can be slightly thicker at 1⁄2 inch.
Cut slowly in one long stroke. Cured tuna slices should hold together well without falling apart.
Step 7: Use Immediately or Store
You can use the cured tuna slices right away to create sushi. For later use, arrange slices in a single layer on a plate, wrap tightly in plastic, and refrigerate up to 3 days.
Tips for Curing Tuna
-
Chill all equipment and ingredients before curing. Keep tuna chilled while curing.
-
Flip tuna over daily during curing to ensure even exposure.
-
Rinse cured tuna well before slicing to remove excess salt.
-
Slice with the grain for meatier texture or against for tender slices.
-
Add sliced ginger or scallions as garnish to cured tuna nigiri.
-
Use soy sauce, yuzu kosho, or ponzu as a brush or dip for cured tuna sashimi.
Frequently Asked Questions
What’s the best tuna for curing?
Fatty red tuna like bluefin, yellowfin, or bigeye. Avoid leaner tuna like albacore or skipjack.
How long should you cure tuna?
2-3 days in the fridge, flipping daily. Don’t cure too long or it becomes overly salty.
Should you rinse cured tuna before slicing?
Yes, briefly rinse to remove excess cure then pat very dry before slicing.
How do you store cured tuna?
Wrapped tightly in plastic in refrigerator for up to 3 days. Keep slices in a single layer to prevent sticking.
Enjoy Silky Smooth Cured Tuna Sushi
Curing tuna at home does take some time but the results are incredibly worth it. The concentrated flavor and velvety texture make for heavenly sashimi and nigiri. Use this simple process to treat tuna and take your sushi making skills to exciting new heights.
Choose the Right Tuna
When referring to tuna for sushi, it generally means Maguro, the tuna with red flesh. There are three main types of Maguro used for sushi: Yellowfin, Bigeye, and Bluefin. Bluefin Tuna, also called white tuna, is used for sushi in the US and some parts of Japan.
Different parts of the tuna are worth different amounts of money. “Red” meat (A, B, C) is the least fatty, and Fatty Tuna Belly (Toro) (D, E) is the most valuable. D is the Fattiest Tuna Belly (O-Toro), while E is the Medium Fatty Tuna Belly (Chu-Toro). The tail section (C&F) contains the least fat.
Here is a diagram showing parts of bluefin tuna.

Red Meat: A, B, C F
Toro (Fatty Tuna Belly): D, E
Price (high to low): D, E, B, A, C&F
Courtesy of Australian Southern Bluefin Tuna Industry Association
Different parts of the tuna are worth different amounts of money. “Red” meat (A, B, C) is the least fatty, and Fatty Tuna Belly (Toro) (D, E) is the most valuable. D is the Fattiest Tuna Belly (O-Toro), while E is the Medium Fatty Tuna Belly (Chu-Toro). The tail section (C&F) contains the least fat.
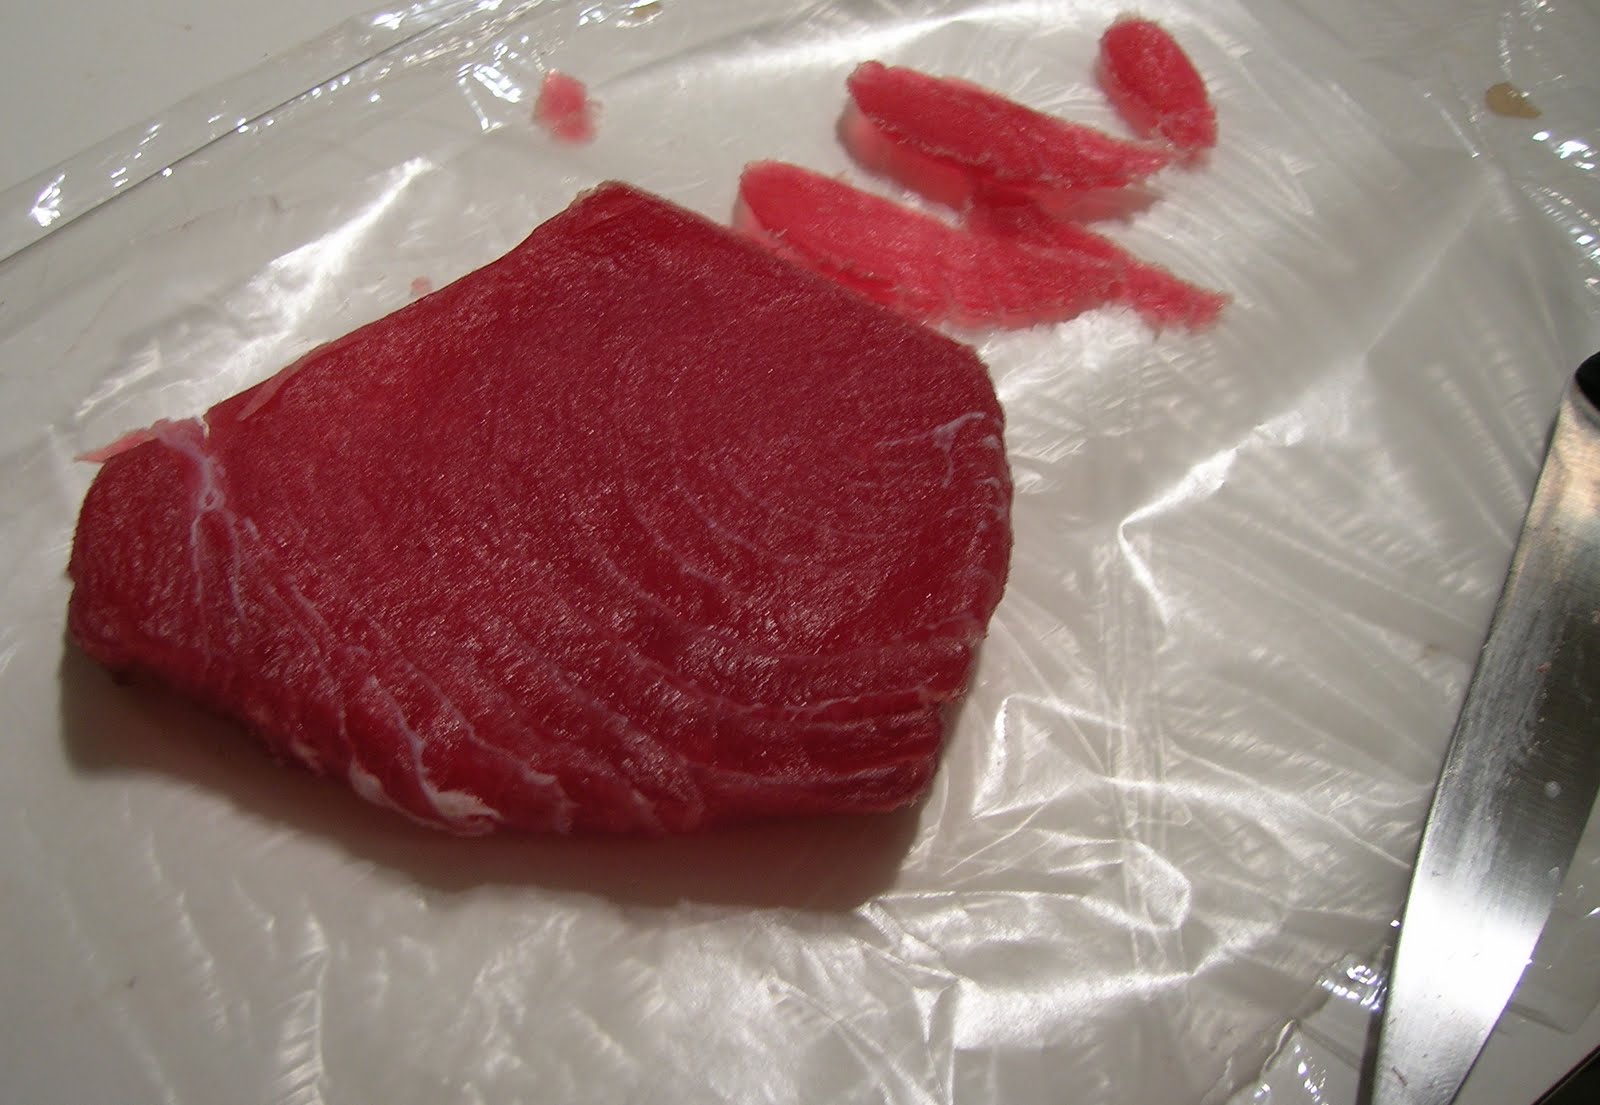
Here is a block of tuna, close to “E” in the diagram.

Courtesy of Australian Southern Bluefin Tuna Industry Association

from Photozou
Slice Thinly for Nigiri
For nigiri, cut the tuna against the grain at about a 30-degree angle and approximately 1/4″ thick. The thickness of the cut significantly impacts the taste of the nigiri. Thicker cuts enhance the tuna flavor, while thinner cuts may diminish it. To achieve the best result, experiment with various thicknesses.