Canned meat is the best way to keep food fresh without having to freeze and thaw it. When we process a whole deer, we love making venison, which is similar to beef but leaner. Canned meats can be made from chicken, pork, beef, or any other cut of meat. There are lots of recipes you can make with meat that has been canned. This is the full guide on how to can meat and what to do with it.
It’s easier than you think to can food at home. It’s so fun to keep foods like pickled tomatoes, strawberry jam, and Polish dill pickles. These recipes require heating the jars to create a vacuum seal and kill the organisms that would spoil. For food storage, without canning, you may want to check out our sauerkraut recipe or pickled cabbage.
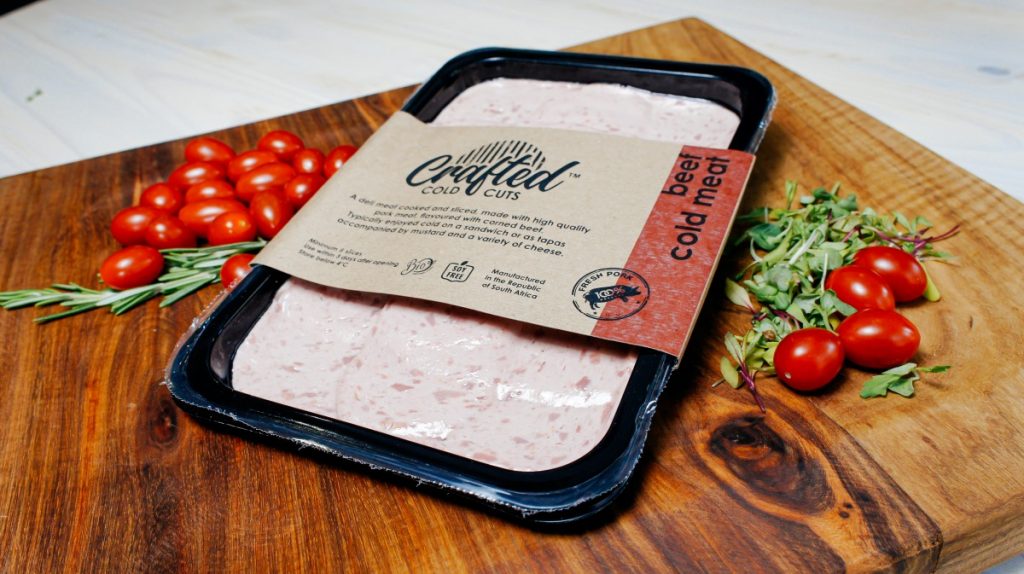
Canning beef at home is a great way to preserve meat for future use Cold packing beef to can it is one of the easiest methods for safely preserving meat at home This article will provide a complete guide on how to cold pack beef step-by-step.
What is Cold Packing?
Cold packing refers to filling jars with raw, unheated food prior to processing in a pressure canner. This method is commonly used for canning meat, since cooking the meat first can cause it to lose its shape and shrink down in size.
With the cold pack method raw meat cubes or chunks are placed directly into the canning jars. The jars are then filled with boiling water or broth before sealing and pressure canning. The raw meat cooks during the canning process resulting in tender, cooked meat that holds its shape nicely.
Benefits of Cold Packing Beef
There are several advantages to cold packing beef and other meats:
-
Maintains texture and shape – Since the meat isn’t pre-cooked, it retains its original size and texture. This results in attractive, thick pieces of meat in the jar.
-
Saves time – Skipping the cooking step prior to canning streamlines the process. You simply cube the meat, pack the jars, and pressure can.
-
Preserves juiciness – Cold packed meat remains moist and juicy after canning. Pre-cooking meat can cause it to become dry.
-
Allows custom cooking later – Since the meat isn’t fully cooked, you can season and cook it to your liking after opening the jar.
Equipment Needed
Canning beef requires some special equipment to ensure safety. Here’s what you’ll need:
-
Pressure canner – A pressure canner is necessary to achieve the high temperatures needed to kill bacteria when canning meat. A water bath canner cannot be used.
-
Canning jars – Use only high-quality glass canning jars made for home preserving. Pints or quarts work well for canning meat.
-
Jar lifter – This specialized tool helps you safely maneuver hot jars in and out of the canner.
-
Canning funnel – A wide-mouth funnel makes it easy to neatly fill the jars with meat.
-
Bubble removal tool – A non-metal utensil like a wooden chopstick helps release air bubbles trapped in the jars before sealing.
Ingredients
Canning beef is a simple process with minimal ingredients needed:
-
Beef – Use high-quality, fresh beef with a good ratio of fat to lean meat. Chuck roast and stew meat work very well. Trim off excess fat before cutting the meat.
-
Broth or water – Either broth or plain water can be used as the filling liquid for the jars. Broth adds extra flavor.
-
Salt (optional) – For flavor, add 1 tsp salt per pint or 2 tsp per quart. It is not necessary for preservation.
Step-by-Step Instructions
Follow these simple steps for successfully cold packed canned beef:
-
Prepare the meat: Cut beef into 1-inch cubes. Remove any large pieces of fat, gristle, or silver skin.
-
Sterilize the jars and lids: Wash jars and lids in hot, soapy water. Rinse well. Place jars in a large pot of water, filling with enough water to cover them by 1-2 inches. Bring to a boil and leave boiling for 10 minutes. Turn off heat and leave jars in the water until ready to use.
-
Make the broth: (If using). In a saucepan, combine 4 cups water with salt, peppercorns, bay leaves, and other desired seasonings. Bring to a boil, then reduce heat and simmer 10 minutes. Remove from heat and set aside.
-
Fill the jars: Using a canning funnel, pack the raw beef cubes into the jars leaving 1 inch of headspace. Do not compress the meat down.
-
Add hot broth: Ladle the hot broth or plain boiling water over the meat, leaving 1 inch of headspace. Water should cover the meat by at least 1 inch.
-
Remove air bubbles: Slide a bubble removal tool down along the inside of the jars to release trapped air pockets. Add more broth if needed to maintain headspace.
-
Wipe rims and seal: Wipe the jar rims with a clean, damp cloth to remove any food residue. Center lids on jars and screw on bands just until fingertip tight.
-
Process the jars: Place jars on the rack in the pressure canner. Lock the lid in place. Bring to high pressure and maintain for 90 minutes for pints or 105 minutes for quarts. Allow canner to depressurize naturally.
-
Cool and store: Carefully remove jars from canner. Allow to cool undisturbed for 12-24 hours. Check lids for proper sealing, then store in a cool, dark place.
And that’s it! Now you have delicious, homemade canned beef ready for meals, soups, casseroles and more. Always use safe home canning practices and properly maintained equipment for the best results. Enjoy your canned beef!
Frequently Asked Questions
What types of beef work best for canning?
Chuck roasts and stew meat are excellent choices due to their fat content and texture. Brisket also cans well. Avoid very lean cuts like sirloin.
Can I add seasonings to the jars?
Yes, you can add salt, pepper, herbs, or other seasonings to the jars. Avoid acidic ingredients like tomato sauce.
Is it safe to can ground beef?
Ground meats are not recommended for home canning because they may not reach a high enough internal temperature throughout the canning process.
How long will properly canned beef last on the shelf?
If stored in a cool, dark place, canned beef can last 2 to 5 years. Always inspect jars before opening and never consume beef from a jar with an unsealed lid or any signs of spoilage.
Can I reuse beef broth leftover from filling the jars?
No, you should not reuse broth that has come into contact with raw meat. After ladling broth into the canning jars, discard any excess.
Canning beef by the cold pack method allows you to stock your pantry with tender, flavorful meat ready to use anytime. Follow proper procedures carefully and enjoy delicious homemade canned beef.
Can I Use a Pressure Cooker?
Yes! It is safe to use a pressure cooker like an instant pot for canning meat because an Instant pot reaches up to 244°F at high pressure which is safe for canning. If you wish to use another pressure cooker, please look into the owner’s manual and check up to which temperature the cooker reaches, at high pressure. I’ve used it as a pressure canner multiple times with successful seals, however, the downside to that is that it will only fit 2-quart jars or 3-4 pints. Also please be sure to follow the same canning time, pressure canning with a pressure cooker is equivalent to 10lbs of pressure in a pressure canner (which reaches 240°F,) so, do follow the same canning time.
What Is Canned Meat?
Basically, canned meat is made by putting raw meat into jars and using a pressure canner (or an Instant Pot pressure cooker; more on that below) to seal them. ) This method of home canning is safe and is a genius way of preserving meat. To keep the meat safe, the jars must be heated under pressure to 240°F so that the lids vacuum seal and kill any organisms that could make the meat go bad. If you follow this canned venison recipe, you will be able to can meat of all kinds. So that the vacuum seal for shelf-long jars works, the process is the same for all cubed low-acid meats, even chicken. Each jar needs to reach that temperature for the vacuum seal to work.