Smoking a whole chicken is a classic and popular way of preparing a delicious, juicy, and flavorful meal. Smoking not only imparts an amazing smoky flavor to the chicken but also seals in juices and moisture, leaving you with a moist and succulent bird that is sure to impress. Smoking chicken isn’t hard, and there are a few easy steps you can follow to get the perfect smoky flavor. If you have the right tools, do some simple prep work, and wait a little while, smoking a whole chicken can be a tasty and easy experience. Lets take a look at the steps to smoking a whole chicken.
This guide is about cooking a whole chicken. If you’d like to learn more about the Spatchcock and Beer Can methods, click on the links below.
Hey there fellow grill enthusiasts! Today I’m super excited to share with y’all my absolute favorite way to impress dinner guests without spending the entire day babysitting a grill Yep, we’re talking about smoking a whole chicken on a pellet grill – the perfect balance of “looks impressive” and “actually pretty simple to pull off”
Unlike those marathon smoking sessions for brisket or pulled pork that’ll have you up at dawn a smoked chicken requires way less time but delivers massive flavor. And trust me once you master this technique, you’ll be making it for everything from casual Sunday dinners to holiday feasts!
Why Smoke a Whole Chicken?
Before we dive into the how-to, let’s talk about why smoking a whole chicken is absolutely worth your time:
- Versatility: Use the meat in sandwiches, salads, tacos, or as your main protein
- Cost-effective: Whole chickens give you more bang for your buck than pre-cut pieces
- Impressive presentation: Nothing says “I know what I’m doing” like serving a perfectly smoked whole bird
- Leftovers for days: Cook once, eat multiple times (if your family doesn’t devour it all at once!)
Essential Equipment
To smoke a whole chicken on your pellet grill, you’ll need:
- A pellet grill (obviously!)
- Wood pellets (more on flavor choices below)
- Meat thermometer (preferably wireless)
- Butcher’s twine (for trussing)
- Large bowl or container (if brining)
- Your favorite rub or seasonings
Step 1: Prepping Your Chicken (The Secret to Juiciness)
The difference between a good smoked chicken and an AMAZING smoked chicken often comes down to preparation Let’s break it down
Brining: Your Best Friend for Juicy Chicken
Because it takes between 2 and 4 hours, brining your chicken is definitely worth the time. It will give the meat a lot of flavor and keep it very juicy while it’s smoking.
Here’s my basic brine recipe:
- 1 gallon of water
- 1/2 cup salt (or 1 cup kosher salt)
- 1 cup brown sugar
- Optional: garlic cloves, herbs, citrus slices, or a tablespoon of your favorite BBQ sauce
Mix it all together until the sugar and salt are gone, then put your chicken all the way down. Put in the fridge for at least 4 hours, but overnight is even better. But don’t leave it for more than 24 hours, or it will taste too salty!
Dry Brining: The Quick Alternative
Short on time? Try dry brining instead:
- Pat the chicken dry with paper towels
- Generously salt the outside of the bird
- Place it on a rack in the refrigerator for at least an hour
- The salt will dissolve into the skin and penetrate the meat
Flavor Injection: Level Up Your Game
Wanna get fancy? Consider injecting your chicken with flavor! You can use:
- Store-bought injection marinades
- Simple chicken broth
- Your own mixture of dissolved seasonings
This gets flavor deep into the meat where dry rubs can’t reach.
Step 2: Seasoning Your Bird
After brining and patting dry, it’s time to add some flavor to the outside:
Rub Options
You can go simple with just salt and pepper, or try one of these flavor profiles:
- Classic BBQ: Paprika, brown sugar, garlic powder, onion powder, black pepper
- Herb Garden: Rosemary, thyme, sage, garlic, lemon zest
- Spicy Southwest: Chili powder, cumin, oregano, garlic, cayenne
Don’t forget to season the cavity too! I like stuffing mine with:
- Lemon halves
- Quartered onion
- Whole garlic cloves
- Fresh herb sprigs (thyme or rosemary work great)
Trussing for Even Cooking
Before your chicken hits the grill, take a minute to:
- Tuck the wing tips under the bird to prevent burning
- Tie the legs together with butcher’s twine to keep the bird compact
This helps it cook more evenly and look prettier when served!
Step 3: Smoking Your Chicken
Now for the fun part – actual smoking!
Temperature Settings
The best smoke flavor comes from grilling between 180°F and 225°F. Now is the time to use the “Super Smoke” setting on your grill!
Wood Pellet Selection
The type of wood pellets you choose will affect the flavor profile:
- Cherry or Apple: Mild, sweet flavor – great for chicken
- Hickory: Stronger, more traditional BBQ flavor
- Mesquite: Bold, earthy flavor
- Signature Blend: A balanced mix that works with everything
I personally love cherry pellets with chicken, but experiment to find your favorite!
Smoking Time
In general, it takes three to four hours for a whole chicken cooked at 225°F to reach the safe internal temperature of 165°F. Factors that affect cook time include:
- Size of your chicken
- Starting temperature of the meat
- Whether you spatchcocked it (more on that below)
- Weather conditions
Getting Crispy Skin
One challenge with smoking at low temps is getting crispy skin. Try one of these methods:
- Method 1: Smoke at 225°F for about an hour, then increase to 350°F until done
- Method 2: Pat the skin very dry before smoking and avoid spritzing
- Method 3: Spatchcock the chicken (flatten it) for more even cooking and better skin exposure
The Spatchcock Option
Spatchcocking (removing the backbone so the chicken lays flat) has several advantages:
- Cooks more quickly and evenly
- More surface area for smoke flavor
- Better skin exposure for crispiness
To spatchcock:
- Place chicken breast-side down
- Cut along both sides of the backbone with kitchen shears
- Remove backbone and save for stock
- Flip chicken over and press down firmly on breastbone to flatten
- Tuck wing tips behind shoulders
A spatchcocked chicken will typically cook in 60-90 minutes at 225°F, making it perfect for weeknight dinners!
How to Know When It’s Done
ALWAYS use a meat thermometer! The chicken is safe to eat when:
- Breast meat reaches 165°F
- Thigh meat reaches 165-175°F (I prefer 170°F for tender thighs)
Insert the thermometer into the thickest part of the breast, making sure not to touch bone.
Resting: The Final Secret
Don’t skip this step! Let your chicken rest for at least 15 minutes after removing from the grill. This allows the juices to redistribute throughout the meat instead of running out when you cut into it.
For best results, loosely tent with foil but don’t wrap tightly (that’ll make your crispy skin soggy).
Carving Your Masterpiece
To carve your smoked chicken:
- Remove the legs/thighs by cutting through the joint
- Separate thighs from drumsticks if desired
- Remove wings at the joint
- Slice along each side of the breastbone
- Cut breast meat into slices against the grain
Perfect Side Dishes for Smoked Chicken
Your amazing smoked chicken deserves equally delicious sides! Try these:
- Loaded baked potato salad
- Creamy mac and cheese
- Roasted green beans with bacon
- Collard greens
- Cornbread
- Coleslaw
Common Problems & Solutions
Dry Meat
- Problem: Chicken came out dry
- Solution: Use a brine next time, and don’t overcook! Monitor that internal temp carefully
Rubbery Skin
- Problem: Skin isn’t crispy
- Solution: Try the “smoke then sear” method or spatchcock the chicken
Too Smoky
- Problem: Overwhelming smoke flavor
- Solution: Use milder wood pellets or shorter smoke time at low temp
FAQ About Smoking Whole Chicken
Q: Should I rinse the chicken before smoking?
A: The USDA actually advises against rinsing chicken as it can spread bacteria around your kitchen. Instead, just pat it dry with paper towels.
Q: Should I spritz the chicken while smoking?
A: If you want crispy skin, avoid spritzing. If you’re more concerned with moisture than crispy skin, a light spritz of apple juice or chicken broth every 45 minutes can help.
Q: How do I store leftover smoked chicken?
A: Refrigerate within two hours of cooking and use within 3-4 days. It also freezes well for up to 3 months!
Q: Can I smoke a frozen chicken?
A: No, always fully thaw your chicken before smoking for food safety and even cooking.
My Final Tips for Success
After smoking about a gazillion chickens (okay, maybe like 50), here’s what I’ve learned:
- Don’t rush it: Low and slow is the way to go for maximum flavor
- Invest in a good thermometer: Seriously, this makes ALL the difference
- Experiment with flavors: Try different rubs, brines, and wood pellets
- Practice makes perfect: Each time you smoke a chicken, you’ll learn something new
So there ya have it – everything you need to know about smoking a whole chicken on your pellet grill! It’s one of the most rewarding and foolproof ways to use your smoker, and I guarantee once you try it, you’ll be hooked.
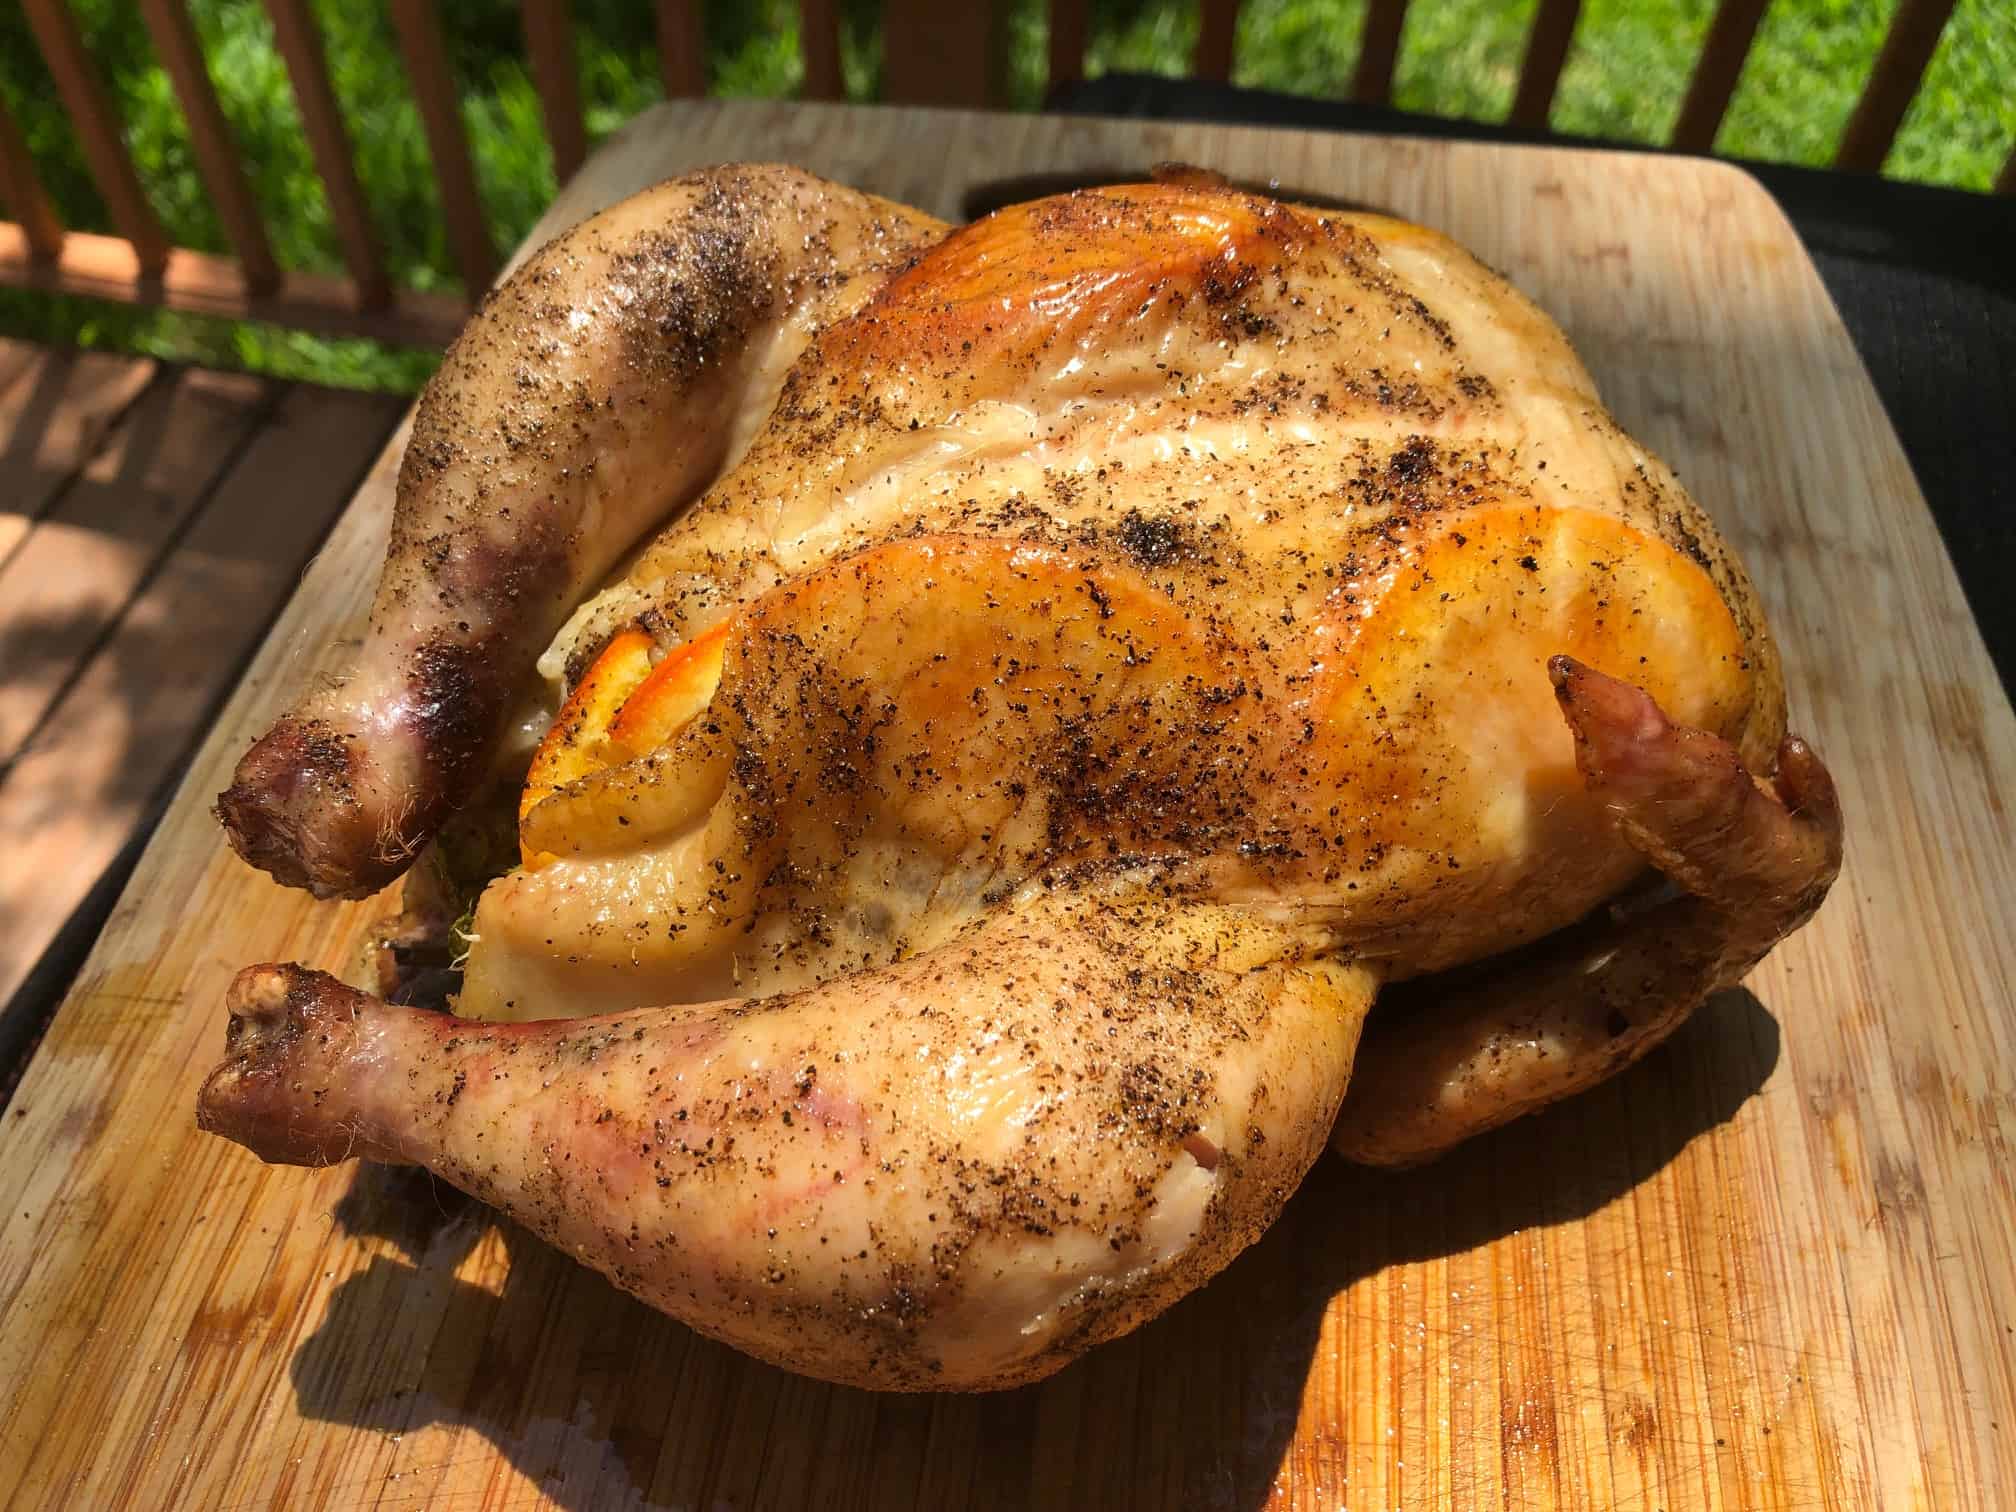
Smoking a whole chicken on a pellet grill
It’s really simple and really close to being a “set it and forget it” job. Preheat your pellet grill to 325°F, place the chicken breast side up, and let it smoke for 45 minutes to an hour. Once the bird has reached 165°F in the breast and 175-195°F in the thigh, remove the chicken and let it rest for 10-20 minutes before slicing and serving.
How to choose a whole chicken to smoke
Choosing the right bird can make all the difference between a good meal and a GREAT meal. The best choice would be a fresh hen from the farm, but if that’s not possible, here are some things to look for at your local metromart:
- Get an empty slate. Look for a fresh, raw bird that hasn’t been seasoned or brined in any way ahead of time. This gives you full control over the taste and amount of sugar and salt.
- Check before you buy. Try to find chickens with as few cuts and tears in their skin as possible. If there are blood spots on the skin, it means the chicken was under a lot of stress from the farm to the market. This can make the meat tough even if it was cooked at the right temperature.