I’ve been there, too. Have you ever taken a chicken out of the oven and found that the top was burned but the inside was still raw? Or maybe the bottom was charred but the skin was still pale and rubbery? The answer might be easier than you think. Which oven rack you use is often the most important thing that determines how well your chicken turns out.
As a home cook who’s ruined more chickens than I’d like to admit, I’ve learned through trial and error (and lots of research) that proper rack placement can make or break your chicken dinner. Today, I’m sharing everything I’ve discovered about this often overlooked aspect of chicken cookery.
The Middle Rack: Your Go-To Position for Chicken
Only one thing you should remember from this article is that chicken should be cooked on the middle rack. This is not just my opinion; it’s what many chefs agree on and what many trustworthy sources say.
Why is the middle rack so magical for chicken? It’s all about heat distribution. The middle rack offers the perfect balance of heat from both the top and bottom heating elements in your oven. This creates an environment where your chicken can cook evenly throughout, with the breast and thighs cooking at approximately the same rate – a crucial factor when preparing a whole bird.
But let’s dig deeper into why the middle rack works so well:
- Even heat circulation: Hot air can flow freely around all sides of the chicken
- Balanced cooking: Equal distance from both heating elements
- Versatility: Works well for most chicken preparations (whole, pieces, casseroles)
- Reduced risk: Minimizes the chance of burning the bottom before the top browns properly
As Richard Wilson from CookedByTaste notes, “The middle rack represents a more balanced heat zone, ideal for even cooking.” This positioning ensures that your chicken cooks uniformly without parts being dried out or undercooked.
When to Use the Bottom Rack for Chicken
While the middle rack is generally best, there are specific situations where the bottom rack shines. The bottom rack is nearest to the lower heating element (in most electric ovens), making it significantly hotter at the base.
Consider using the bottom rack when:
- You want extra crispy skin on the bottom of chicken pieces
- You’re cooking a spatchcocked (butterflied) chicken
- You’re working with thicker, bone-in pieces like thighs or drumsticks
- You’re baking chicken in a deep dish or casserole that needs heat from below
The bottom rack is particularly useful for “crisping the bottom of the chicken,” as noted in the CookedByTaste article. However, a word of caution – when using the bottom rack, you’ll need to monitor your chicken more carefully as there’s a higher risk of burning before the interior is fully cooked.
The Top Rack: When and Why to Use It
On the top rack, your chicken will be closest to the upper heating element. Depending on your goals, this could be a good or bad thing.
The top rack is ideal for:
- Browning the skin quickly in the final stages of cooking
- Crisping the tops of chicken pieces
- Broiling thin cuts like chicken cutlets
- Getting that perfect golden-brown finish on a whole chicken
“The upper rack brings the chicken closer to the broiler, which can help get a deeply browned and caramelized skin,” says Chef’s Resource. This can help a lot if your oven has trouble getting the middle rack-mounted chicken brown.
However, I’ve learned through painful experience that you need to watch your chicken like a hawk when using the top rack! The proximity to the heating element means things can go from “perfectly golden” to “charcoal briquette” in minutes.
Optimal Rack Placement for Different Chicken Preparations
Different chicken preparations benefit from different rack positions. Here’s a handy guide:
| Chicken Type | Best Rack Position | Alternative Position | Notes |
|---|---|---|---|
| Whole Chicken | Middle | Lower-middle for convection | Use a roasting rack inside your pan |
| Chicken Breasts | Middle | Top (last few minutes only) | Watch carefully if moved to top rack |
| Chicken Thighs/Drumsticks | Middle | Bottom for crispy skin | Monitor closely on bottom rack |
| Spatchcock Chicken | Middle | Bottom | Flattened shape helps even cooking |
| Chicken Wings | Middle | Bottom for extra crisp | Use a wire rack for maximum crispiness |
| Chicken Casserole | Middle | N/A | Ensures even cooking throughout |
Factors That Might Change Your Rack Choice
While the middle rack is generally best, several factors might cause you to adjust your approach:
1. Your Oven Type
Convection ovens circulate hot air with a fan, creating more even heat distribution throughout. In a convection oven, you might consider using the lower-middle rack for whole chickens to prevent the top from browning too quickly. Also, remember to reduce your temperature by about 25°F (15°C) when using convection.
2. Your Baking Pan
The material and color of your baking pan significantly affect how heat transfers to your chicken:
- Dark pans absorb more heat and can lead to faster browning, especially on the bottom
- Glass pans heat more slowly but retain heat well
- Metal pans conduct heat efficiently
If using a dark pan, you might want to position your rack slightly higher than usual to prevent the bottom from burning.
3. Oven Hot Spots
Most ovens have hot spots where the temperature runs higher. If you know your oven has a hot spot on the bottom, raise your rack position slightly. Conversely, if the hot spot is at the top, lower the rack.
Troubleshooting Common Chicken Baking Problems
We’ve all had chicken disasters. Here’s how rack position can help solve common problems:
Problem: Chicken skin isn’t crispy enough
Solution: Try moving the chicken to a higher rack for the last 10-15 minutes of cooking, or use the broiler function briefly.
Problem: Bottom of chicken is burning before the inside cooks
Solution: Move the rack higher in the oven, away from the bottom heating element.
Problem: Top is browning too quickly but inside is raw
Solution: Lower the rack position and tent with foil to deflect direct heat.
Problem: Uneven cooking (one side more done than the other)
Solution: Stay with the middle rack but rotate the pan halfway through cooking.
Pro Tips for Perfect Oven-Baked Chicken
Beyond rack position, here are some additional tips I’ve learned for perfect chicken:
-
Use a meat thermometer: The safe internal temperature for chicken is 165°F (74°C). No guesswork needed!
-
Pat the chicken dry: Before baking, pat the chicken dry with paper towels. This helps the skin crisp up more effectively.
-
Let it rest: After baking, let the chicken rest for 10-15 minutes before carving. This allows the juices to redistribute, resulting in a more tender bird.
-
Consider using a roasting rack: Elevating the chicken on a rack inside your baking pan allows hot air to circulate underneath for more even cooking.
-
Baste sparingly: While basting adds flavor, doing it too frequently can lower the oven temperature and prolong cooking time.
Cooking Times and Temperatures
While rack position is important, so are time and temperature. Here’s a quick reference:
- Whole chicken: 20-25 minutes per pound at 375°F (190°C)
- Chicken pieces: 35-45 minutes at 400°F (200°C)
- Boneless chicken breasts: 20-30 minutes at 375°F (190°C)
- Bone-in chicken thighs: 35-40 minutes at 400°F (200°C)
Remember, these are just guidelines. Always use a meat thermometer to verify doneness!
Final Thoughts
To sum up what we’ve learned: the middle rack is your best friend when cooking chicken in the oven. It provides the most balanced heat environment for even cooking and reliable results. However, don’t be afraid to move up or down depending on your specific chicken preparation, oven type, or desired outcome.
What’s your experience with oven rack positioning when cooking chicken? Have you found certain positions work better in your oven? I’d love to hear your thoughts and experiences in the comments below!
It’s Hotter at the Top
Since the oven’s heating element does not always stay on and only emits intermittent bursts of intense heat, it is consistently hotter near the top of the oven. So, as a general rule of thumb, put it on the lowest rack if you need something to brown very well on the bottom, such as pizza or a pie crust.
Put it on an upper rack if you want something to brown nicely on the top, such as a casserole. The middle rack is the happy medium, applying fairly consistent heat from the top to the bottom of whatever you’re baking.
One thing to consider with middle-rack cooking is how deep the cooking vessel is. Do you want the center of the food in the middle of the oven or the vessel’s base in the middle?.
If you’re baking a 2-inch cake, putting the pan on the middle rack is fine.
When you bake a Bundt cake, the pan should be in the bottom third of the oven. The cake should be 4 inches thick when it’s done. This allows the center of the cake to be in the oven’s center.
How Important Is Oven Rack Placement?
Think oven rack placement doesn’t matter? Think again.
Where you position your dish in the oven can make the difference between a golden-brown crust and a soggy bottom. Whether you’re baking a delicate cake or roasting hearty vegetables, understanding the nuances of oven rack positions is key to culinary success.
Let’s dive into the art and science of oven rack placement to elevate your cooking game.
Someone emailed me this question a while back: Which oven rack position do you use for different applications? For instance, baking cakes, cookies, etc. ; braising, bread, roasting meats, etc. Ӭ Thanks.
I realized that I had never really thought about which rack to use. So I follow the recipe’s directions, such as “Set rack in the bottom third of the oven” or “Bake in the middle of the oven. ”.
If it’s something I rarely think about, it’s something that most other home cooks likely overlook.
What if we don’t have a recipe or if a friend writes one down for us but doesn’t say which rack to use? What if we want to warm up some casserole? Then what?.
Oven manufacturers wouldn’t adjust the racks if it weren’t helpful. And that’s where this response comes in. We can get the most out of those racks that can be moved if we know how ovens heat up.
Most ovens are insulated metal boxes containing two heating elements, one on the top and one on the floor. During preheating, both elements heat up, but when in baking mode, all the heat comes from the bottom.
The bottom heating element cycles on and off to maintain a temperature at the average set point. For example, if you set your oven to 350°F, the temperature can fluctuate from approximately 325°F to around 375°F; however, over time, it averages out to 350°F.
Intense heat is generated when the heating element is on. Since heat rises, this extremely hot air rises to the top of the oven, where it cools slightly — by fractions of a degree.
When the air cools, it falls again, only to be heated by the element again. This sets up a gentle convective current, even without a convection oven. (A convection oven quickly circulates heated air through a fan.)
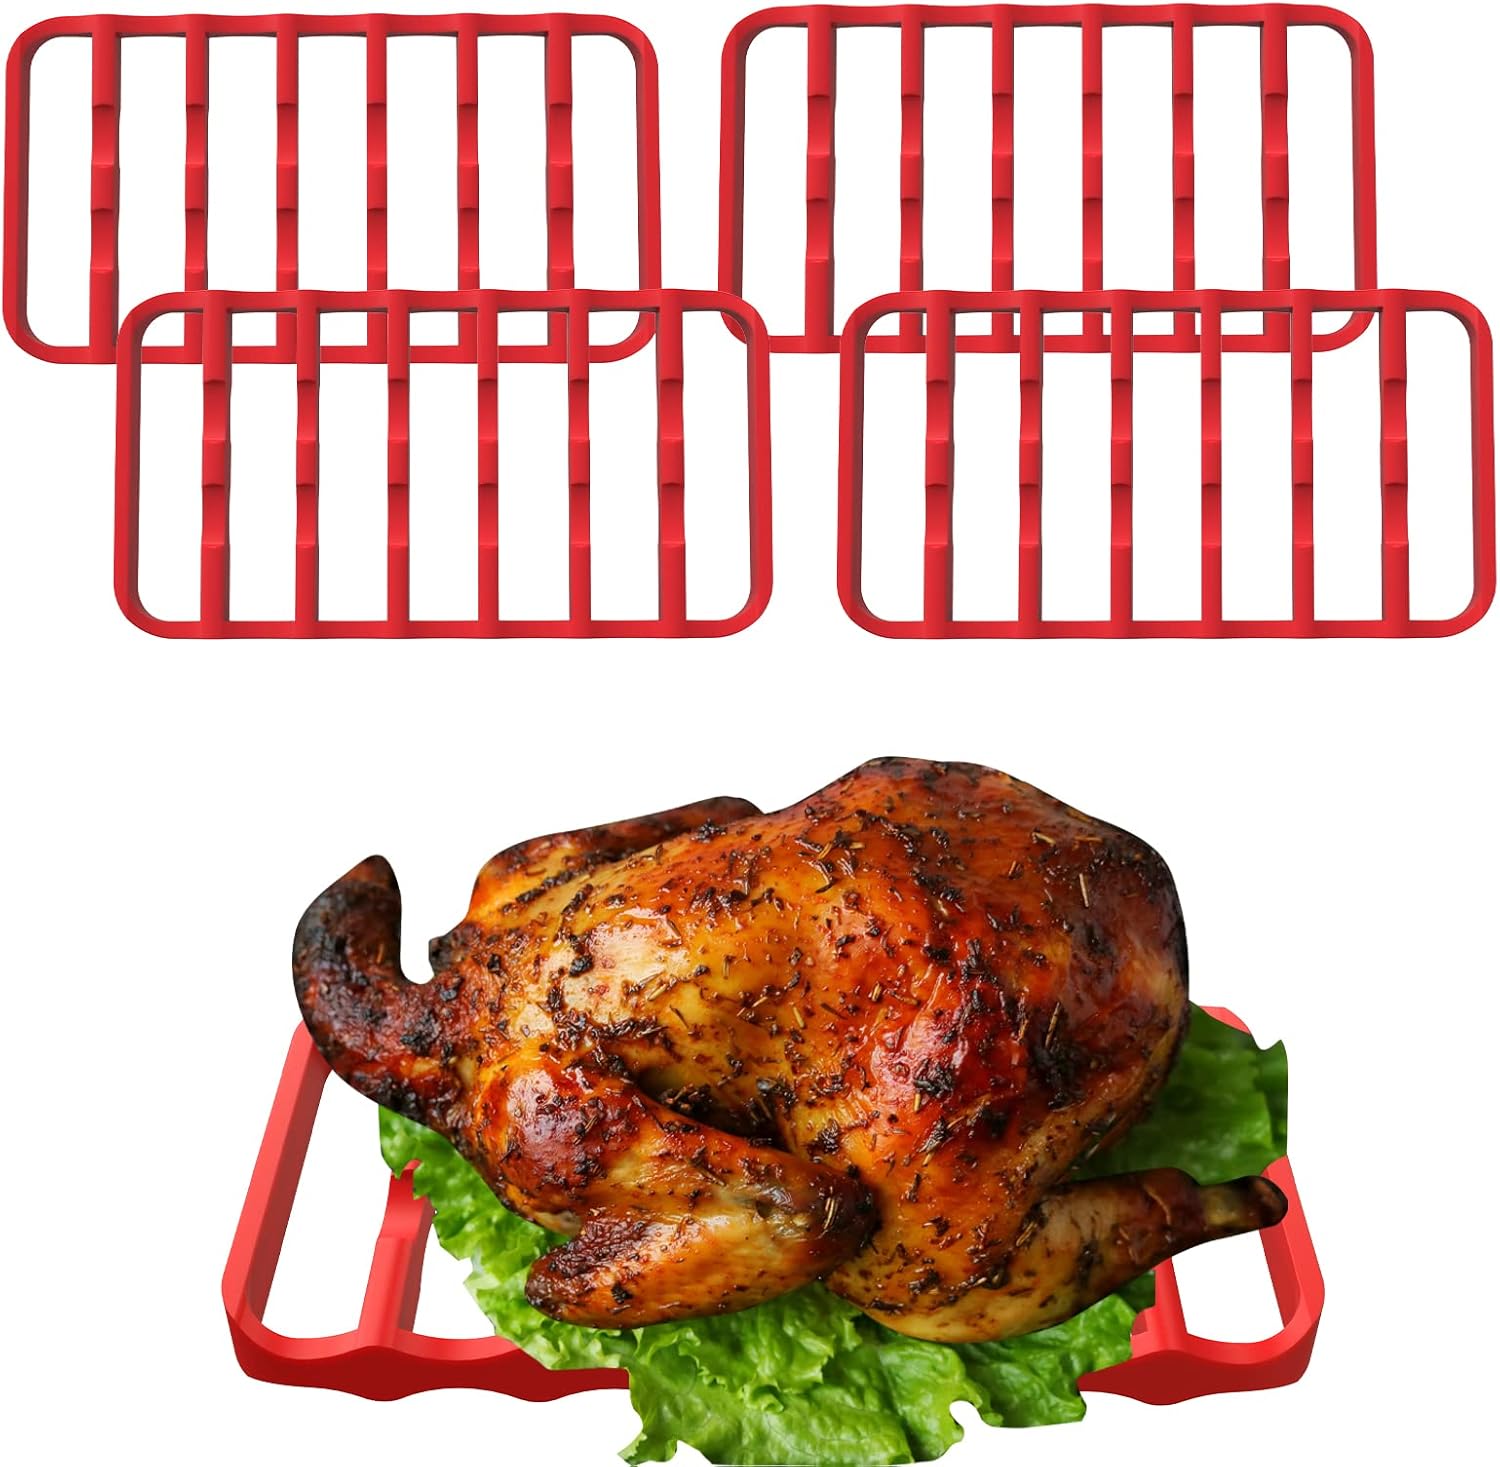
Backyard creations drumstick and wing grill rack review
FAQ
Which oven rack is best for roasting chicken?
We used both horizontal and vertical racks. The meat didn’t taste different, but the skins were a nice even golden color when we used the vertical racks. If you use a horizontal rack, place the chicken breast so that the tender meat is facing away from the oven’s bottom heating elements.
Which oven setting should I use for chicken?
Key Takeaways400°F is the best temperature. The shorter it takes for a chicken to cook, the juicier it will be inside. A meat thermometer ensures the chicken is cooked thoroughly but not overcooked.
Which tray to use in the oven for chicken?
A disposable foil roaster, placed on a baking sheet, is fine if this cooking thing is going to be a one-time-only deal. A roasting tin, large enough to accommodate the chicken and with sides about 8cm (3 inches) deep, will prove itself a good investment in other ways.
Is it better to cook on the top or bottom rack?
What is the proper oven rack placement for baking, roasting and broiling? The middle zone is a go-to when baking, and is typically a safe bet for foods like casseroles, cookies and pies. It’s best to roast and bake crusty bread or pizza in the bottom part of the oven, while it’s best to broil and toast things on top.
Which rack is best for cooking chicken?
The top rack of the oven is best used for cooking chicken that needs to be browned on top. It’s perfect for roasting whole chickens or chicken pieces that you want to get crispy on the outside. The top rack is closer to the heating element, so it’s ideal for achieving a nicely browned and caramelized exterior.
How do you cook chicken on a wire rack?
Place a wire rack on a baking sheet. This allows the air to circulate around the chicken and helps to prevent the skin from becoming soggy. If you are using the top rack, position it as close to the top of the oven as possible. If you are using the bottom rack, position it as close to the middle of the oven as possible.
What are the three types of oven rack position?
Standard ovens feature three cooking environments: the top, middle and bottom of the cavity. Keep reading to learn about these three sections, how to position each rack and which cooking methods are suitable for each rack placement. Why is oven rack position important?
Which oven rack should I use?
The bottom zone of the oven is ideal for roasting and baking crusty bread or pizza, while the top is ideal for broiling and toasting. Consult your oven’s owner’s manual to learn about the ideal oven rack placement for your specific model. Read on for more information on what oven rack to use, when and why.
Should you bake chicken on the top or bottom rack?
When it comes to baking chicken, the positioning of the rack in the oven can make a difference in terms of texture and taste. While chicken can be cooked on both the top and bottom racks, there are advantages to baking chicken on the top rack versus the bottom rack. In this article, we will explore these advantages in detail.
How do you bake chicken on the top rack?
To bake chicken on the top rack, follow these simple steps: Preheat your oven to the desired temperature, usually around 400°F (200°C). Season the chicken with your choice of spices and oil. Place the chicken on a baking sheet or a wire rack set on top of a baking sheet.