Providing fresh clean water is one of the most important things you can do for your backyard chickens. Dehydration can quickly lead to reduced egg production, lethargy and even death. Having an ample supply of water available ensures your chickens stay healthy and productive. But buying pre-made chicken waterers can get expensive. A great budget-friendly solution is to make your own DIY waterer from a 5 gallon bucket. Here’s how to do it.
Why Make a DIY Waterer
Commercial chicken waterers can cost $40 or more. You’d need two or three waterers for a normal flock of six to eight chickens, which would cost $100.
You probably already have the things you need to make a 5 gallon waterer. It will only cost you $5 to $10. That’s a huge savings, and 5 gallons is enough fresh water for 6–8 chickens for 5–7 days before they need more.
Because you make your own waterer, you can change the way it looks to fit your needs. For example, you can add a stand to keep it off the ground and clean.
How Much Water Do Chickens Need
Most hens drink about one pint of water every day. In hot weather they drink more. It’s important that chickens can easily get water because they stop laying eggs if they get thirsty.
Plan for one 5 gallon DIY waterer per every 6-8 chickens in your flock. Refresh the water daily and fully clean/sanitize the waterer weekly.
Tips for Keeping Water Clean
- Refresh water daily
- Fully sanitize weekly
- Use dish soap and a scrub brush
- Make a bleach solution (1 tsp bleach per gallon water)
- Place waterers in shade
- Elevate off the ground
Materials Needed
- 5 gallon bucket with lid
- Drill with 1 inch bit
- Large metal pan or basin (at least 16 inches wide, 5 inches deep)
- Brick, wooden block, or platform (to elevate waterer)
Where to Source Materials
Buckets – Bakeries, delis, and restaurants often give food-grade buckets away for free. Just ask! Buy new for $3-5.
Pans/Basins – Check dollar stores, hardware stores, home goods stores. Purchase online starting around $10.
Platform – Use scrap lumber, cinder blocks, or bricks you have on hand. Or build something simple.
How to Make the 5 Gallon DIY Chicken Waterer
-
Clean and dry a 5 gallon bucket.
-
Using a 1 inch drill bit, drill 2 holes on opposite sides of the bucket near the bottom edge.
-
Place the metal pan on a platform, block, or bricks to elevate it.
-
Put the 5 gallon bucket inside the pan, holes facing down.
-
Fill the bucket completely with fresh water.
-
Screw the lid on tightly to create an air-tight seal. This is key to the design working properly!
-
The water will stop flowing out the holes once the water level rises above the holes. If it doesn’t stop flowing, the lid isn’t air-tight.
-
As the chickens drink, more water will flow out into the pan from the buckets. Refill as needed.
Troubleshooting
Water overflows from holes? The holes are too high up. Reposition the bucket lower in the basin so the holes sit an inch or so above the bottom.
Water keeps running out? The lid is not air-tight. Try tightening it more or use some petroleum jelly or plumbers putty to get a tighter seal.
Water is dirty/gross? Increase cleaning and sanitizing frequency. Move to a shadier spot. Elevate higher off the ground.
Chickens knocking it over? Secure the basin to a platform. Use heavier materials.
Plastic pan cracked? Switch to a more durable metal basin.
Additional Tips and Ideas
-
Add some marbles or large pebbles to the bucket to reduce splashing/noise.
-
Use a sturdy 2×4 platform and secure the basin to it so it doesn’t shift.
-
Drill extra holes and turn it into a feeder too. Cover holes with duct tape when using as waterer.
-
If free-ranging, place waterers in multiple areas of the yard.
-
Keep multiple DIY waterers so you always have a clean one ready to swap out.
-
Try square or rectangular basins to deter roosting.
-
Use a basin large enough that if it leaks a bit, the water is contained.
-
Add apple cider vinegar or electrolytes to the water a few times a week.
-
Consider buying or making heated waterers for winter if you live in cold climates.
With just a few basic supplies, you can easily make your own 5 gallon chicken waterer and save big bucks versus buying commercial ones. The DIY design is simple but effective, providing ample fresh water for a small to mid-sized flock. Position your waterer in the shade, up off the ground, and clean it regularly to keep your chickens healthy and hydrated. And be sure to keep an eye on it and do any troubleshooting needed if it leaks, gets dirty, or the chickens knock it over frequently. Let us know how your homemade waterer works!
- Provides 5-7 days of water for 6-8 chickens
- Costs only $5-10 to make
- Is super simple to put together
- Saves $100+ over store-bought options
- Can be customized to suit your needs
- Is a great budget option for small backyard flocks
With just a trip to the hardware store and some basic tools, you’ll have a fully functioning waterer that will keep your chickens happily hydrated for years to come!

Step 4: Step 4: the Fill Spout
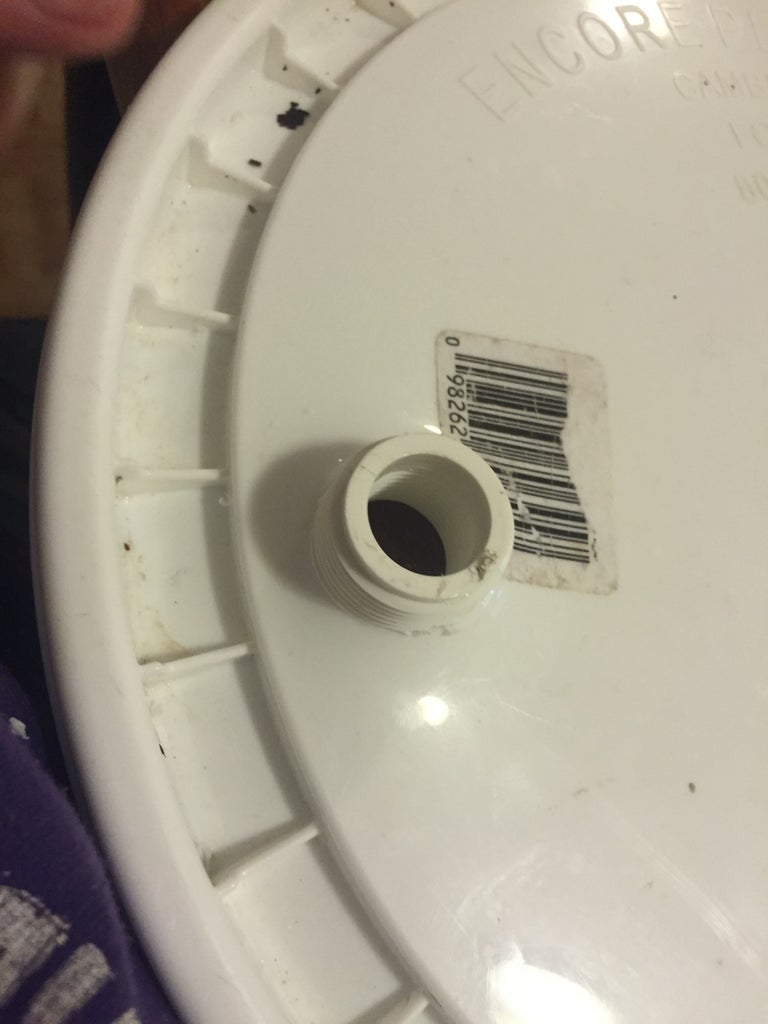
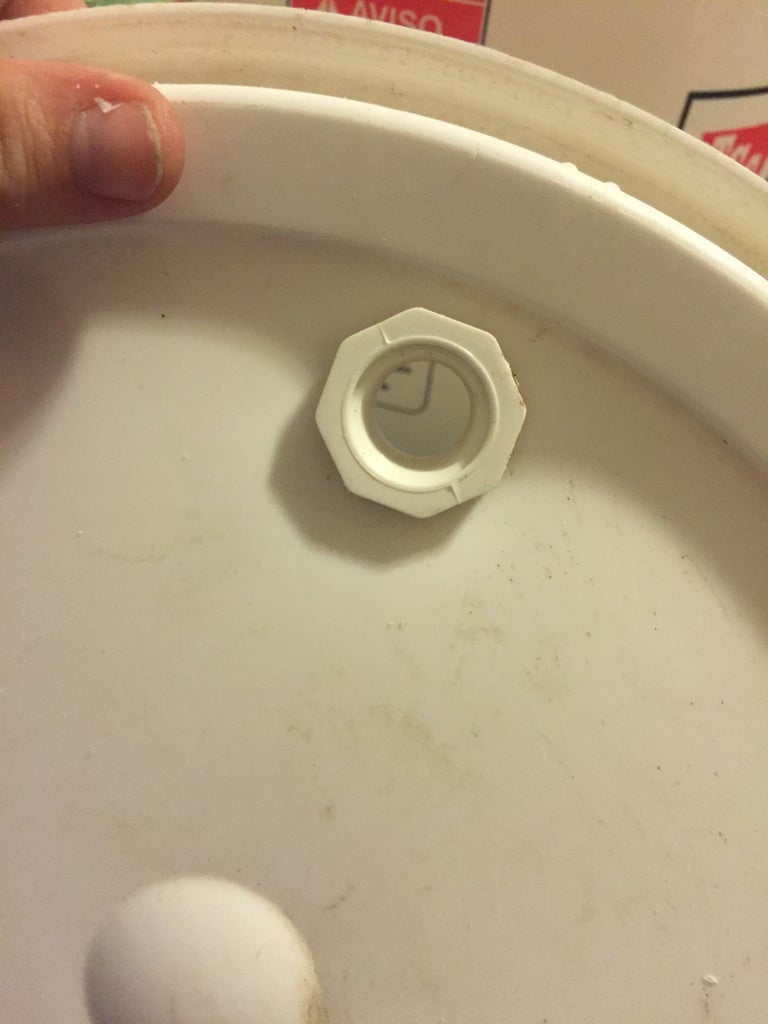

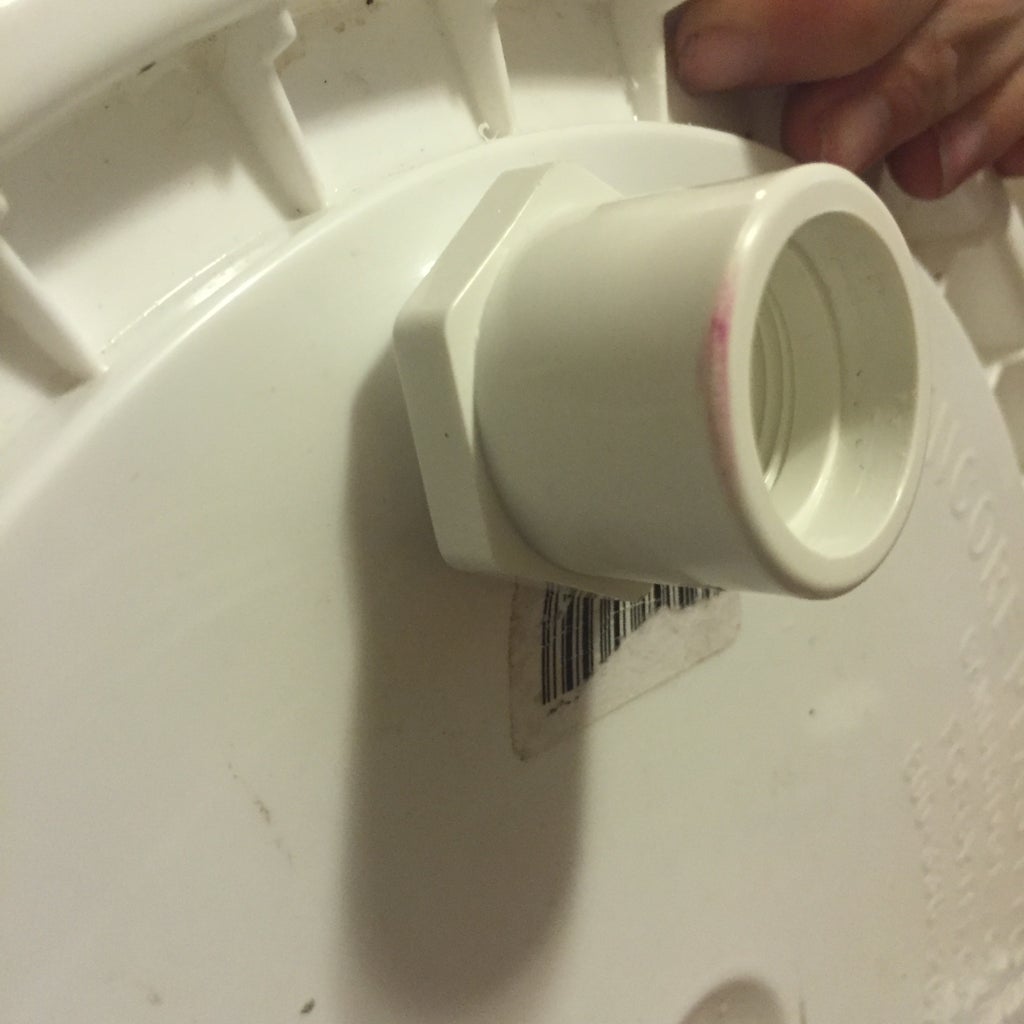
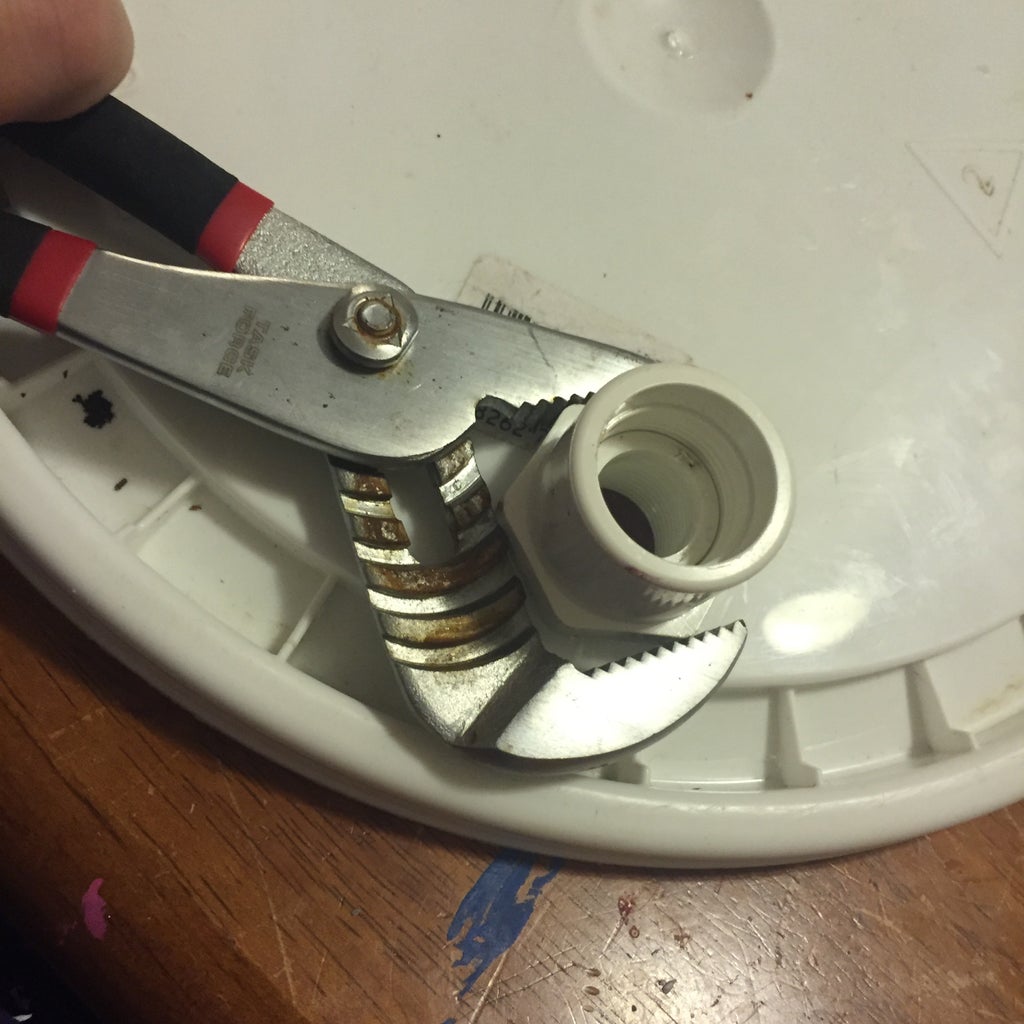
- Drill a 1″ hole in the top of the bucket. I used the side because it is more stable.
- Thread the 1/2″-3/”4 from the bottom of the lid
- Thread the 3/4″ to 1″ from the top. You should use the channel locks to make this really tight. The two pieces must fit tightly against the bucket lid so that air can’t get in or out.
You can Skip this Step if you can find one of these 5-Gallon Pour Lids
Introduction: DIY 5-Gallon Chicken Waterer
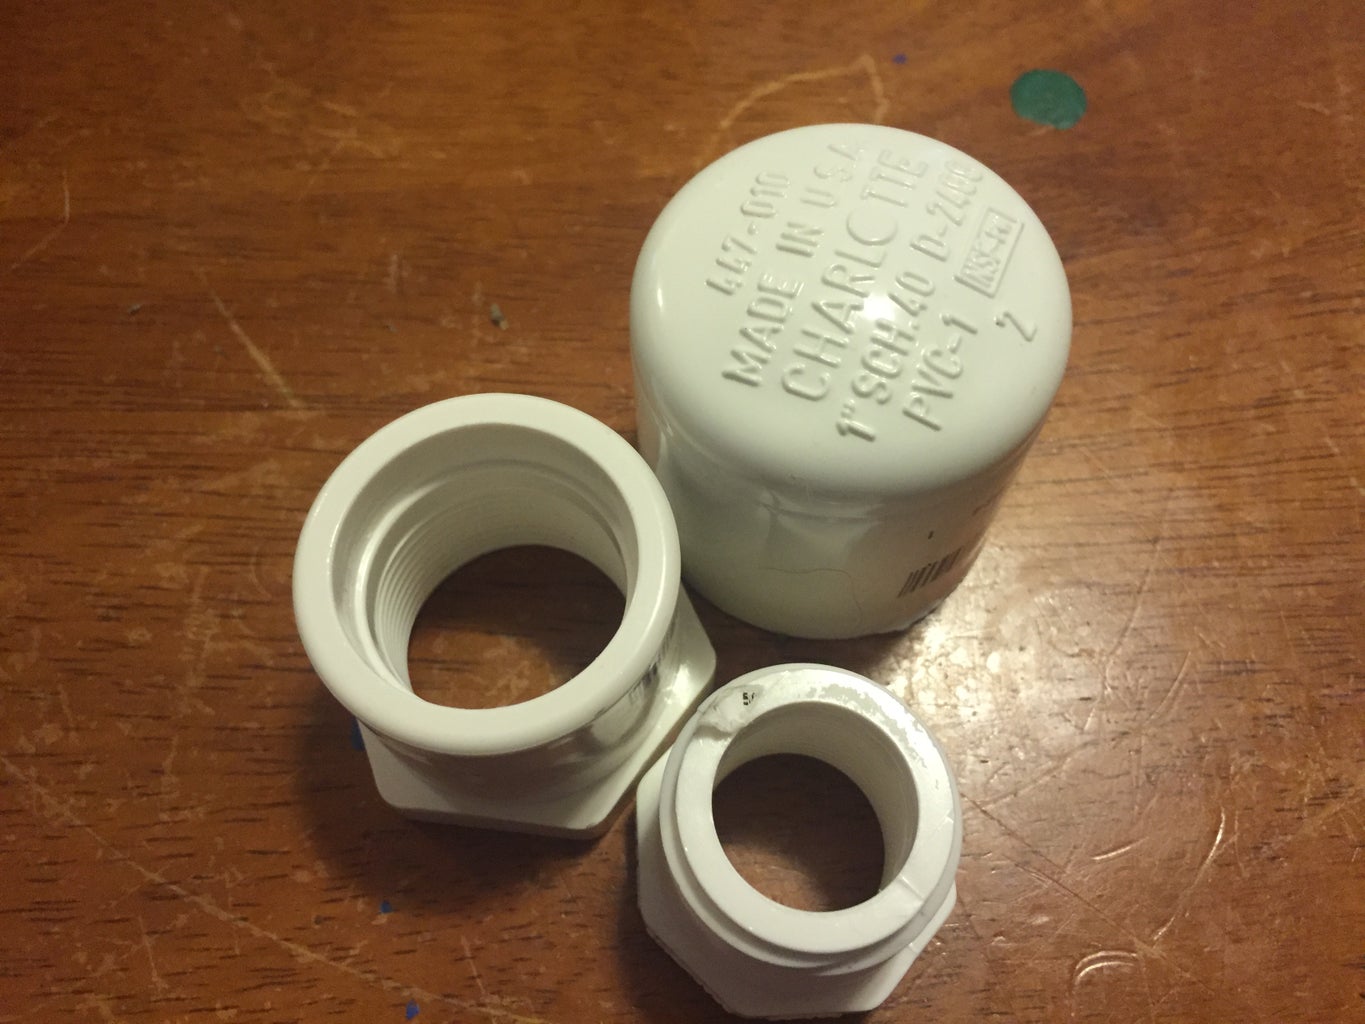
Simple 5-Gallon Chicken Waterer: The big box store near me didn’t have paint lids with pour spouts, so I had to make do with some PVC Couplings.
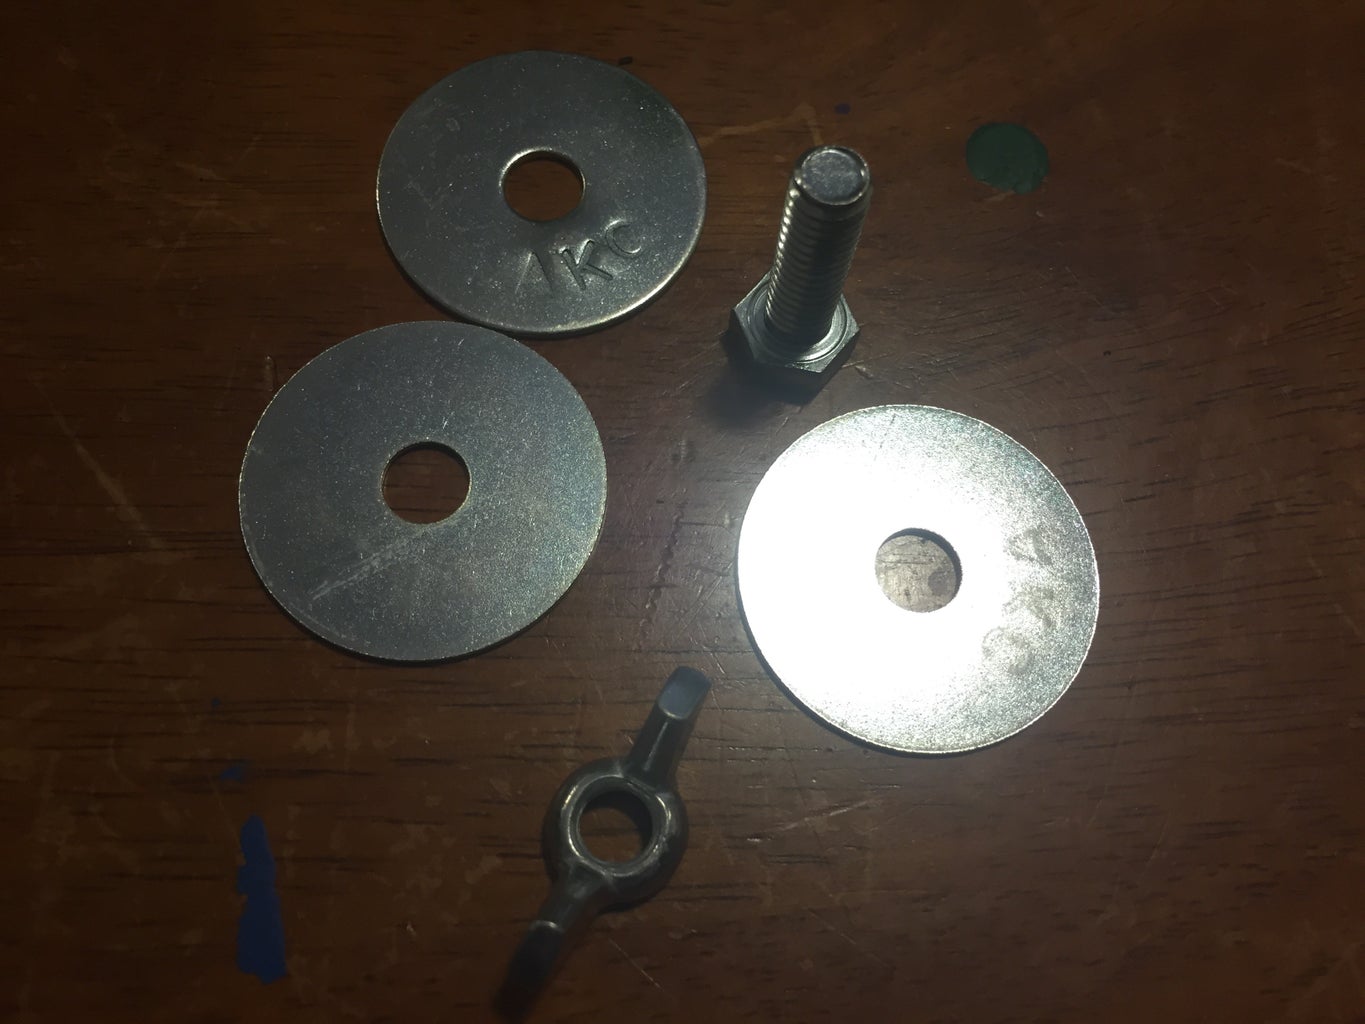
- 5/8 x 1-1/4″ Washers (3)
- 5/8 x 1″ Bolt
- 5/8 Nut – I used a WingNut for ease
- 3/4-1″ Threaded PVC Adapter
- 1/2″-3/4″ Threaded PVC Adapter
- 3/4″ PVC Cap
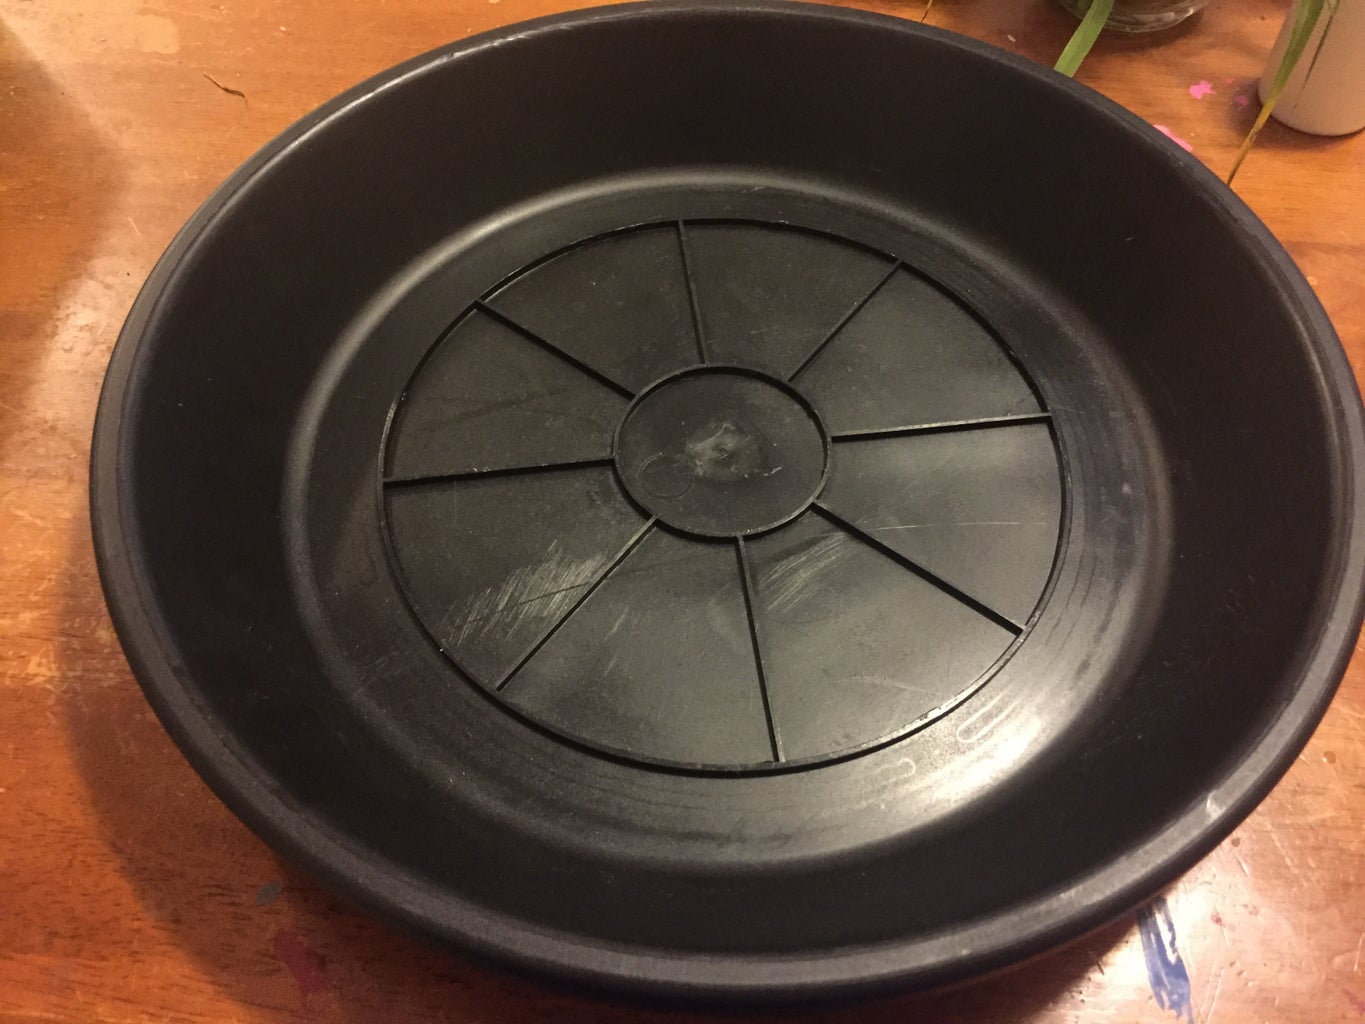
- 14″ Planter Saucer
- 5-Gallon Bucket & Lid
- 5/8″ Drillbit
- 1″ Drillbit
- Set of Channel Locks
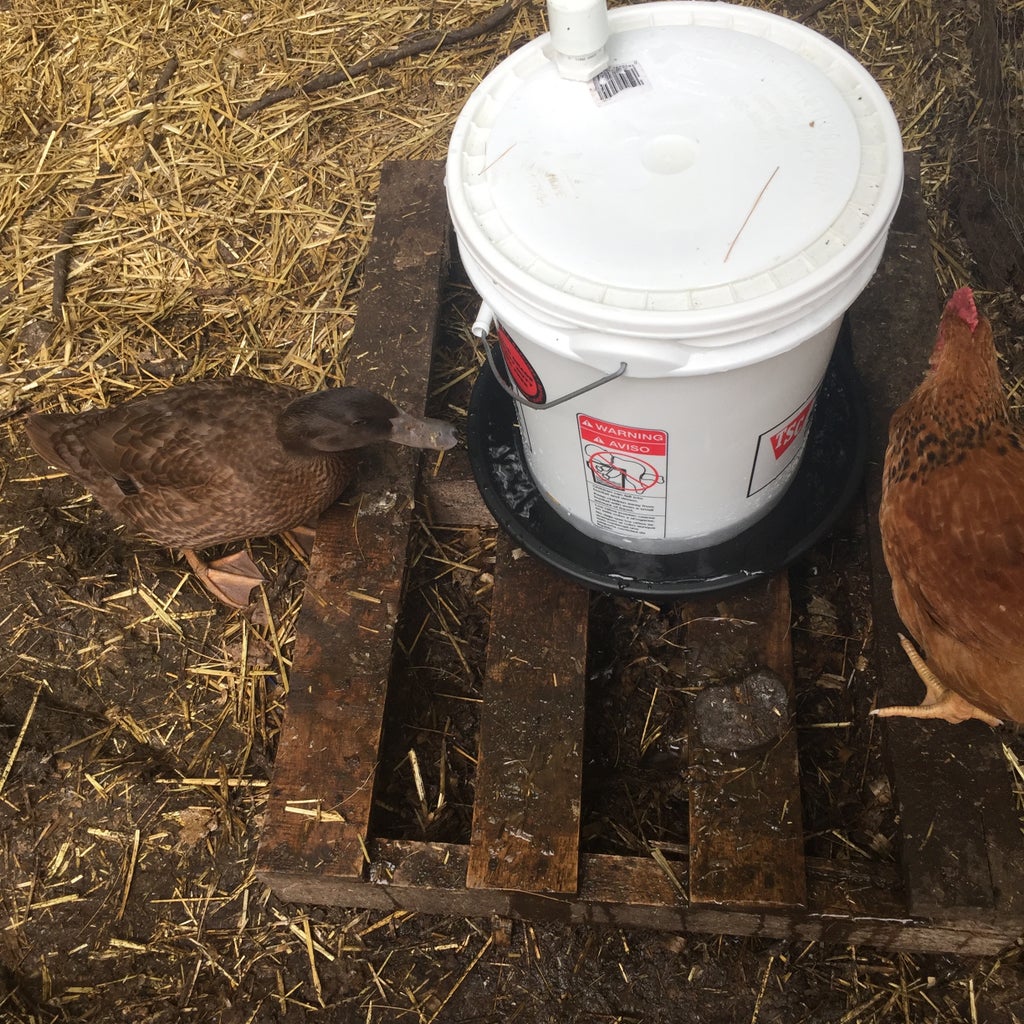
How to make a chicken waterer out of a 5 gallon bucket!!
FAQ
How long does a 5 gallon bucket of water last for chickens?
Also, Jay turned 5-gallon buckets into waterers. These are everywhere on the internet and I want to tell you that yes, they really do work! The nicest thing is that ours (we have 3) only have to be cleaned and filled every 4-5 days.
How do you keep a chicken waterer from freezing without electricity?
Use insulated buckets or waterers designed to retain heat for longer periods. To keep your water from freezing too quickly, cover it with bubble wrap, foam insulation, or even an old blanket.
What size PVC pipe for chicken waterer?
All you need is a 1/2 “PVC pipe and an bucket to make this poultry waterer.
Is metal or plastic better for chicken waterers?
In terms of sustainability and reducing ecological footprints, metal waterers are generally a better choice than plastic ones. May 30, 2024.
Can you make a DIY chicken waterer from a 5-gallon bucket?
Using a 5-gallon bucket to make a homemade chicken waterer is a quick and cheap way to make sure your chickens always have clean water. This guide is designed to be easy to follow, reliable, and focused on what’s best for you and your chickens. Start with a clean, food-grade 5-gallon bucket.
Can you use a 5 gallon bucket to water chickens?
By using a 5-gallon bucket and a few chicken nipples, you can construct a durable waterer that prevents contamination from dirt and droppings. DIY Danielle ® provides a step-by-step guide to help you assemble this efficient watering solution for your chicks or adult chickens.
Can You DIY a chicken waterer?
Longbourn Farm offers a DIY chicken waterer tutorial that’s both cost-effective and easy to create. This guide walks you through the simple steps of making a long-lasting chicken waterer using a few supplies like a 5-gallon bucket, lid, and feed pan.
How do you fill a chicken coop with water?
Replace the lid to the bucket so the chickens can’t get to the food from the top. Easy! Clean and empty the 5-gallon bucket. Along the bottom edge of the bucket, drill two 1-inch holes opposite of each other. Place the bucket inside the pan, right-side-up (holes in the pan), and then fill it with water.
How do you put a chicken nipple Waterer in a coop?
1. Drill a hole in the bottom of the bucket using the 11/32″ drill bit. 2. Apply a small amount of silicone sealant around the hole. 3. Screw the poultry nipple waterer into the hole. 4. Fill the bucket with water and secure the lid. 5. Hang the bucket in your chicken coop at a height that is comfortable for your chickens to reach the water.
How do I set up a 5-gallon bucket chicken feeder?
As the chickens eat the feed down, more feed will dispense. You may need to shake or spin the bucket every now and then to move the feed down further. Pop the lid onto the bucket and set your new 5-gallon bucket chicken feeder where you want your birds to eat.